Security
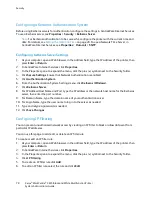
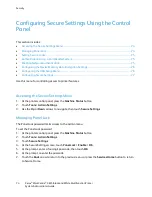
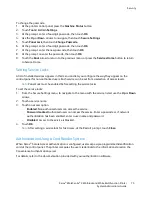
To change the passcode:
1.
At the printer control panel, press the
Machine Status
button.
2.
Touch
Tools
>
Admin Settings
.
3.
At the prompt, enter a four-digit passcode, then touch
OK
.
4.
Use the
Up
or
Down
arrows to navigate, then touch
Secure Settings
.
5.
Touch
Panel Lock
, then touch
Change Passcode
.
6.
At the prompt, enter a four-digit passcode, then touch
OK
.
7.
At the prompt, enter the new passcode, then touch
OK
.
8.
At the prompt, re-enter the passcode, then touch
OK
.
9.
Touch the
Back
arrow to return to the previous menu, or press the
Services Home
button to return
to Service Home.
Setting Service Locks
A list of installed services appears in this menu and lets you configure the way they appear on the
control panel for non-authorized users. Each service can be set from a selection of access levels.
Note:
Panel Lock must be enabled before setting the service locks.
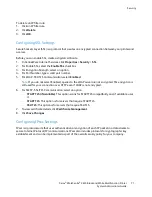
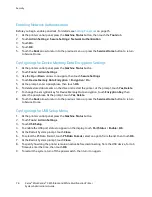
To set the service locks:
1.
From the Secure Settings menu, to navigate to the menu with the service listed, use the
Up
or
Down
arrows.
2.
Touch a service name.
3.
Touch an access option.
−
Enabled
: Non-authorized users can access the service.
−
Password Locked
: Authorized users can access the service. Enter a passcode or, if network
authentication has been enabled, enter a user name and password.
−
Disabled
: Access to the service is blocked.
4.
Touch
OK
.
Note:
After setting a service lock for fax access, at the Restart prompt, touch
Close
.
Authentication Using a Card Reader System
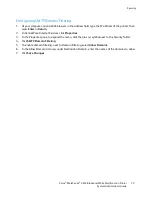
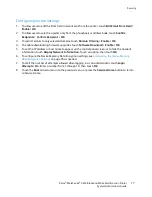
When Xerox
®
Secure Access authentication is configured, users swipe a pre-programmed identification
card at the control panel. The printer compares the user credentials to the information stored on the
Convenience Authentication server.
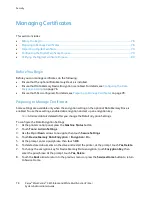
For details, refer to the documentation provided with your authentication software.
Xerox
®
WorkCentre
®
3615 Black and White Multifunction Printer
75
System Administrator Guide

