Initial Setup
Configuring Clock Settings
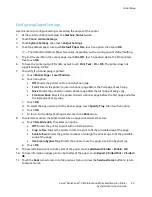
Use this menu to set the date and clock settings of the printer.
To configure the clock settings:
1.
From the General Setup menu, click
Clock Settings
.
2.
Next to Date Format, Time Format, and Time Zone, select the setting for each from the
corresponding list.
3.
Using the selected format, next to Set Date, enter the date.
4.
Using the selected format, next to Set Time, enter the time.
5.
Click
Save Changes
.
Configuring Tray Settings
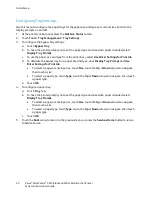
Use this menu to configure the paper trays for the paper size and type, set custom sizes, and turn the
display prompts on and off.
1.
From the General Setup menu, click
Tray Management
.
2.
Select a bypass tray option.
−
To allow the print driver settings to specify the bypass tray mode, under Tray Settings, select
Bypass Tray Use Driver Settings For Print Job
.
−
To allow the control panel settings to specify the bypass tray mode, under Tray Settings, clear
Bypass Tray Use Driver Settings For Print Job
.
3.
Under Tray Settings, next to each tray selection, from the lists, select the paper size and paper type.
4.
Under Tray Settings, for the paper width (X) and the paper length (Y), enter the custom paper sizes.
5.
To have the display prompt you for the paper settings each time the paper tray is loaded, next to
Display Popup, select
On
.
6.
Under Tray Priority, select the tray priority for paper usage.
7.
Click
Save Changes
.
28
Xerox
®
WorkCentre
®
3615 Black and White Multifunction Printer
System Administrator Guide


