Scanning
1.
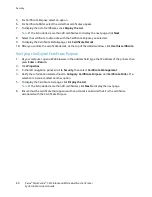
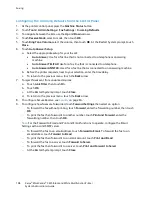
At your computer, open a Web browser, in the address field, type the IP address of the printer, then
press
Enter
or
Return
.
Note:
If you do not know the IP address of your printer, see
Finding the IP Address of Your Printer
on page 12.
2.
Click
Properties
.
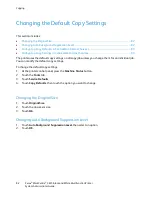
3.
In the left pane, under Protocols, click
Email Settings
.
4.
For Enter the From: Email Address, type the email address that you want to use to send emails from
the printer.
Note:
Before you click Auto Detect SMTP Server, to save your entries, click
Save Changes
.
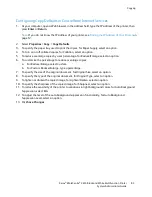
5.
For SMTP Server, enter the IP Address or DNS Name of the SMTP server. If you do not know the IP
Address or DNS Name of the SMTP server, click
Auto Detect SMTP Server
.
6.
For SMTP Port, enter the port number for the SMTP server.
7.
If the SMTP server requires authentication, select the Authentication Type, then enter the SMTP
Login Name and SMTP Password. If the login feature is not used, select
No Authentication
.
Note:
When you select SMTP AUTH (Auto), the printer automatically supports
Plain/Login/CRAM-MD5. SMTP AUTH (Auto) works for most SMTP servers.
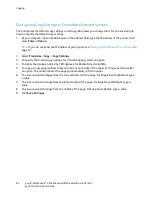
8.
To verify the status of the SMTP Server Connection, click
Refresh Status
.
9.
Click
Save Changes
.
Note:
Ensure that the authentication type is compatible with your SMTP server.
10.
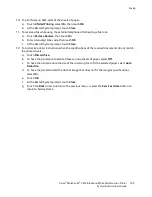
If authentication is required, for the SMTP server, enter the SMTP Login Name and password.
11.
Re-enter the password.
12.
Scroll down, then click
Save Changes
.
Setting Up Scanning With USB
If the printer is connected using a USB cable, you cannot scan to an email address or a network location.
You can scan to a folder on your computer, or scan into an application after installing the scan drivers
and the Express Scan Manager utility.
Starting Express Scan Manager
To start Express Scan Manager on Windows computers:
1.
Click
Start
>
All Programs
>
Xerox Office Printing
.
2.
Select your printer from the list.
3.
Double-click
Express Scan Manager
.
94
Xerox
®
WorkCentre
®
3615 Black and White Multifunction Printer
System Administrator Guide

