Scanning
Setting Up Scanning to a Shared Folder on Your Computer
This section includes:
•
Sharing a Folder on a Windows Computer ............................................................................................................. 90
•
Sharing a Folder Using Macintosh OS X Version 10.5 and Later ................................................................... 90
•
Adding a Folder as an Address Book Entry Using CentreWare Internet Services .................................... 91
•
Adding a Folder as an Address Book Entry Using the Address Book Editor ............................................... 91
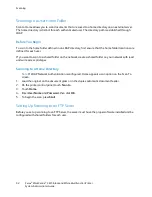
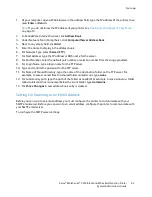
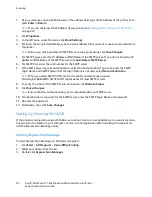
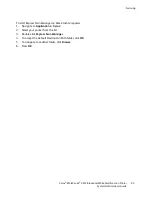
Before you can scan to a shared folder, you must share the folder, then add the folder as an Address
Book entry in CentreWare Internet Services.
Sharing a Folder on a Windows Computer
1.
Open Windows Explorer.
2.
Right-click the folder you want to share, then select
Properties
.
3.
Click the
Sharing
tab, then click
Advanced Sharing
.
4.
Select
Share this folder
.
5.
Click
Permissions
.
6.
Select the
Everyone
group, and verify that all permissions are enabled.
7.
Click
OK
.
Note:
Remember the Share name for later use.
8.
Click
OK
again.
9.
Click
Close
.
Sharing a Folder Using Macintosh OS X Version 10.5 and Later
1.
From the Apple menu, select
System Preferences
.
2.
From the View menu, select
Sharing
.
3.
From the Services list, select
File Sharing
.
4.
Click the plus icon (
+
) below the Shared Folders field. A folder list appears.
5.
Select the folder you want to share on the network, then click
Add
.
6.
From the Users list, click
Everyone
.
7.
From the list to the right of the Users window, use the arrow buttons to set user privileges to
Read &
Write
.
8.
Click the
Options
button.
9.
To share this folder with Windows computers, select
Share files and folders using SMB
.
10.
Select the
On
check box to the left of File Sharing in the Service pane.
The folder and its contents are shared with network users.
90
Xerox
®
WorkCentre
®
3615 Black and White Multifunction Printer
System Administrator Guide

