• 12 = Random 1 (In Combination With Random 2, Crossfades Repeatedly Between Two Sounds)
• 13 = Random 2
• 14 = Linear
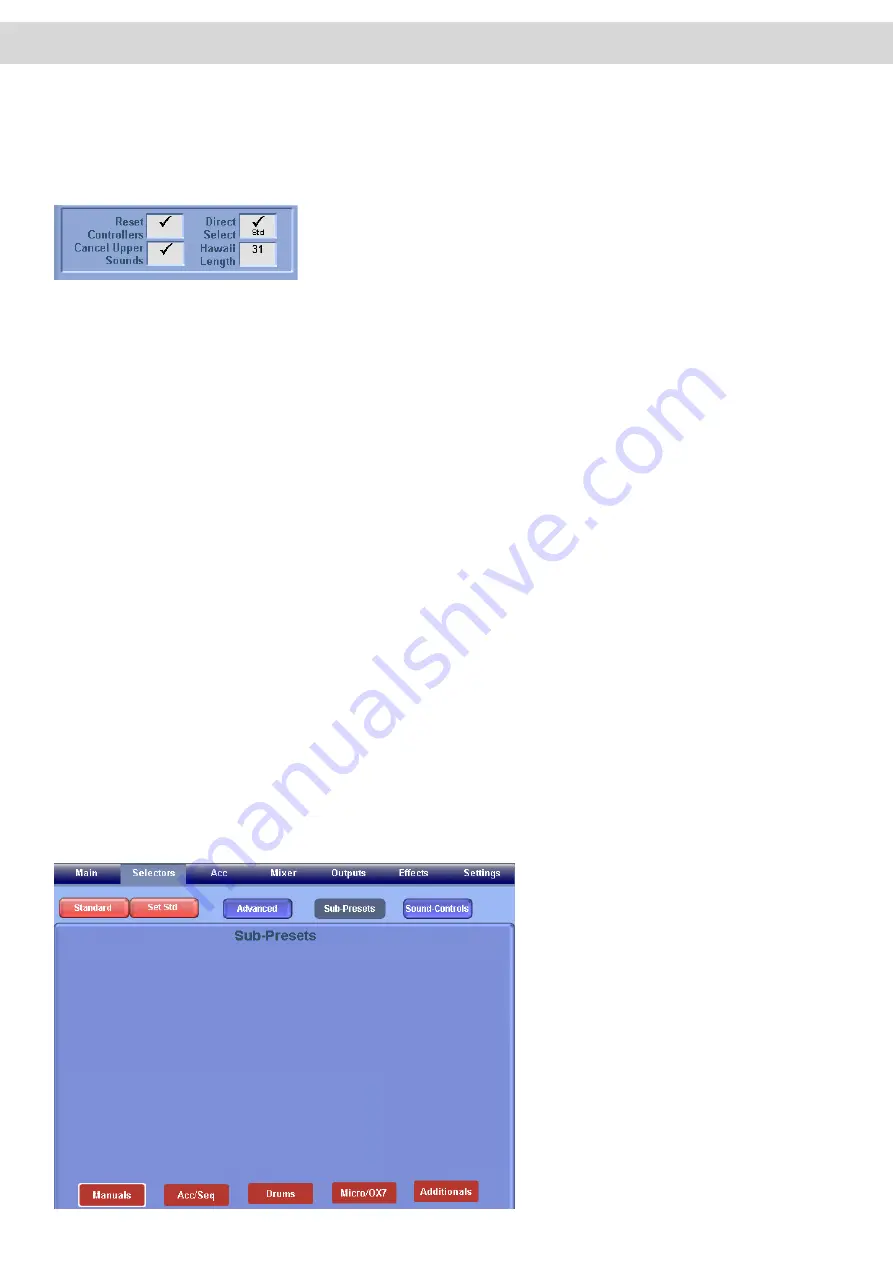
Additional Settings in the Advanced Selector Settings
•
Reset Controller
- Resets all ‘sound specific’ settings. For example, when this check box is ‘ticked’ if you change
a sound, all of the Selector Settings will change to the new sounds default settings.
•
Direct Select
- This check box turns the ‘Direct Select’ mode on or off. With the Direct Select mode on, the first
sound displayed when a Sound Group push button is pressed, the first sound (the first of the nine displayed in the
Yellow boxes on the main display) is selected instantly. The same also applies when selecting a different Level,
the first sound of that Level will automatically be selected. If this mode is ‘off’, the sounds of the ‘Push Button’ have
to be physically selected by the user (by pressing one of the sounds in the Yellow Boxes on the main display).
This mode offers you the possibility of searching for other sounds while performing and activating them only when
needed.
•
Cancel Upper Sounds
- This check box turns off all Upper Manual Sounds (Except Upper 1) if a new sound is
selected for Upper 1, in effect creating a ‘Solo Sound’
•
Hawaii Length
- This data value box allows you to adjust the desired length of the Hawaii-effect. The possible
value range is between 30 and 300. The Hawaii-effect can be triggered by a footswitch and causes a semi-tone
detune of the note played on the Upper Manual. This detune will gradually fade to normal (similar to the effect of a
Hawaiian Guitar). The time it takes for the tuning to return to normal is what is actually determined by this setting.
Use the Data / Tempo Wheel to adjust the setting.
17.1 Sub Presets
By pressing the button ‘Sub-Presets’ you can open another display where you can assign other (Sub) Presets to your
Total Preset. These are settings you have stored using other sections of the instruments. The Sub Preset Menu allows
you to quickly see what Preset is currently selected for each part of the instrument without physically having to visit
each different section of the instrument.
‘Press the ‘Sub-Preset’ button. The follow new screen will be displayed:
The following four settings are are specific settings that are not related to the
keyboard manuals as such, but to the whole instrument and can be used for
various control effects.
The ‘Sub-Presets’ Main Menu is a fairly
spare display. at the bottom of the display
you can see the five red buttons (Manuals,
Acc/Seq, Drums, Micro/OX7 and Addition
-
als) for various different sections of your
instruments.
Simply press one of the buttons at the
bottom of the screen to display the ‘Drop
Down’ menus for the respective different
sections, and then select the desired pre
-
sets for each section (that you wish to save
into your Total Preset).
Summary of Contents for Abacus
Page 1: ...Abacus Verona Vegas User Manual Edition 18 02 2011 V 1 Gedownload bij www wersi fan nl ...
Page 88: ...User Notes ...
Page 89: ...User Notes ...
Page 90: ...User Notes ...
Page 91: ...User Notes ...
Page 92: ...User Notes ...
Page 93: ...User Notes ...
Page 94: ...User Notes ...
Page 95: ...User Notes ...


