13.6 Dig. Record (Easy Record)
Dig. Record allows users to make their own Wave files / record their own performance. OAS naturally allows hard disk
recording. When you press this button, a small recording surface is displayed. The audio Levels will be shown and
there is a button marked ‘Start’. Press the Start button to start recording. Once you start recording, the Start button
changes to ‘Stop’. Press the Stop button to stop recording. A Yellow ‘Save’ menu will be displayed so that you can
Name your new audio recording and save it to the OAS Database.
13.7 MIDI Record
Similar to the above Dig. Record, MIDI record allows users to record their performance as a MIDI file. The benefits of
this is that you can then load the MIDI file into the OAS Sequencer to change the sounds post performance or to edit
/ correct any mistakes with the Sequencer Editor. The operation for recording is identical to Dig. Record. Please note:
That instead of Audio Levels appearing on the MIDI Record surface, a data counter appears showing the user how big
the MIDI file is. MIDI files take up a very, very small amount of data (usually less than 1MB).
13.8 Lower Manual Hold
This button allows you to activate the ‘Lower Manual Hold’ function. When this function is active, it allows you to
change Total Presets without changing the sounds of the Lower Manual, Pedals and Accompaniment. Only the Upper
Manual is changed. To stop using the Lower Manual Hold, simply press the ‘LM Hold’ button to deactivate the feature.
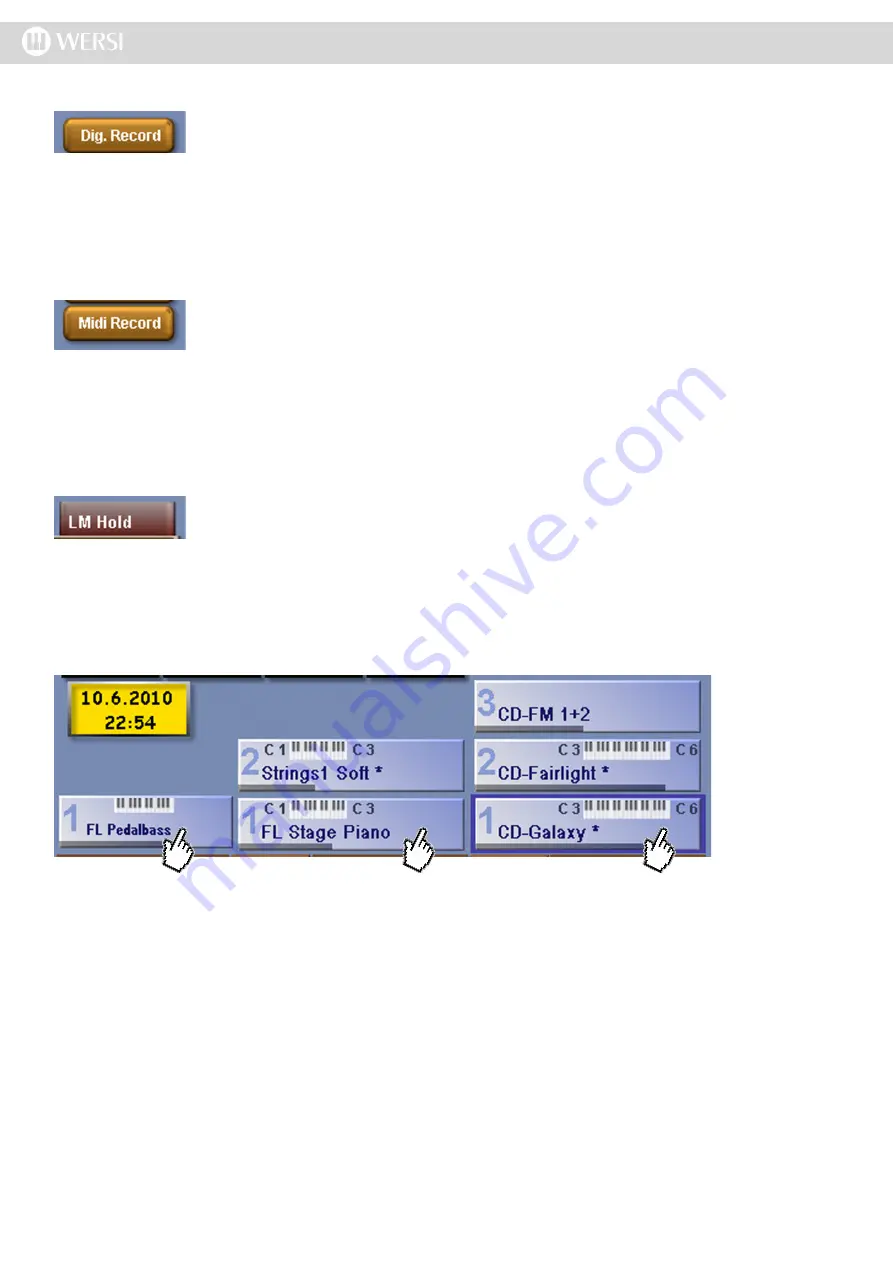
13.9 Manual Assignment Display
Pedal Selectors Lower Manual Selectors Upper Manual Selectors
In this section of the Main Display you can see the Sound Assignment for the Right (Upper Manual), Left (Lower
Manual) and the Pedals.
As well as the sounds that are displayed for each corresponding selector, you can see at first glance , which manual
is audible, and on which section it is playing. The example above shows the Upper 1 selector that is selected has the
sound ‘CD-Galaxy’, This is the currently selected selector and it is surrounded by a dark Blue rim / border. As previ
-
ously stated, the sound assigned to Upper Selector 1 is ‘CD-Galaxy’ and in our example it has a key range of C3-C6.
You can see the key range of all selectors at any time. When a selector is turned off, it will not display a keyboard
manual (See Upper 3 Selector with the assigned sound ‘CD-FM 1+2’ for an example).
PLEASE NOTE: The Manual Assignment Display show the Upper Manual Selectors (1,2 & 3) on the right hand
side of the display, the Lower Manual Selectors (1 & 2) are in the middle and finally the Pedal Selector is on
the far Right.
Summary of Contents for Abacus
Page 1: ...Abacus Verona Vegas User Manual Edition 18 02 2011 V 1 Gedownload bij www wersi fan nl ...
Page 88: ...User Notes ...
Page 89: ...User Notes ...
Page 90: ...User Notes ...
Page 91: ...User Notes ...
Page 92: ...User Notes ...
Page 93: ...User Notes ...
Page 94: ...User Notes ...
Page 95: ...User Notes ...


