7-9
Status/Job Cancel > Checking Job History
2
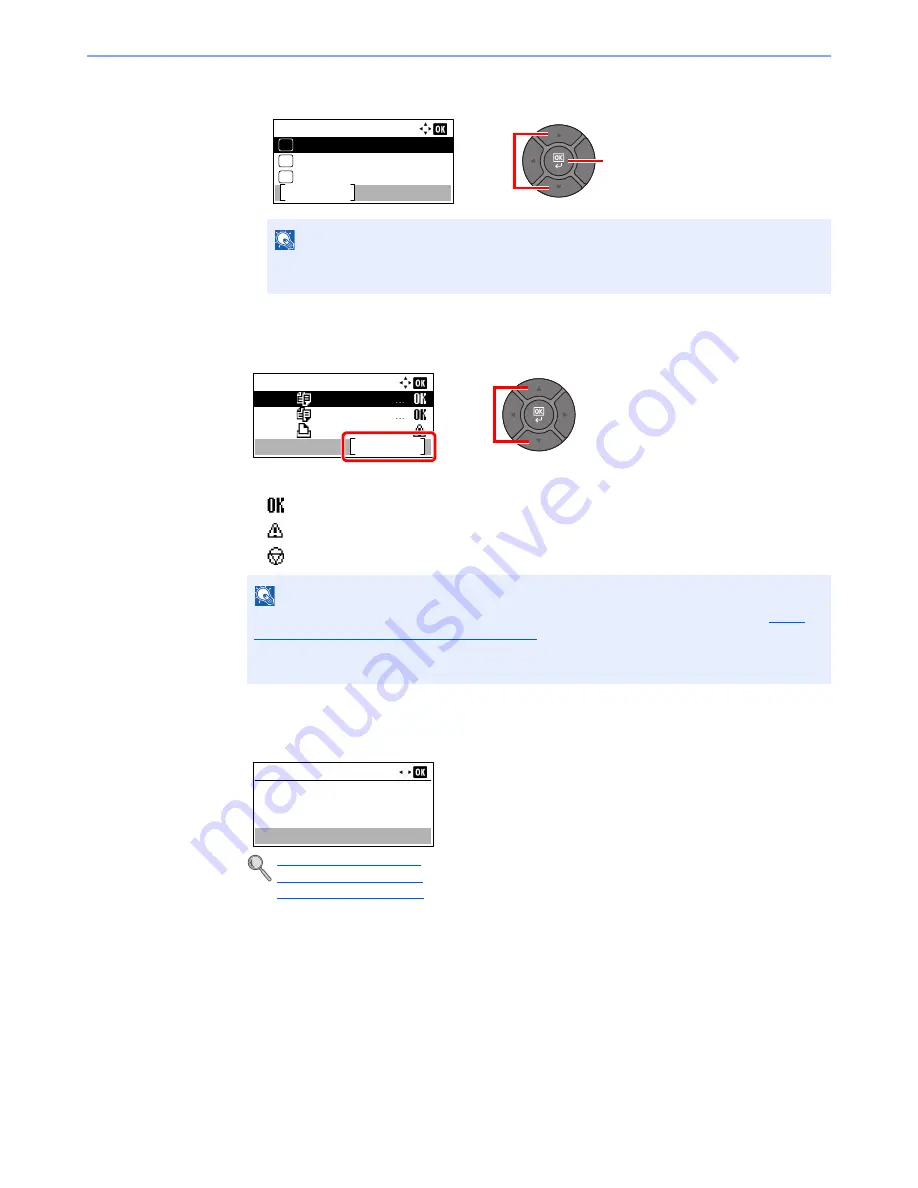
Press the [
▲
] or [
▼
] key to select [Print Job Log], [Send Job Log], [Store Job Log] or [FAX
Job Log], and press the [
OK
] key.
2
Select the job you want to check.
Press the [
▲
] or [
▼
] key to select the job you want to check, and press [Detail].
A job result icon is displayed on the extreme right of each job.
•
: The job has been completed.
•
: An error has occurred.
•
: The job has been canceled.
3
Check the job history.
Press the [
►
] key to view the next screen. Press the [
◄
] key to return to the previous screen.
NOTE
[FAX Job Log] is displayed only on products with the fax function installed. For details,
refer to the
FAX Operation Guide
.
NOTE
You can show the job log of all users, or only your own job log. For details, refer to
Disp.
Status/Log (Display Status/Log) on page 8-31
. This setting can also be changed from
Embedded Web Server RX. For details, refer to the
Embedded Web Server RX User
Guide
.
Print Job Log (page 7-10)
Send Job Log (page 7-11)
Store Job Log (page 7-12)
2
1
Status:
Store Job Log
Pause
07
Print Job Log
05
Send Job Log
06
Print Job Log:
0011
0012
0013
doc00001234
doc00001235
Microsftwor
Detail
1
2
0011
Result:
OK
Detail:
1/ 9
Summary of Contents for P-4030
Page 1: ...USER MANUAL P 4030 MFP P 4035 MFP Copy Print Scan Fax A4 DIGITAL MULTIFUNCTIONAL SYSTEM ...
Page 353: ...10 28 Troubleshooting Troubleshooting Duplex Unit 1 2 3 ...
Page 356: ...10 31 Troubleshooting Troubleshooting Document Processor 1 2 3 4 ...
Page 357: ...10 32 Troubleshooting Troubleshooting 5 ...
Page 396: ......


