41
3.
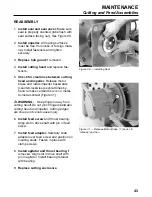
Remove feed screw and thrust
bearing.
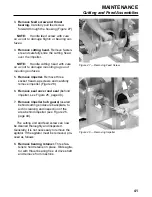
Carefully pull feed screw
forward through the housing (Figure 27).
NOTE:
Handle feed screw with care
so as not to damage flights or bearing sur-
faces.
4.
Remove cutting head.
Remove fasten-
ers and carefully slide the cutting head
over the impeller.
NOTE:
Handle cutting head with care
so as not to damage mounting lugs and
mounting surfaces.
5.
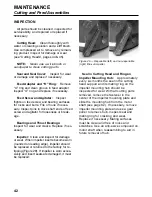
Remove impeller.
Remove three
socket head cap screws and carefully
remove impeller (Figure 28).
6.
Remove seal cover and seal
(behind
impeller, see Figure 25, page 40).
7.
Remove impeller hub guard,
located
behind cutting enclosure backplate, to
aid in cleaning and inspection of the
area behind impeller (see Figure 25,
page 40).
The cutting unit and feed screw can now
be cleaned thoroughly and inspected.
Generally, it is not necessary to remove the
agitator. If the agitator must be removed, pro-
ceed as follows:
8.
Remove bearing retainer.
Three fas-
teners hold retainer in place. Slide agita-
tor with thrust bearing free of drive shaft
and remove from machine.
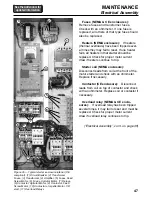
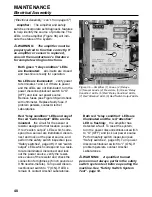
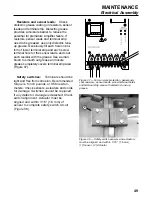
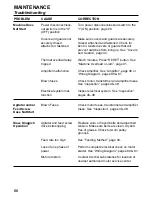
MAINTENANCE
Cutting and Feed Assemblies
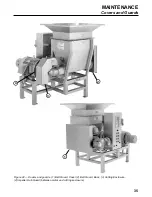
Figure 28 — Removing Impeller
Figure 27 — Removing Feed Screw
Summary of Contents for COMITROL 2100
Page 2: ......
Page 28: ...Addendum A 26 This page intentionally left blank...
Page 84: ...6 This page intentionally left blank...
Page 94: ...16 This page intentionally left blank...
Page 95: ...17 GENERAL INFORMATION...
Page 101: ...23 INSTALLATION...
Page 104: ...26 This page intentionally left blank...
Page 110: ...32 This page intentionally left blank...
Page 131: ...53 PARTS...
Page 132: ...54 This page intentionally left blank...
Page 134: ...56 PARTS Tools See the Addendum for updated information...
Page 138: ...60 PARTS Agitator Feed Screw See the Addendum for updated information...
Page 146: ...PARTS Motor and Drive Parts 68 See the Addendum for updated information...
Page 148: ...PARTS Electrical Assembly NEMA 70 See the Addendum for updated information...
Page 152: ...PARTS Electrical Assembly CE compliant 74 See the Addendum for updated information...
Page 156: ...78 PARTS Electrical Assembly Switches See the Addendum for updated information...
Page 165: ......


