CIB UNIGAS - M039177CA
26
Air and gas flow rate adjustements
Important! if G20 natural gas is used, adjust the air flow referring to the following values:
z
minimum CO
2
value for high flame stage: 9.75%,
z
minimum CO
2
value for low flame stage: 9%.
During the factory test, the gas butterfly valve, air damper in low flame and sevocontrol are set to average values.
z
Adjust the air and gas flow rates at the maximum output (“high flame”) first, by means of the air damper and the valves group pres-
sure stabiliser respectively.
Check the combustion.
NOTE: to achieve safely the high flame stage, after the burner startup, drive the high flame servocontrol microswitch matching the low
flame one (in order to let the burner operates at the lowest output). Then move progressively the microswitch to higher values until it
reaches the high flame position; always check the combustion values and eventually adjusting the gas by means of the valves group
stabiliser.
z
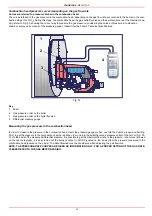
Check the flow rate measuring it on the counter or, if it was not possible, verifying the combustion head pressure by means of a dif-
ferential pressure gauge, as described on par. see “Misura della pressione in testa di combustioneMeasuring the gas pressure in
the combustion head” on page 22.
z
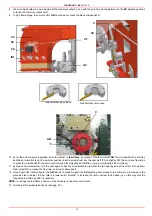
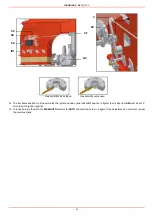
Then, adjust the combustion values corresponding to the points between maximum and minimum: set the shape of the adjusting
cam foil. The adjusting cam sets the air/gas ratio in those points, regulating the opening-closing of the butterfly gas valve.
z
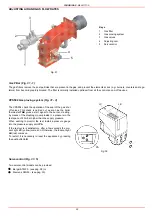
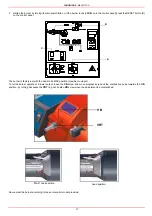
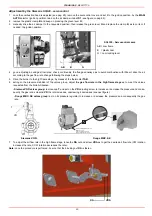
Set, now, the low flame output, acting on the low flame microswitch of the servocontrol (cam III for Berger STM30..) in order to
avoid the low flame output increasing too much or that the flues temperature gets too low to cause condensation in the chimney.
To change the burner setting during the testing in the plant, follows the next procedure, according to the servocontrol model provided
(mod. Berger STM30.. or mod. Siemens SQL..).
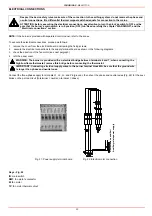
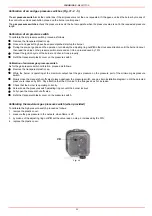
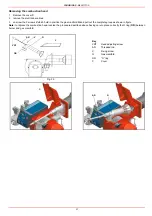
1
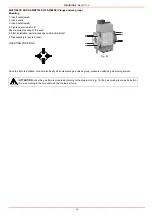
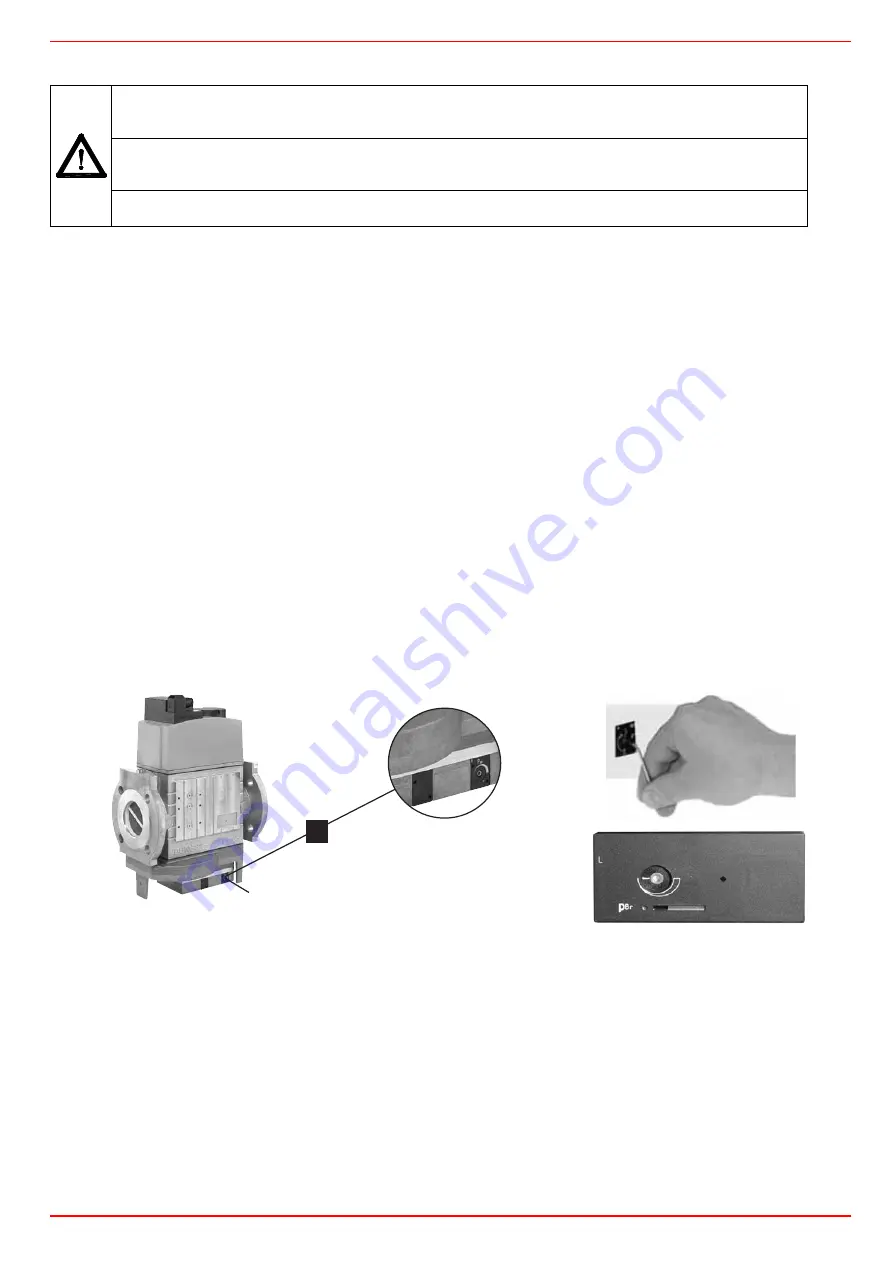
If the burner is provided with the DUNGS MBC..SE gas valves group, set the pressure regulator to 1/3 of its stroke, using a 2.5
allen key.
ATTENTION: before starting the burner up, be sure that the manual shutoff valves are open and check that
the pressure value upstream the gas train matches the value on paragraph “Technical specifications”).
Check that the mains switch is closed.
.ATTENTION: During commissioning operations, do not let the burner operate with insufficient air flow (danger of for-
mation of carbon monoxide); if this should happen, turn the burner off, increase the opening of the air damper and
start up the burner again to ensure the purging of the carbon monoxide from the combustion chamber
WARNING: NEVER LOOSE THE SEALED SCREWS! OTHERWISE, THE DEVICE WARRANTY WILL BE IMME-
DIATELY INVALIDATE!
*OOFOTFDITLBOUTDIMàTTFM/P
"MMFOLFZOP
$MÏEFTJYQBOTNÉMFOP
$IJBWFFTBHPOBMFDBWBOS
1
#S
Pressure setting
Summary of Contents for TP512A
Page 43: ...CIB UNIGAS M039177CA 43 Wiring diagram 21 001 2 Progressive burners ...
Page 44: ...CIB UNIGAS M039177CA 44 Wiring diagram 21 001 2 Fully modulating burners ...
Page 46: ...CIB UNIGAS M039177CA 46 ...
Page 47: ...CIB UNIGAS M039177CA 47 ...
Page 48: ...CIB UNIGAS M039177CA 48 ...
Page 49: ...CIB UNIGAS M039177CA 49 WIRING DIAGRAM Cod 09 315 1 Burners type TP525A Mod M MD x xx x 1 xx ...
Page 50: ...CIB UNIGAS M039177CA 50 ...
Page 51: ...CIB UNIGAS M039177CA 51 ...
Page 52: ...CIB UNIGAS M039177CA 52 ...
Page 55: ...CIB UNIGAS M039177CA 55 ...
Page 56: ......

