


Troubleshooting and Maintenance
61
Document Number 206465-0001
User Guide
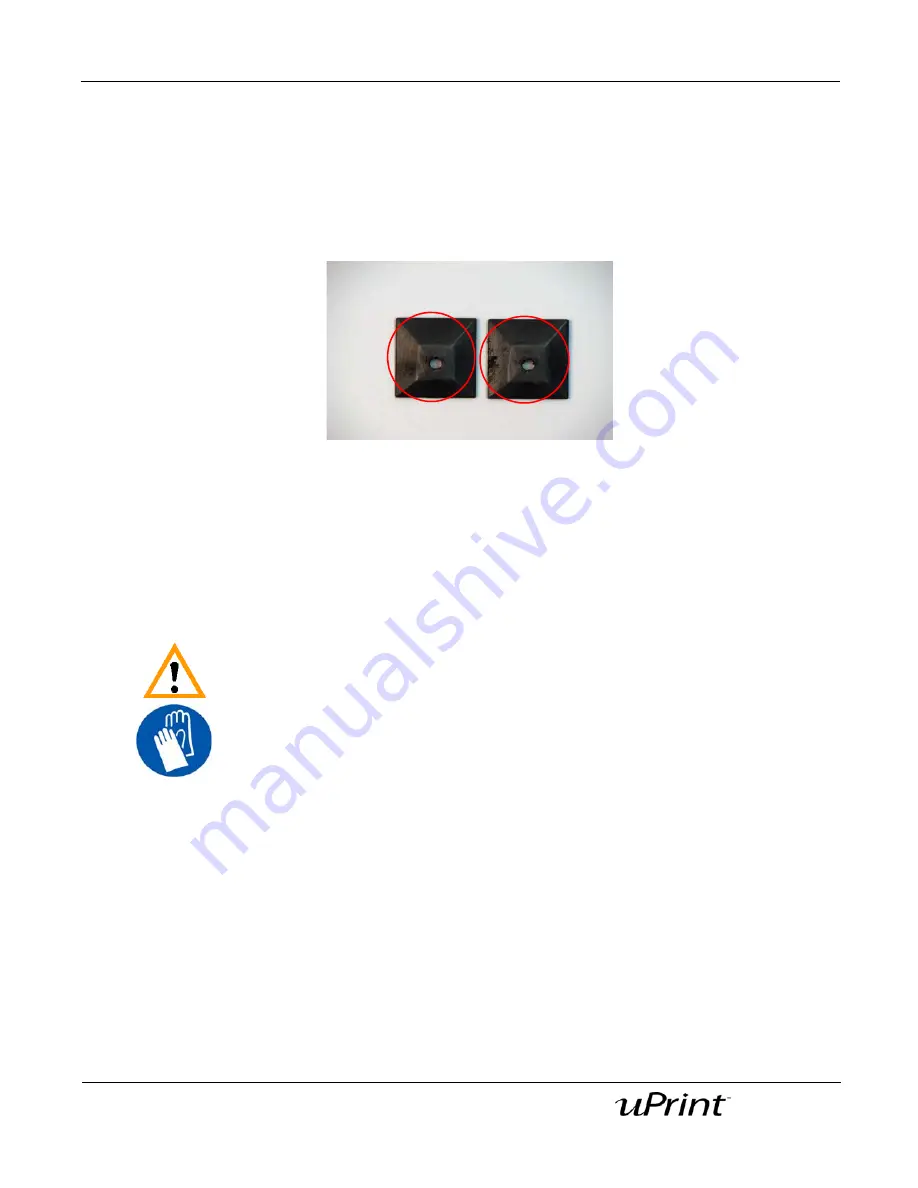
Tip shield replacement
Tip shields can become worn or damaged over time. This can have a negative impact on the surface finish
and detail of models. Replace the tip shields every 500 hours.
Figure 48: Tip Shield Damage
1. Enter
Head Maintenance
.
A. From the display panel press
Maintenance
.
B. Press
Machine
.
C. Press
Head
. The head will come to rest in the center of the chamber and the Z platform will
change position.
2.
Remove the head cover by pressing the tabs in and pulling away from the head. See
Figure 41
3.
Position the blade of the small screwdriver between the tip shield and tip plate. Use the blade of the
small screwdriver to separate the tip shield from the tip plate. See
Figure 49
WARNING
The head area is hot. Use gloves when working in this area of printer.
Summary of Contents for 180-00108 uPrint
Page 1: ...User Guide...


