T1960CS/T1960CT
2-23
2.7
Keyboard Troubleshooting
To determine if the T1960CS/T1960CT’s keyboard is functioning properly, perform the
following procedures. Start with Procedure 1 and continue with the other procedures as
instructed.
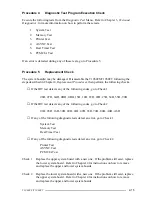
Procedure 1:
Diagnostic Test Program Execution Check
Procedure 2:
Connector and Replacement Check
Procedure 1
Diagnostic Test Program Execution Check
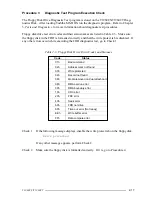
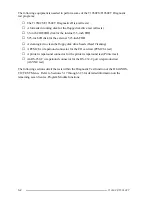
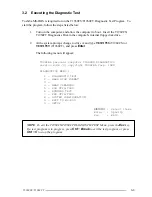
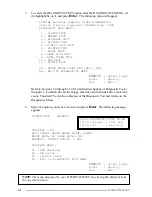
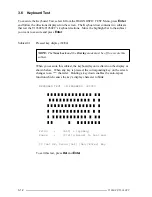
Execute the Keyboard Test in the Diagnostic Program. Refer to Chapter 3,
Tests and Diag-
nostics
, for more information on how to perform the test program.
If an error occurs, go to Procedure 2. If an error does not occur, the keyboard is functioning
properly.
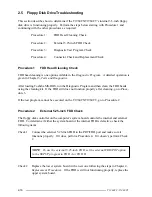
Procedure 2
Connector and Replacement Check
The keyboard is connected to the system board by a 19-pin flat cable. This cable may be
disconnected or damaged. Disassemble the T1960CS/T1960CT as described in Chapter 4 and
perform the following checks.
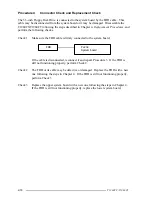
Check 1
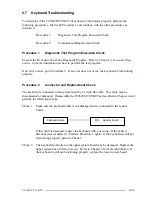
Make sure the keyboard cable is not damaged and is connected to the system
board.
Keyboard cable
PJ4
System board
If this cable is damaged, replace the keyboard with a new one. If the cable is
disconnected, reconnect it. Perform Procedure 1 again. If the keyboard is still not
functioning properly, perform Check 2.
Check 2
The keyboard controller on the upper system board may be damaged. Replace the
upper system board with a new one. Refer to Chapter 4 for more information. If
the keyboard is still not functioning properly, replace the lower system board.
Summary of Contents for T1960CS
Page 20: ...T1960CS T1960CT 2 3 Figure 2 1 Troubleshooting Flowchart 1 2 ...
Page 154: ...B 2 T1960CS T1960CT Figure B 2 FA2SU FA2PU System Board back ...
Page 156: ...B 4 T1960CS T1960CT B 2 FA2SL System Board Figure B 3 FA2SL System Board front ...
Page 157: ...T1960CS T1960CT B 5 Figure B 4 FA2SL System Board back ...
Page 169: ...T1960CS T1960CT D 1 Appendix D USA Display Codes Table D 1 USA Display Codes ...

