Let's Start at the Very Beginning…
Turn the Computer On
Part I: Getting To Know Your Computer
25
Turn the Computer On
Finally, the preparation is over. It’s time to turn the computer on
and get to work. To turn the computer on, follow these steps:
1 Make sure there’s no diskette in the diskette drive.
2 If you have a printer connected to your computer, turn the
printer on and wait until the printer is ready (on line).
3 Locate the power/speed light on the indicator panel.
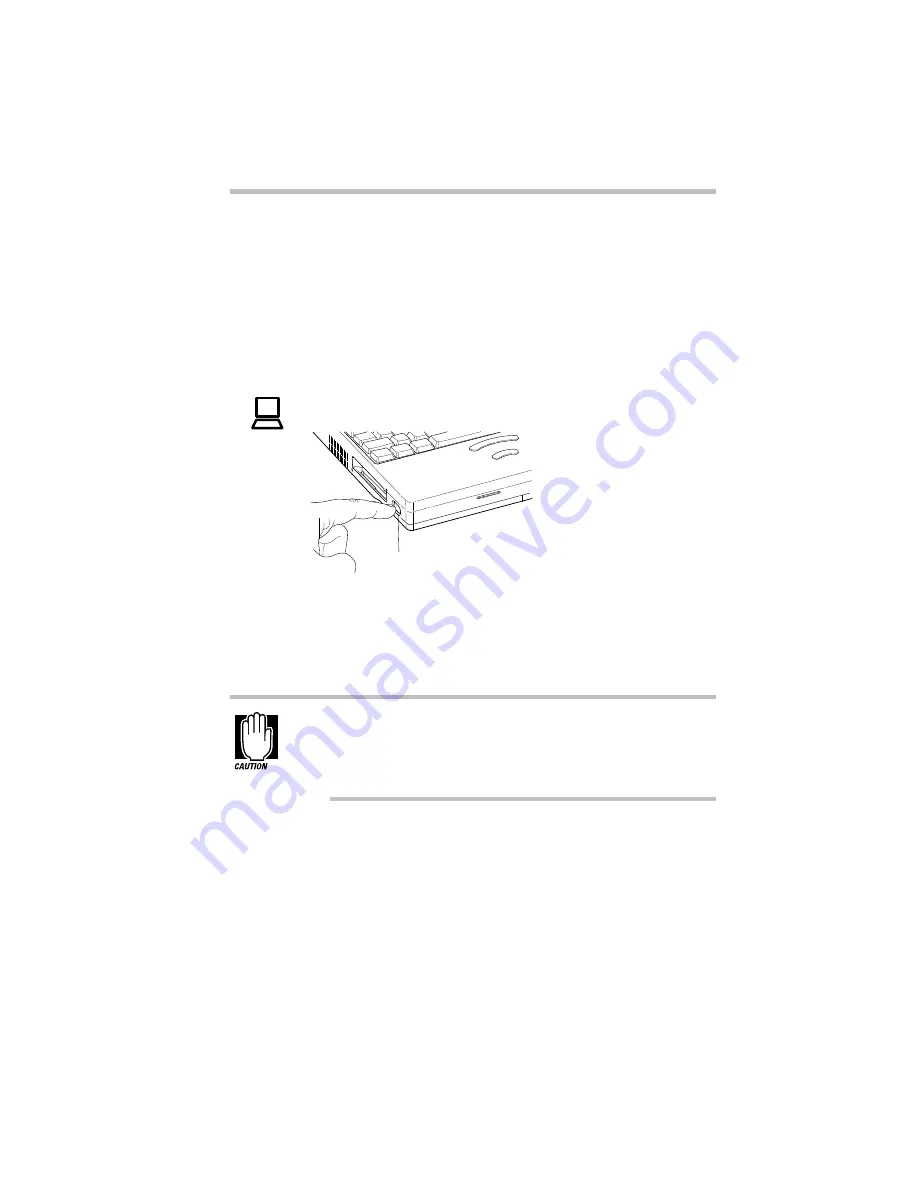
Turning the power on
4 Press and hold the power button on the left side of the com-
puter until the power/speed light turns on (about one
second).
When you turn the computer on the first time, do not turn the
power off again until the operating system loads completely.
The next section explains how to choose the operating
system.
On
Power button
Summary of Contents for Satellite 110 Series
Page 1: ...Satellite110 Series User sGuide PRINTED WITH SOY INK ...
Page 22: ...xxiii ...
Page 126: ...Chapter 5 Buying Programs 97 Buying Hardware 105 ...
Page 169: ...Little Cards that Do Big Things RemovingaPCCard Part I Getting To Know Your Computer 139 ...
Page 321: ...MaxTime The Machine Settings Dialog Box Part II Technical Reference 291 ...
Page 351: ...TSETUP OTHERS Part II Technical Reference 321 ...
Page 365: ...The Diagnostic Test ExitingtheDiagnosticMenus Part II Technical Reference 335 ...
Page 368: ...Appendix A Built in Features 339 Optional Accessories and Devices 344 Specifications 346 ...
Page 377: ...Features and Specifications Specifications Part III Appendixes 347 ...
Page 378: ...Appendix B ...
Page 385: ...System Resources Input Output PortAddressAssignments Part III Appendixes 355 ...
Page 386: ...Appendix D CS Model Video Modes 358 Satellite 110CT Video Modes 359 ...
Page 391: ...Video Modes Satellite110CT VideoModes Part III Appendixes 361 ...


