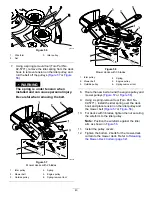
g294195
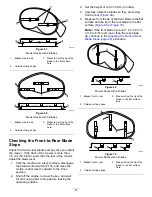
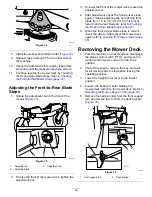
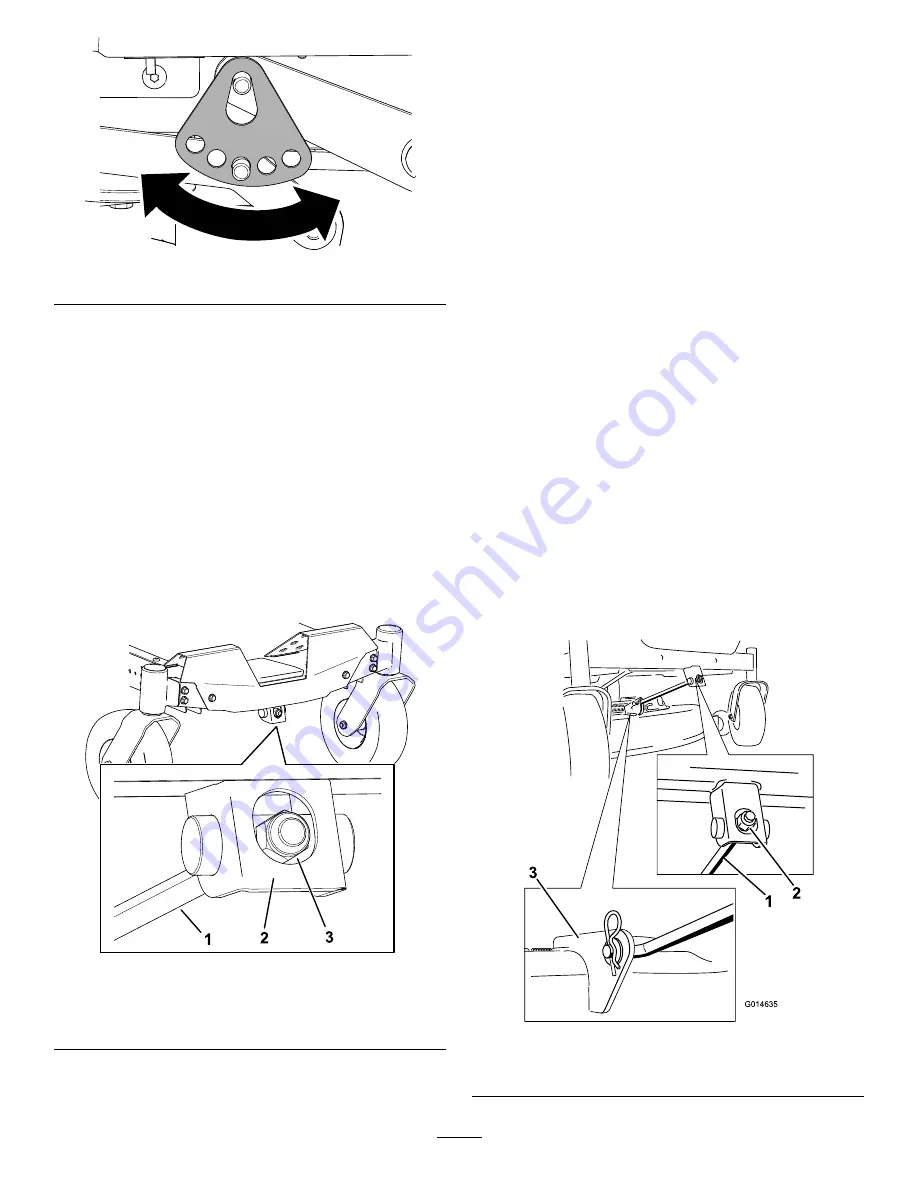
Figure 74
8.
Install the washer and hairpin cotter (
).
9.
Repeat steps
through
for the other side of
the machine.
10.
Check the side-to-side level again; repeat this
procedure until the measurements are correct.
11.
Continue leveling the mower deck by checking
the front-to-rear blade slope; refer to
the Front-to-Rear Blade Slope (page 47)
.
Adjusting the Front-to-Rear Blade
Slope
1.
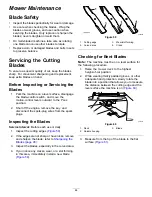
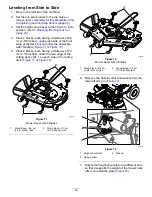
Rotate the adjustment nut in the front of the
mower (
g294471
Figure 75
1.
Adjusting rod
3.
Adjustment nut
2.
Adjusting block
2.
To raise the front of the mower deck, tighten the
adjustment nut.
3.
To lower the front of the mower deck, loosen the
adjustment nut.
4.
After adjustment, check the front-to-rear slope
again, continue adjusting the nut until the front
blade tip is 1.6 to 7.9 mm (1/16 to 5/16 inch)
lower than the rear blade tip; refer to
the Front-to-Rear Blade Slope (page 47)
.
5.
When the front-to-rear blade slope is correct,
check the side-to-side level of the mower deck
again; refer to
Leveling from Side to Side (page
.
Removing the Mower Deck
1.
Park the machine on a level surface, disengage
the blade-control switch (PTO), and move the
motion-control levers outward to the P
ARK
position.
2.
Shut off the engine, remove the key, and wait
for all moving parts to stop before leaving the
operating position.
3.
Lower the height-of-cut lever to the lowest
position.
4.
Loosen the bottom 2 bolts holding the
mower-deck curtain to the mower deck. Refer to
Releasing the Mower-Deck Curtain (page 32)
.
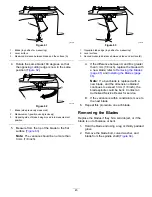
5.
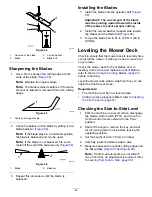
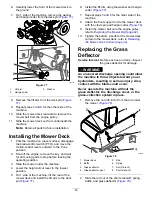
Remove the hairpin cotter from the front support
rod, and remove the rod from the deck bracket
(
).
g014635
Figure 76
1.
Front support rod
2.
Deck bracket
49
Summary of Contents for TimeCutter MX 4275T
Page 2: ......
Page 58: ...Schematics g307974 Electrical Diagram 139 2356 Rev A 56 ...
Page 59: ...Notes ...
Page 60: ...Notes ...
Page 62: ......
Page 71: ...decal140 2748 140 2748 decal142 5864 142 5864 9 ...
Page 121: ...Schaltbilder g307974 Elektrisches Schaltbild139 2356 Rev A 59 ...
Page 131: ...decal140 2748 140 2748 decal142 5864 142 5864 9 ...
Page 180: ...Schémas g307974 Schéma électrique139 2356 Rev A 58 ...
Page 181: ...Remarques ...
Page 238: ...Schema s g307974 Installatieschema139 2356 Rev A 56 ...
Page 240: ......


