


TASCAM HS-4000
21
2 − Names and functions of parts
When recording in take mode, a red progress bar repeatedly
extends from the left end to the right end in a cycle of about
5 seconds.
;
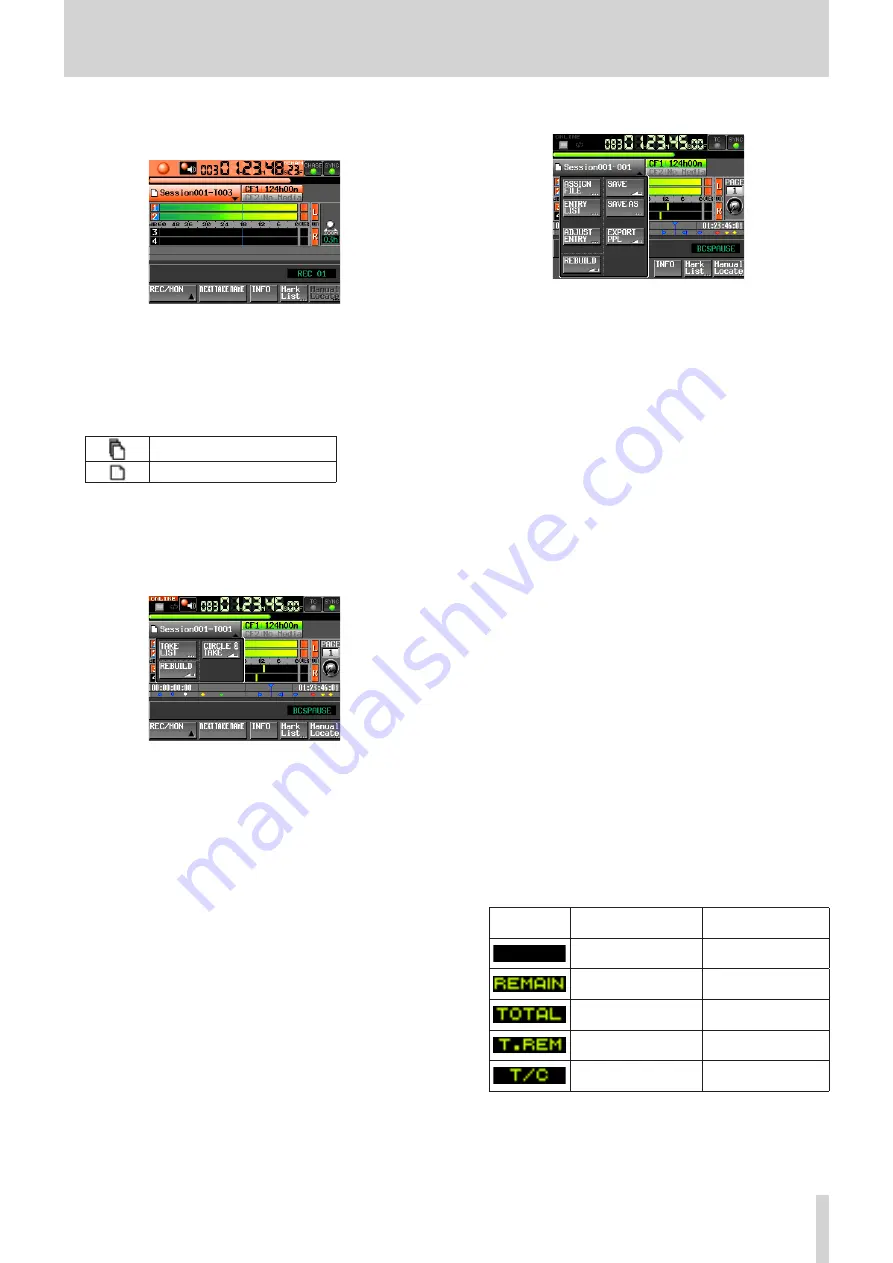
Take/entry name (button)
This shows the name and mode icon of the currently active
take or entry.
When in recording standby, this shows the file name that
will be given to the next recorded take.
The two types of file mode icons are as follows.
Monophonic mode
Polyphonic mode
When in playlist mode, a “*” appears in the icon if the playlist
has not been saved after editing (including the addition and
removal of entries).
Touch this area to open a pull-down menu.
8
In take mode
TAKE List button
This opens the take selection screen (TAKE screen). At this
time, even if you press the session name display area, the
SESSION selection screen will not open.(See “PROJECT
CIRCLE @ TAKE button
Touch this to add or remove “@” at the beginning of the
current take name.(See “Using @ with take names” on page
REBUILD button
Use to rebuild when, for example, a file has been erased
from the unit using FTP.
8
In single playlist mode
ASSIGN FILE button
This shows the ASSIGN screen where you can assign files.
(See “Assign File screen” on page 83.)
ENTRY LIST button
This shows the entry list (ENTRY) screen. (See “Entry list
ADJUST ENTRY button
This opens the ADJUST ENTRY *** screen where you can
edit an entry. (See “Editing entry titles” on page 88.), (See
“Editing the playback start and stop positions” on page
89.), (See “Using the numeric entry screen to edit the
playback beginning and ending positions” on page 90.)
REBUILD button
Use to rebuild when, for example, a file has been erased
from the unit using FTP.
SAVE button
This saves the current playlist. This can only be selected
when stopped. (See “Saving a playlist” on page 93.)
SAVE AS button
This adds a name to the current playlist and saves it. This can
only be selected when stopped. (See “Saving a playlist” on
EXPORT PPL button
This creates a JPPA PPL file from the current playlist. This can
only be selected when stopped. (See “Creating a JPPA PPL
file from the loaded playlist” on page 94.)
z
Level meters
These are the same as on the Home Screen in timeline
mode.
As on the Home Screen in timeline mode, you can touch this
area to use the solo function.
x
Time display area
What is shown depends on the time display mode.
Time display
mode
Left end
Right end
00:00:00:00
Total take or entry
length
Total take or entry
length
00:00:00:00
00:00:00:00
Total session or
playlist length
Total time of session
or playlist
00:00:00:00
Starting time of
session or playlist
Ending time of
session or playlist
During recording and recording standby, however, times
and dividing lines are not shown.
c
Flash Page number and knob
This shows the Flash Page number. Touch this area to enable
selection (yellow background), and turn the DATA dial to


