Calibration
189
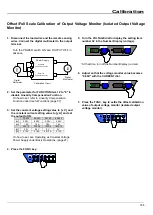
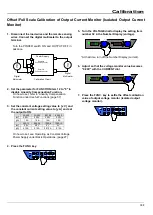
8. Set the constant voltage setting value to [ xV ] and
the constant current setting value to [ yA ] and set
the output to ON.
30-200
30-400
60-100
60-200
[xV]
1.00V
1.00V
1.00V
1.00V
[yA]
200.0A
400.0A
100.0A
200.0A
500-12
500-24
1000-6
1000-12
[xV]
1.0V
1.0V
1V
1V
[yA]
12.00A
24.00A
6.000A
12.00A
On how to set, see Operating as Constant Current
Power Supply under Basic Operations. (page29)
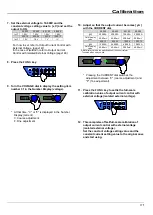
9. Press the FUNC. key.
10. Turn the VOLTAGE dial to display the setting item
number 35 in the Number Display (voltage).
* At that time, turn off the Number Display (current).
11. Adjust the CURRENT dial so that the current
monitor value is (the actual output current value
(digital multimeter measurement)
[a].
30-200
30-400
60-100
60-200
[a]
20
40
10
20
500-12
500-24
1000-6
1000-12
[a]
1.2
2.4
0.6
1.2
12. Press the FUNC. key to settle the full-scale
calibration value of output current monitor
(isolated output current monitor).
13. Return the parameter for FUNCTION item 12 back
to the original value and enable Linearity
Compensation Function.
On how to set, refer to Linearity Compensation
Function under Useful Functions (page57).
14. This completes offset/full scale calibration of
output current monitor (isolated output current
monitor).
Set the constant voltage setting value and the
constant current setting value to the original ones
and start using.
Summary of Contents for HX-S-G4 Series
Page 157: ...Special Loads 157 This page is blank...
Page 161: ...Maintenance 161 This page is blank...
Page 197: ...Specifications 197 External Diagrams 1 HX S 030 200G4 F I...
Page 198: ...Specifications 198 2 HX S 030 400G4 F I...
Page 199: ...Specifications 199 3 HX S 060 100G4 F I...
Page 200: ...Specifications 200 4 HX S 060 200G4 F I...
Page 201: ...Specifications 201 5 HX S 0500 12G4 F I...
Page 202: ...Specifications 202 6 HX S 0500 24G4 F I...
Page 203: ...Specifications 203 7 HX S 01000 6G4 F I...

