E_MH_Installation_instructions_Skylux_Climax
20/11/2020
50/88
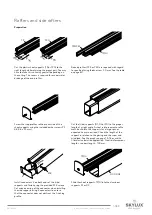
Wall profile
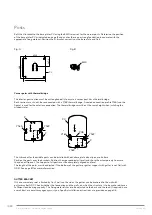
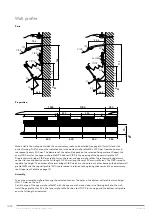
Parts
Preparation
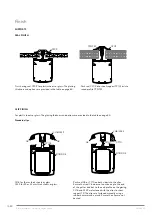
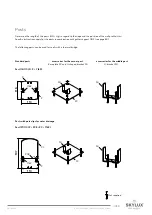
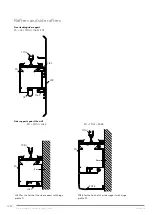
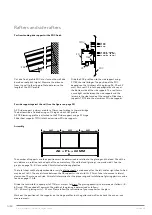
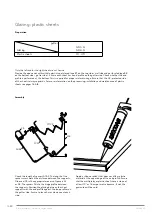
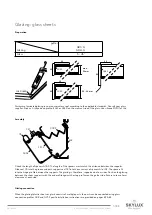
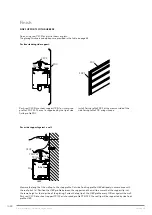
Make a slot in the wall against which the conservatory roof can be installed (see page 14.) Install a lead slab
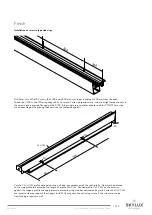
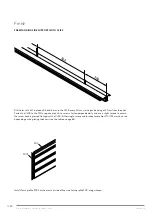
or zinc flashing. Drill a hole on the indicated line in the bottom wall profile MB at 250 mm from the ends and
subsequently every 500 mm. The diameter of the hole will depend on the selected fixing material. Repeat this
every 1000 mm for the upper wall profile MT. Slide seal C1CX in the opening of the upper wall profile MT.
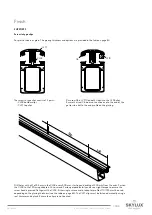
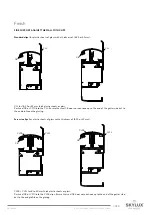
Slide-in thermal bridges Y16P are used to fasten the lower and upper wall profiles. These thermal bridges must
not be slid in continuously over the full length. A 250 mm length every 250 mm is sufficient. The Y16P is used to
regulate the height. The number of thermal bridges Y16P which are slid on to each other between the bottom wall
profile (MB) and the top wall profile (MT) is determined in relation to the glazing thickness and the conservatory
roof slope (see the table on page 12).
Assembly
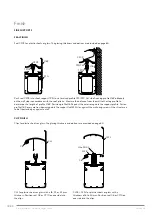
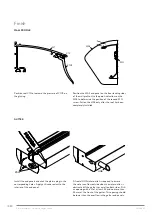
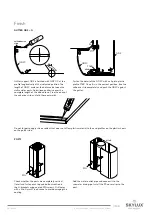
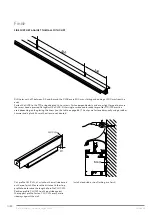
Fasten the assembled wall profile using the adjusted anchors. The holes in the bottom wall profile match height
HM + 70 mm on the wall.
Finish the top of the upper wall profile MT with silicone and with a lead slab or zinc flashing built into the wall.
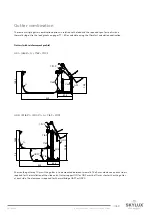
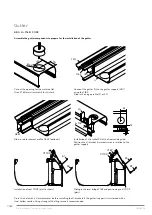
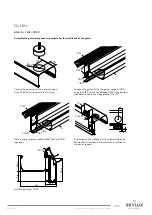
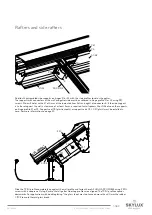
Install hinge profile S1 or S2 in the lower wall profile. Position seal C11CX in the hinge and the bottom wall profile
over the full length as indicated.
70
1000
250
HM
1000
250
250
250
250
250
500
500
500
156
38,5
73,4
70
HM
C1CX
C12
MT
Y16P
MB
S1
S2
C11CX
38,5
73,4
172
70
HM
C1CX
C12
MT
2x Y16P
MB
S1
S2
C11CX

