Chapter 5
Equipment Configuration and Monitoring
RUGGEDCOM WiN5100/WiN5200
User Guide
40
Configuring the CPE
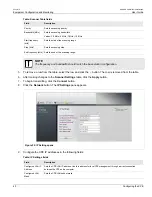
Table: Scanner Table fields
Field
Description
Priority
Sets the scanning priority.
Bandwidth [MHz]
Sets the scanning bandwidth.
Values: 3.5 MHz | 5 MHz | 7 MHz | 10 MHz
Start frequency
[kHz]
Sets the start of the scanning range.
Step [kHz]
Sets the scanning step.
End frequency [kHz] Sets the end of the scanning range.
NOTE
The frequency and bandwidth should match the base station configuration.
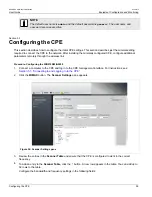
5. To remove a row from the table, select the row and click the button. The row is removed from the table.
6. After making changes to the
Scanner Settings
table, click the
Apply
button.
7. To begin transmitting, click the
Connect
button.
8. Click the
Network
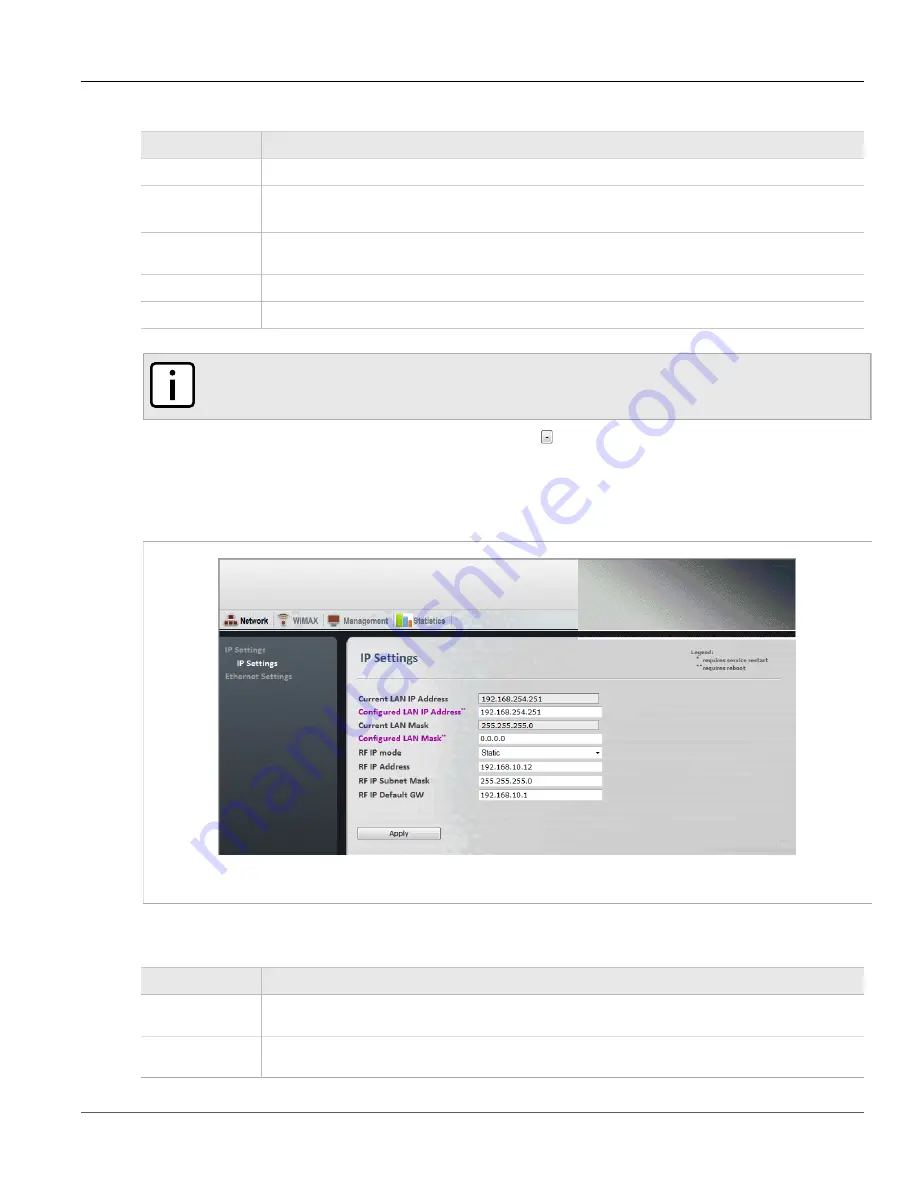
button. The
IP Settings
pane appears.
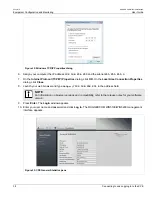
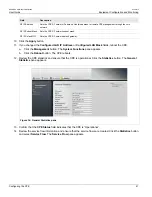
Figure 35: IP Settings pane
9. Configure the CPE IP addresses in the following fields:
Table: IP Settings fields
Field
Description
Configured LAN IP
Address
Sets the CPE LAN IP address. Use this address for local CPE management through a direct connection
between the CPE and a computer.
Configured LAN
Mask
Sets the CPE LAN subnet mask.
Summary of Contents for RUGGEDCOM WiN5100
Page 2: ...RUGGEDCOM WiN5100 WiN5200 User Guide ii ...
Page 8: ...RUGGEDCOM WiN5100 WiN5200 User Guide FCC Statement And Cautions viii ...
Page 26: ...RUGGEDCOM WiN5100 WiN5200 User Guide Chapter 2 Product Description LED Indicators 18 ...
Page 28: ...RUGGEDCOM WiN5100 WiN5200 User Guide Chapter 3 Mounting Wall Mounting 20 ...
Page 106: ...RUGGEDCOM WiN5100 WiN5200 User Guide Appendix A WiN5100 WiN5200 Specifications 98 ...
Page 114: ...RUGGEDCOM WiN5100 WiN5200 User Guide Appendix D RUGGEDCOM CPE Warranty 106 ...

