


83
1.
Schedule Name:
Fill the name in the blank.
2.
Source URL:
Fill in the blank which indicates the route of downloading
website.
3.
Directory/Files:
Choose to save
Only Files
or
Included Sub-directories
.
4.
Remote Login Account:
Select to log in as
Anonymous
/
Specific User
.
5.
User Name:
Fill the name in the blank if it’s required.
6.
Password:
Fill the password in the blank if it’s required.
7.
Port:
Input the port number of the server, default value is
21
.
8.
Link Testing:
Click on it for checking if above setting is no problem and
make sure it’s connected normally.
9.
Folder Name:
Fill the name of the downloaded folder in the blank. If you
want to overwrite the name you put in before, just check on this item.
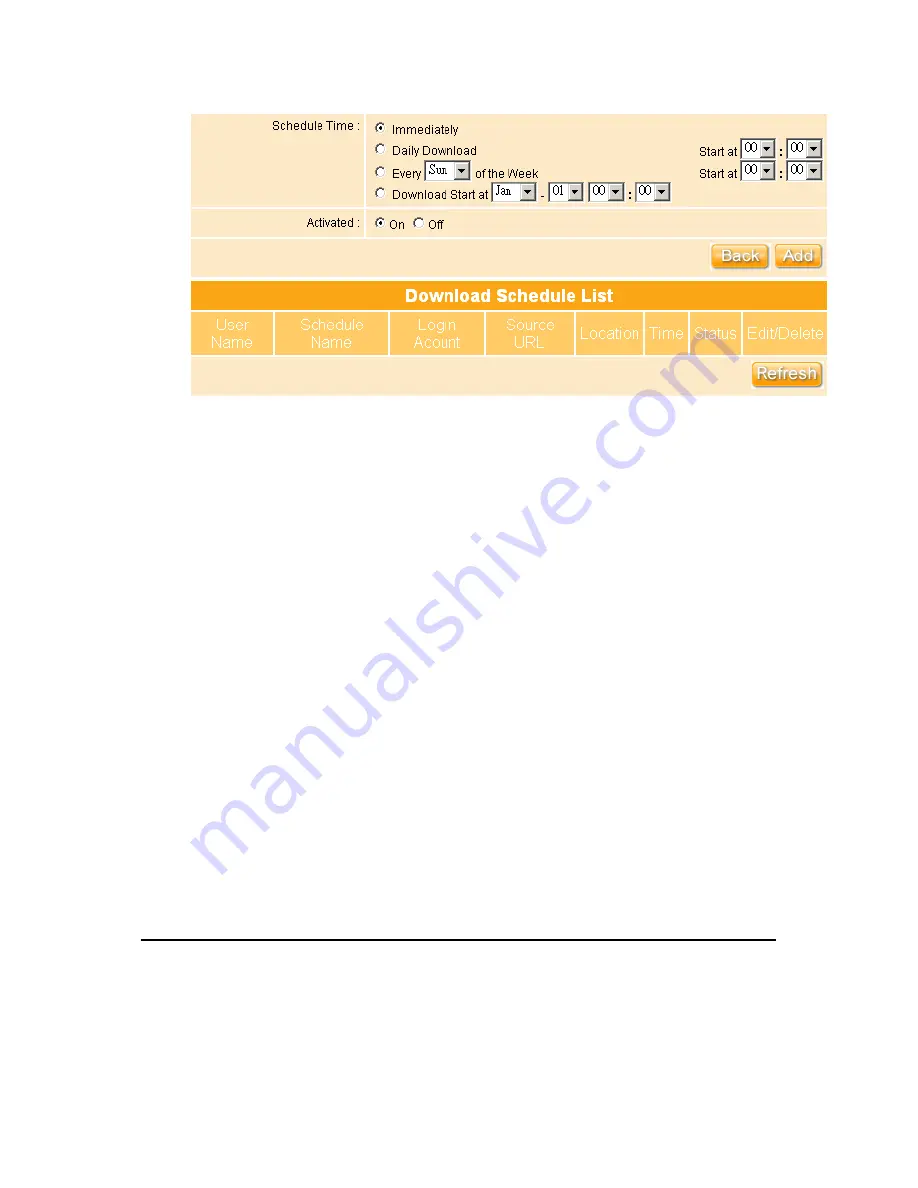
10. Schedule Time:
Select time to arrange the download schedule, and
default setting is
Immediately
. Also, you can arrange any time you want.
11. Activated:
Check on or off for activating this function.
12. Add:
Click on this button for adding file information.
13. My Schedule List:
If the schedule time is not “Immediately” but others, the
appointed download schedule will be listed below. Or click
Refresh
to
examine the current status.
3.6.4 Web Camera Server
NES Storage Server with BT has built-in Web Cam Server. By connecting web camera to the
Summary of Contents for WE-1530
Page 1: ...1 ...
Page 15: ...15 Step 1 Go to Start Settings Network Connections and then select Local Area Connection ...
Page 16: ...16 Step 2 Click on Properties Step 3 Double click on Internet Protocol TCP IP ...
Page 19: ...19 ...
Page 67: ...67 ...
Page 77: ...77 Step 2 Fill in blank address field with 192 168 1 1 ...
Page 92: ...92 ...
Page 97: ...97 Step 2 Click on Add a printer item ...
Page 114: ...114 ...
Page 116: ...116 ...
Page 165: ...165 ...
Page 190: ...190 ...
Page 194: ...194 Each block shows configuration status you may click Refresh to update the screen list ...
Page 215: ...215 ...
Page 282: ...282 Step 2 Fill in the form as required and then click on Create Account button ...
Page 284: ...284 Step 5 Click on login Step 6 Click My Services after logging in ...
Page 285: ...285 Step 7 Click Add New Hostname Step 8 Please click on Add Dynamic DNS Host ...


