


78
【
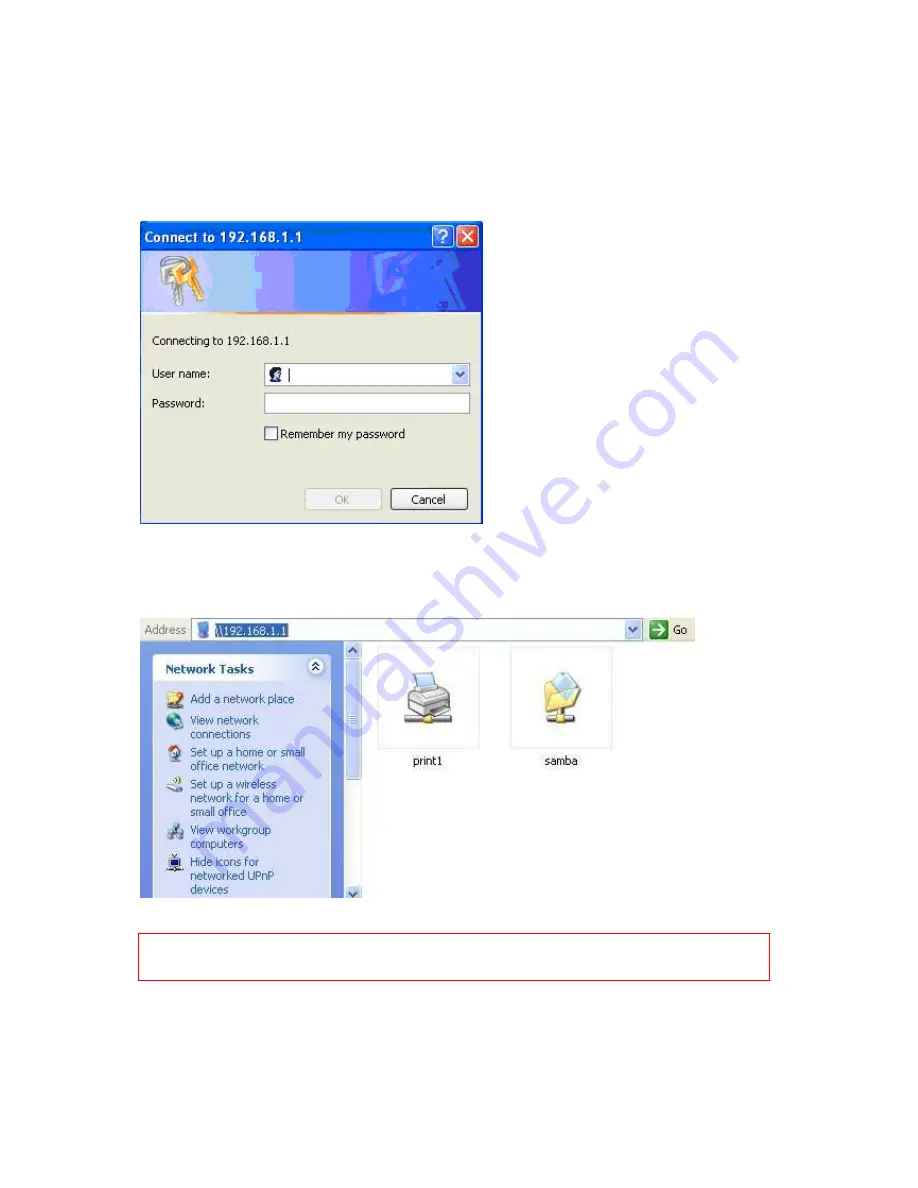
Step 3
】
A window pops up asking for user name and password. If log in as an administrator,
please enter
admin
for both fields; otherwise, fill in with personal account and password.
Click
OK
after finished.
【
Step 4
】
As the window below appears, login user has entered file sharing directory, and the
folders underneath are all available for sharing locally.
Note: Only
2
icons show up at most.
1. If an IDE hard drive disk is connected and enabled, the
samba
folder shows up.
2. If a USB printer is connected and enabled, the
printer
icon shows up.
Summary of Contents for WE-1530
Page 1: ...1 ...
Page 15: ...15 Step 1 Go to Start Settings Network Connections and then select Local Area Connection ...
Page 16: ...16 Step 2 Click on Properties Step 3 Double click on Internet Protocol TCP IP ...
Page 19: ...19 ...
Page 67: ...67 ...
Page 77: ...77 Step 2 Fill in blank address field with 192 168 1 1 ...
Page 92: ...92 ...
Page 97: ...97 Step 2 Click on Add a printer item ...
Page 114: ...114 ...
Page 116: ...116 ...
Page 165: ...165 ...
Page 190: ...190 ...
Page 194: ...194 Each block shows configuration status you may click Refresh to update the screen list ...
Page 215: ...215 ...
Page 282: ...282 Step 2 Fill in the form as required and then click on Create Account button ...
Page 284: ...284 Step 5 Click on login Step 6 Click My Services after logging in ...
Page 285: ...285 Step 7 Click Add New Hostname Step 8 Please click on Add Dynamic DNS Host ...


