©
Copyright Qvis Labs. All software and documentation rights reserved.
Manual updated February 2016
26
Schedule
(continued)
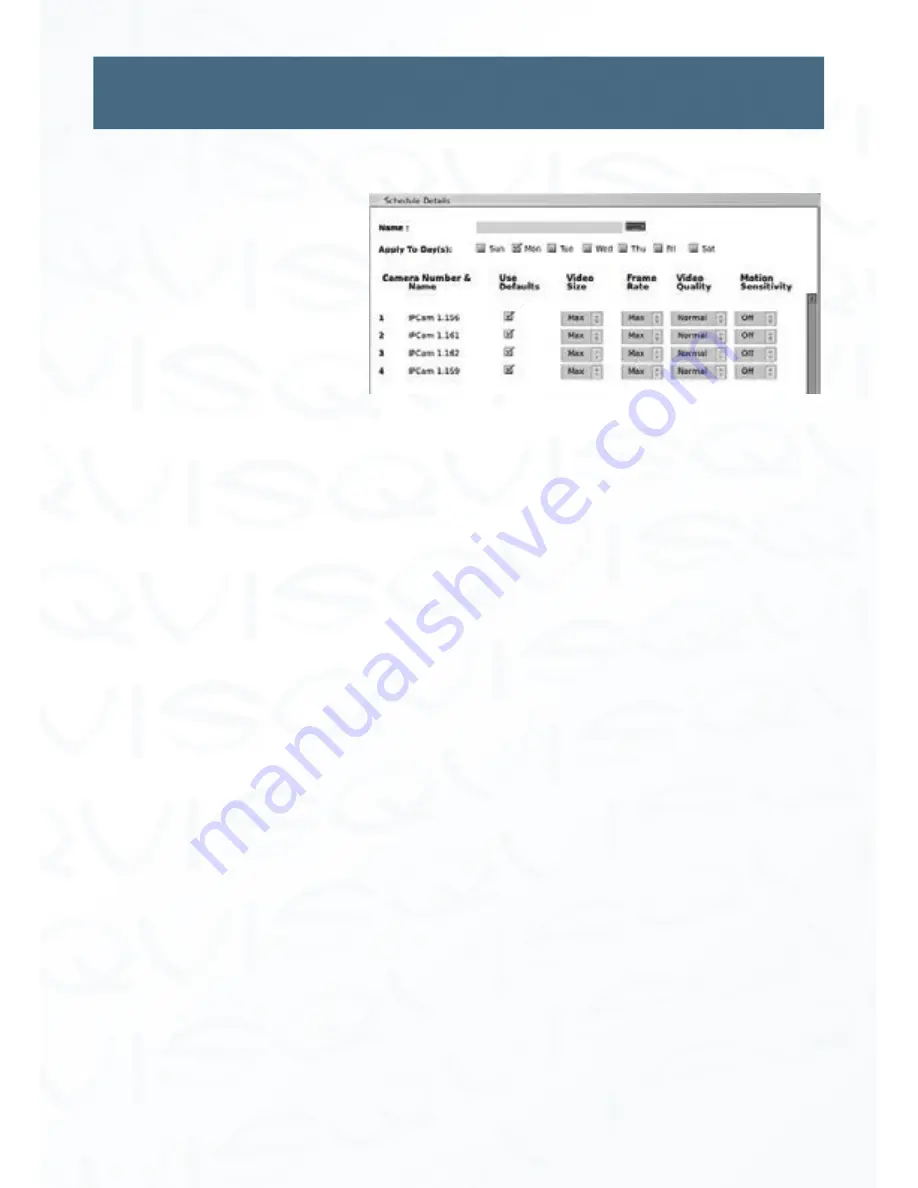
This brings up the Schedule Details window, which allows customization of this particular
scheduling
‘block’
.
Schedule Details options for
IP cameras:
Name:
Input the name of the particular block, in order to distinguish it from
any other scheduling blocks (i.e. -
“Weekdays After Closing”).
Apply to Day(s):
This series of check boxes allows for duplication of this scheduling
block over multiple days of the week. Simply click the box to apply
the newly created block to that day.
Displayed Name:
This is the user-assigned name of the numbered camera. By default
this is
Camera 1, Camera 2,
etc.
Use Defaults:
When the box is checked for the associated
IP camera
; Video Quality
set to ‘Normal’, and Motion Sensitivity set to ‘Off’. Video Size and
Frame Rate will be set to ‘Max’ regardless.
If this box is unchecked, the following four options become editable:
Video Size:
By clicking the drop down menu to the right of this value, the
resolution of the recorded video can only be set to
Max
.
Frame Rate:
By clicking the drop down menu to the right of this value, the frame
rate of the recorded video can be changed. The default value for
PAL
is
25fps
. The default value for
NTSC
is
30fps
.
Video Quality:
By clicking the drop down menu to the right of this value, the
quality of the recorded video can be changed to
Fair, Good,
Normal, Better, and Best
. The default value is
Normal.
Motion Sensitivity:
By clicking the drop down menu to the right of this value, the
motion sensitivity setting of the associated camera can be
changed to
Min, Med, Max,
or
Off
. The default value is
Off
.


