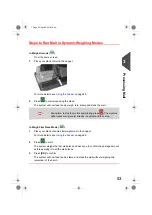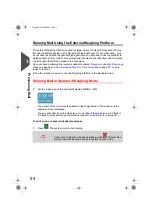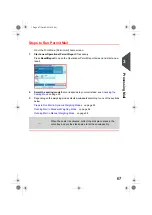
Steps to Run Mail in Differential Weighing Modes
In Differential Weighing Mode (
)
From the home screen:
1.
Select the weighing mode, place the stack of mail (or container) on the Weighing
Platform, then follow the instructions on the screen or the steps below.
2.
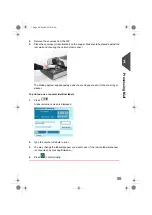
Remove the first piece of mail from the top of the stack. The Mailing System displays
the weight and postage, then automatically starts the Feeder and machine motors.
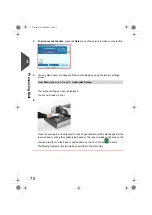
3.
To print directly on the envelope, place the envelope on the hooper. Mail should be
placed against the rear wall and covering the optical (clear) sensor.
4.
If the mail piece is too thick or too large to process through the machine, press
to print a label. See
on page 341.
5.
Repeat the previous steps for each piece of mail.
To quit at any time, press
Back
.
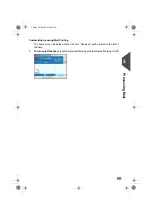
In Differential Weighing Auto-Tape Mode (
)
You may change the label dispenser (if you have the option remote label dispenser
installed) from the Differential weighing auto-tape screen. Then:
1.
Select the weighing mode, place the stack of mail (or container) on the Weighing
Platform, then follow the instructions on the screen or the steps below.
2.
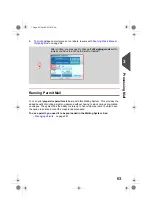
Remove the first piece of mail from the top of the stack. The Mailing System displays
the weight and postage then prints the label automatically.
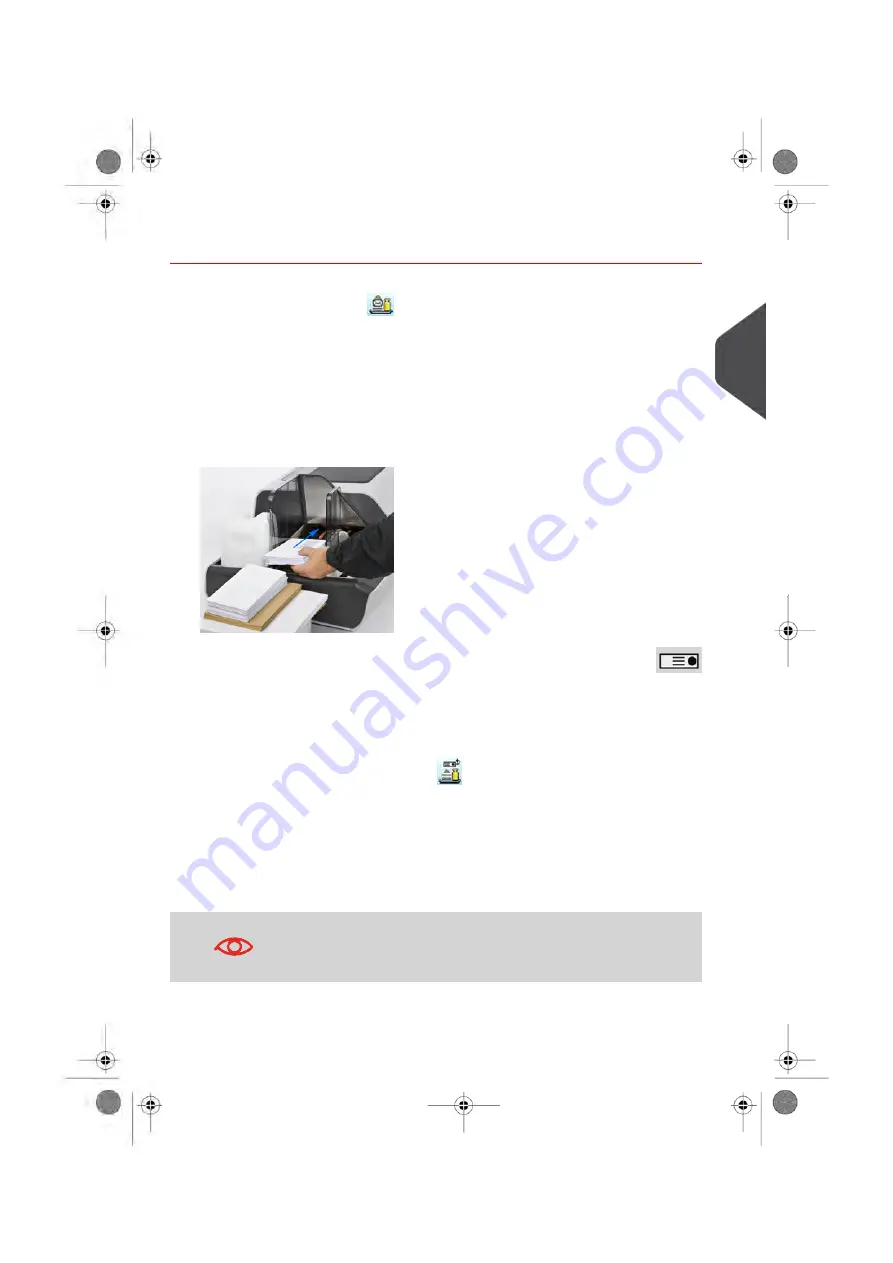
If you inadvertently remove more than one item from the WP,
replace removed items before the weight stabilizes
in order to
avoid printing the label (about 1.5 seconds).
3
Processing
57
| Page 57 | Oct-05-2016 10:44 |
Summary of Contents for IS-5000
Page 1: ...User Guide IS 5000 Mailing Systems with iMeterTM Postage Meter User Guide ...
Page 5: ... Page 4 TOC Oct 05 2016 10 44 ...
Page 7: ......
Page 13: ......
Page 15: ......
Page 35: ......
Page 106: ...5 Adjust the high stack guide 3 Processing Mail 101 Page 101 Oct 05 2016 10 44 ...
Page 117: ......
Page 123: ...4 e ...
Page 205: ......
Page 219: ......
Page 223: ......
Page 250: ...Geodesic map 8 Configuring the System 245 Page 245 Oct 05 2016 10 44 ...
Page 251: ...Geodesic codes 246 Page 246 Oct 05 2016 10 44 8 Configuring the System ...
Page 279: ......
Page 281: ......
Page 301: ......
Page 321: ......
Page 335: ......
Page 337: ......
Page 341: ...Base Stacker Power 336 Page 336 Oct 05 2016 10 44 12 System Specifications ...
Page 363: ...4146016R h 07 11 2019 ...
Page 364: ...4146016R h 07 11 2019 ...


