58
Basic playback
05
Playing a USB device
It is possible to play files using the USB interface on the front of this receiver.
!
Compatible USB devices include external magnetic hard drives, portable flash memory drives (particularly key
drives) and digital audio players (MP3 players) of format FAT16/32.
!
Pioneer cannot guarantee compatibility (operation and/or bus power) with all USB mass storage devices and
assumes no responsibility for any loss of data that may occur when connected to this receiver.
1 Press
u
STANDBY/ON to switch on the receiver and your TV.
See
Connecting a USB device
on
page 45
.
About one minute is required between turning the power on and completion of startup.
!
Make sure the receiver is in standby when disconnecting the USB device.
2 Press iPod USB on the remote control to switch the receiver to the iPod/USB.
When the display shows the names of folders and files, you’re ready to play from the USB device.
Note
If an
Over Current
message lights in the display, the power requirements of the USB device are too high for this
receiver. Try following the points below:
!
Switch the receiver off, then on again.
!
Reconnect the USB device with the receiver switched off.
!
Use a dedicated AC adapter (supplied with the device) for USB power.
If this doesn’t remedy the problem, it is likely your USB device is incompatible.
Playing back audio files stored on a USB memory device
The maximum number of levels that you can select in Step 2 (below) is 9.
!
Note that non-Roman characters in the playlist are displayed as #.
1 Use
i
/
j
to select a folder, then press ENTER to browse that folder.
!
To return to the previous level any time, press
RETURN
.
2 Continue browsing until you arrive at what you want to play, then press
d
to start
playback.
!
Copyrighted audio files cannot be played back on this receiver.
!
DRM-protected audio files cannot be played back on this receiver.
!
On the playback screen, pressing
RETURN
displays a list screen. To return to the playback screen, press
DISP
.
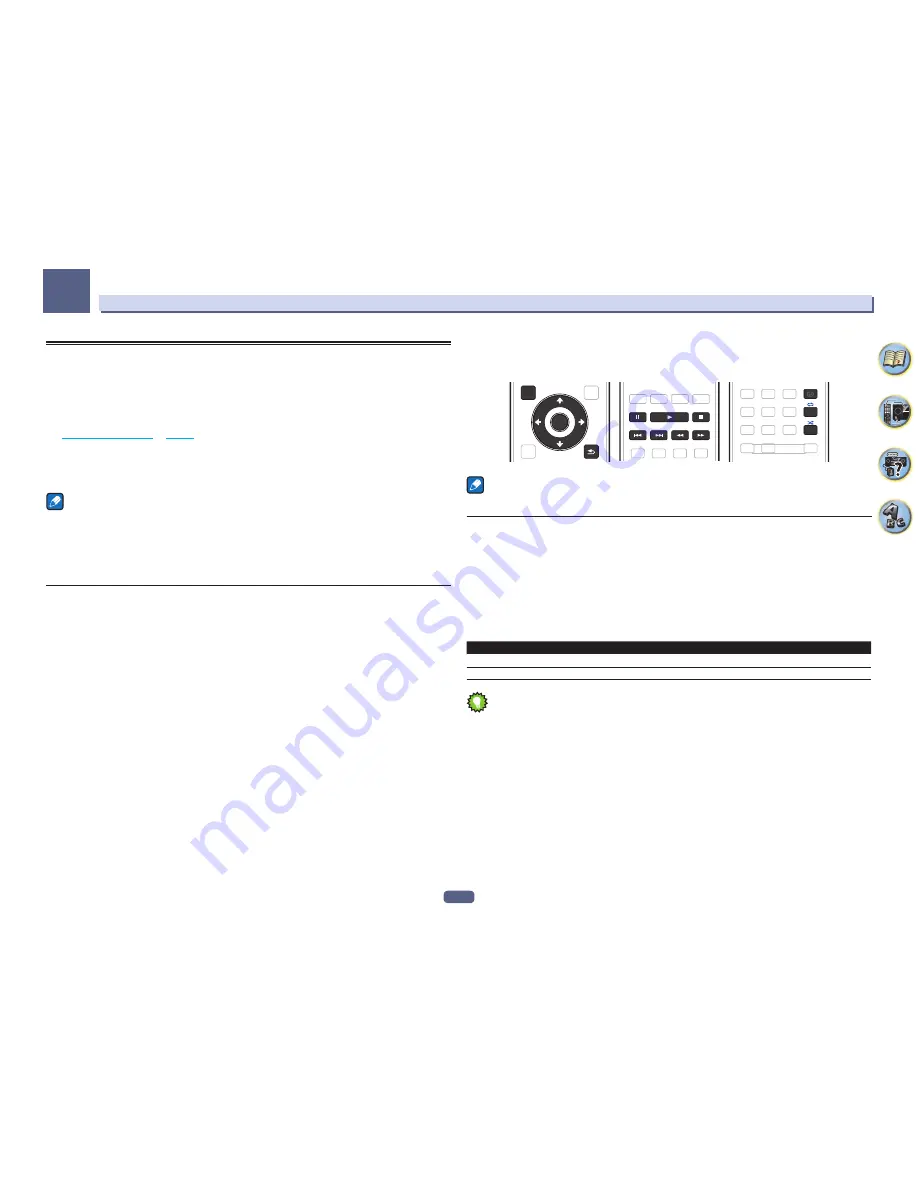
Basic playback controls
This receiver’s remote control buttons can be used for basic playback of files stored on USB memory devices.
!
Press
iPod USB
to switch the remote control to the iPod/USB operation mode.
TOP
MENU
RETURN
ENTER
HOME
MENU
DISP
Note
While a DSD file is being played,
m
and
n
are disabled.
Playing back photo files stored on a USB memory device
!
Photo files cannot be played in the sub zone.
1 Use
i
/
j
to select a folder, then press ENTER to browse that folder.
!
For high resolution files, some time may be required for the photo to appear.
!
To return to the previous level any time, press
RETURN
.
2 Continue browsing until you arrive at what you want to play, then press ENTER to start
playback.
The selected content is displayed in full screen and a slideshow starts.
Basic playback controls
Button(s)
What it does
ENTER
,
d
Starts displaying a photo and playing a slideshow.
g
Stops the player and returns to the previous menu.
Tip
Slide shows of photo files can be played while listening to music files by returning to the folder/file list display
while playing a music file on a USB device and then playing the photo files. At that time, select music files with a
sampling frequency of 48 kHz or less.
Summary of Contents for Elite SC-87
Page 1: ...Operating Instructions AV Receiver SC 87 SC 89 ...
Page 13: ...13 Remote control 14 Display 16 Front panel 17 Controls and displays ...
Page 142: ...Dolby Atmos Home Theater Installation Guidelines September 2014 ...
Page 157: ... 16 Figure 8 Standard 5 1 2 setup with overhead speakers ...
Page 158: ... 17 Figure 9 Standard 5 1 2 setup with Dolby Atmos enabled speakers ...
Page 159: ... 18 Figure 10 Standard 5 1 4 setup with overhead speakers ...
Page 160: ... 19 Figure 11 Standard 5 1 4 setup with Dolby Atmos enabled speakers ...
Page 161: ... 20 Figure 12 Standard 7 1 2 setup with overhead speakers ...
Page 162: ... 21 Figure 13 Standard 7 1 2 setup with Dolby Atmos enabled speakers ...
Page 163: ... 22 Figure 14 Standard 7 1 4 setup with overhead speakers ...
Page 164: ... 23 Figure 15 Standard 7 1 4 setup with Dolby Atmos enabled speakers ...
Page 165: ... 24 Figure 16 Standard 9 1 2 setup with overhead speakers ...
Page 166: ... 25 Figure 17 Standard 9 1 2 setup with Dolby Atmos enabled speakers ...
Page 188: ......


