165
14.4.2. Image Defects
Problem
Cause
Solution
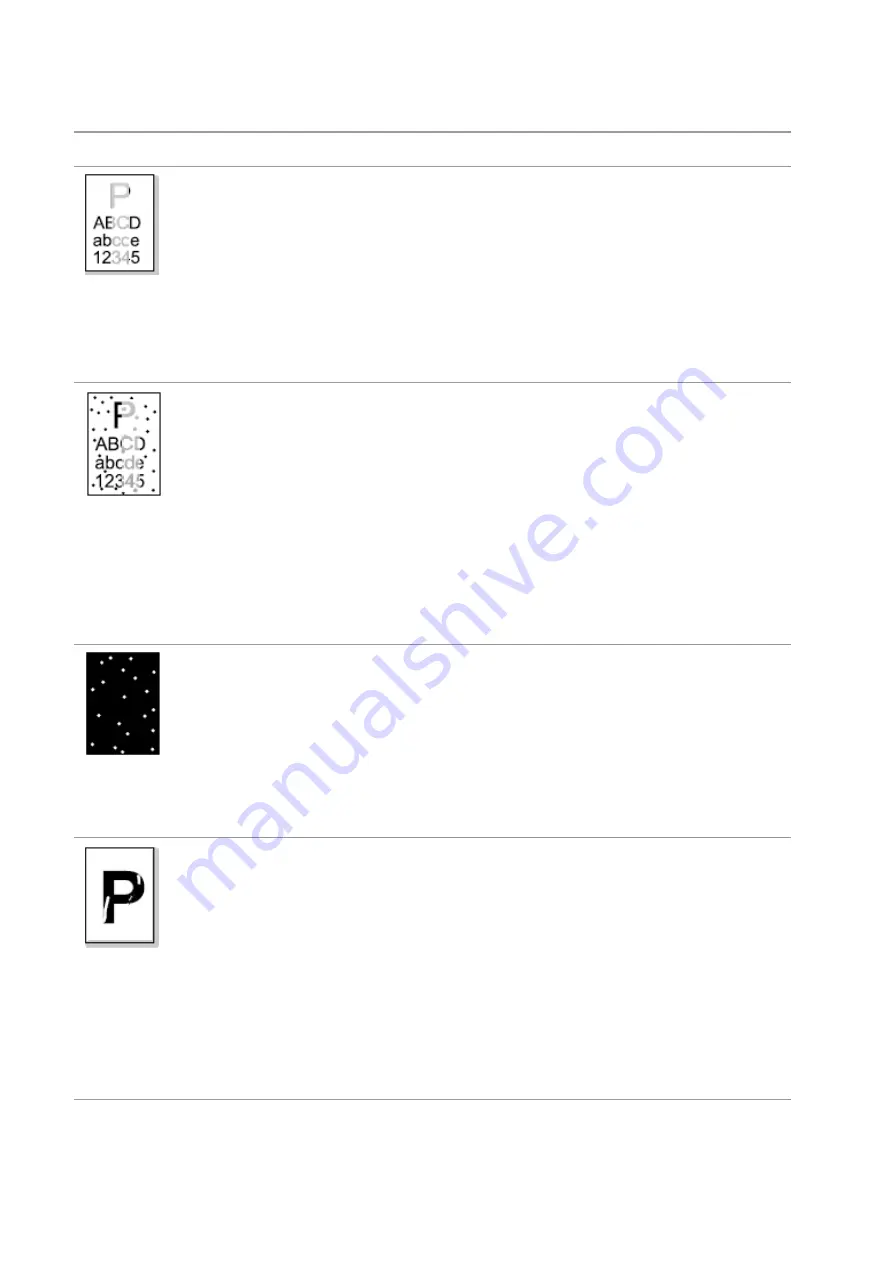
The printout is
whitish or light
• The print media does not meet the
usage specifications, for
example the media is damp or too
rough.
• The resolution in the print program is
set too low, concentration setting is too
low, or toner saving mode is ticked.
• Toner cartridge is damaged.
• Toner is low.
• Please use proper print
media
within the specification range.
• Set the resolution and
concentration setting of program, or
cancel ticking the save toner mode.
• It is suggested to replace the
original toner cartridge.
Toner spots
• Dirty toner cartridge or toner leakage.
• Toner cartridge is damaged.
• The print media that does not meet
usage specification is used. For
example, the media is damp or too
rough.
• The paper path is dirty.
• If toner spots appear when copying
and scanning, the platen glass may be
dirty.
• The scanner is dirty or damaged.
• It is suggested to replace the
original toner cartridge.
• Please use the print media within
the specification range.
• Clean the paper path.
• Clean the platen glass.
White spots
• The print media that does no
t meet
usage specification is used. For
example, the media is damp or too
rough.
• The paper path is dirty.
• Inner damage of toner cartridge.
• The reflective glass of the laser inside
the printer is dirty.
• Please use the print media within
the specification range.
• Clean the paper path.
• It is suggested to replace the
original toner cartridge.
• Please clean the LSU lens.
Toner comes off
• The print media that does not meet
usage specification is used. For
example, the media is damp or too
rough.
• The printing paper medium set and
paper medium placed are not
consistent.
• The inside of the printer is dirty.
• Toner cartridge is damaged.
• The parts inside the printer are
damaged.
• Please use printing medium within
the specification scope, and use
manual feed tray for printing in case
of special medium.
• Please print with corresponding
paper medium.
• Clean the inside of the printer.
• It is suggested to replace the
original toner cartridge.
Summary of Contents for BM5100FDN Series
Page 89: ...76 6 Single click OK to finish printing setup Click Print to realize auto duplex printing...
Page 146: ...133 6 Open the auto feed tray and wipe the pickup roller gently with dry lint cloth...
Page 159: ...146 2 Gently pull the jammed paper out 3 Install paper tray...
Page 163: ...150 3 Open the fuser door using the handles on both sides 4 Gently pull the jammed paper out...
Page 187: ......


