106
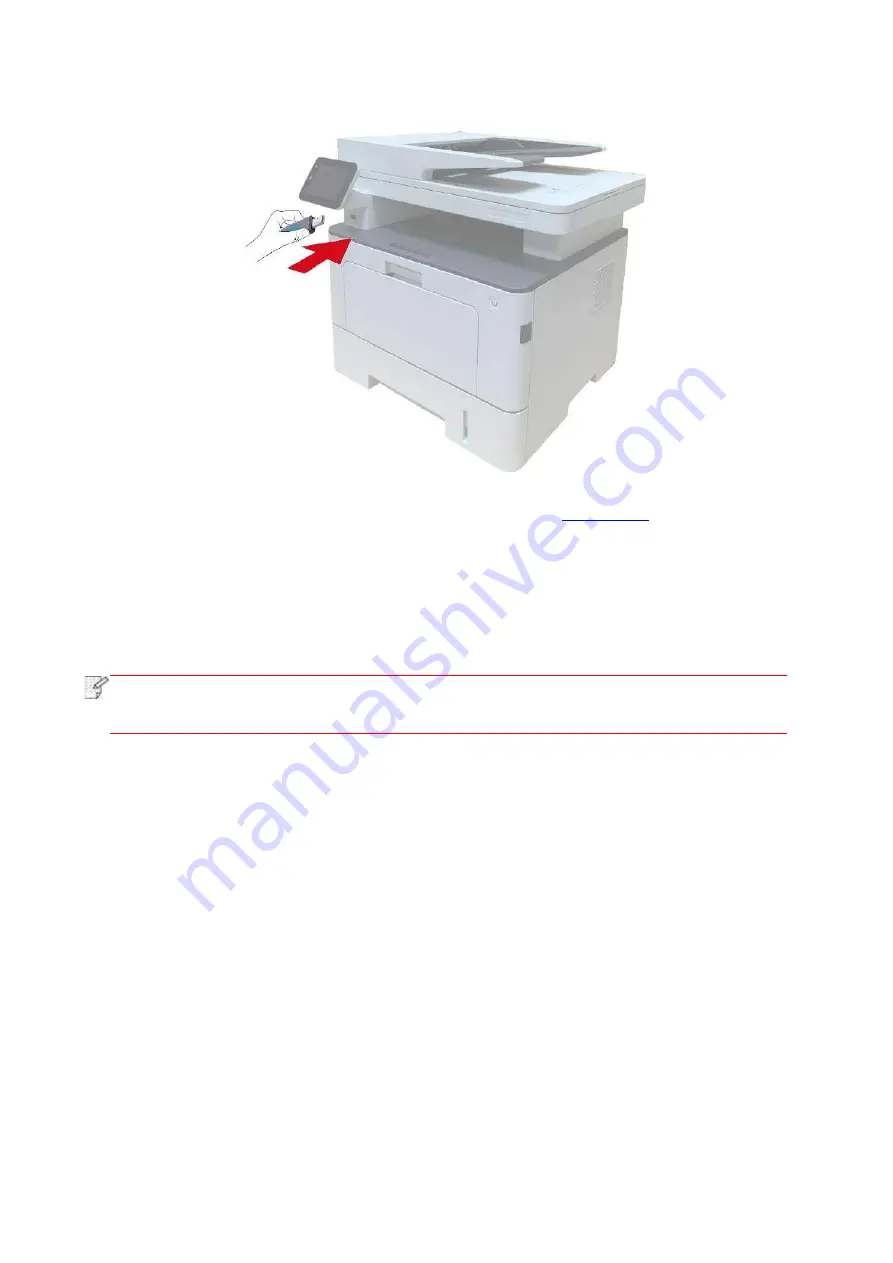
1. Insert the USB into the printer
’
s front USB interface.
2. Put an original on the glass platen or into the ADF (please see
original).
3. Click “Scan
-
Scan USB” in printer cont
rol panel.
4. Select proper scan setting, click “Scan” button to make a scan.
The printer will create a folder named PantumScan in which all scanned files are saved in PDF or
JPG.
Note:
• USB formats supported: FAT and FAT32 for Windows system and MS
-DOS (FAT) for
macOS system.
Summary of Contents for BM5100FDN Series
Page 89: ...76 6 Single click OK to finish printing setup Click Print to realize auto duplex printing...
Page 146: ...133 6 Open the auto feed tray and wipe the pickup roller gently with dry lint cloth...
Page 159: ...146 2 Gently pull the jammed paper out 3 Install paper tray...
Page 163: ...150 3 Open the fuser door using the handles on both sides 4 Gently pull the jammed paper out...
Page 187: ......


