142
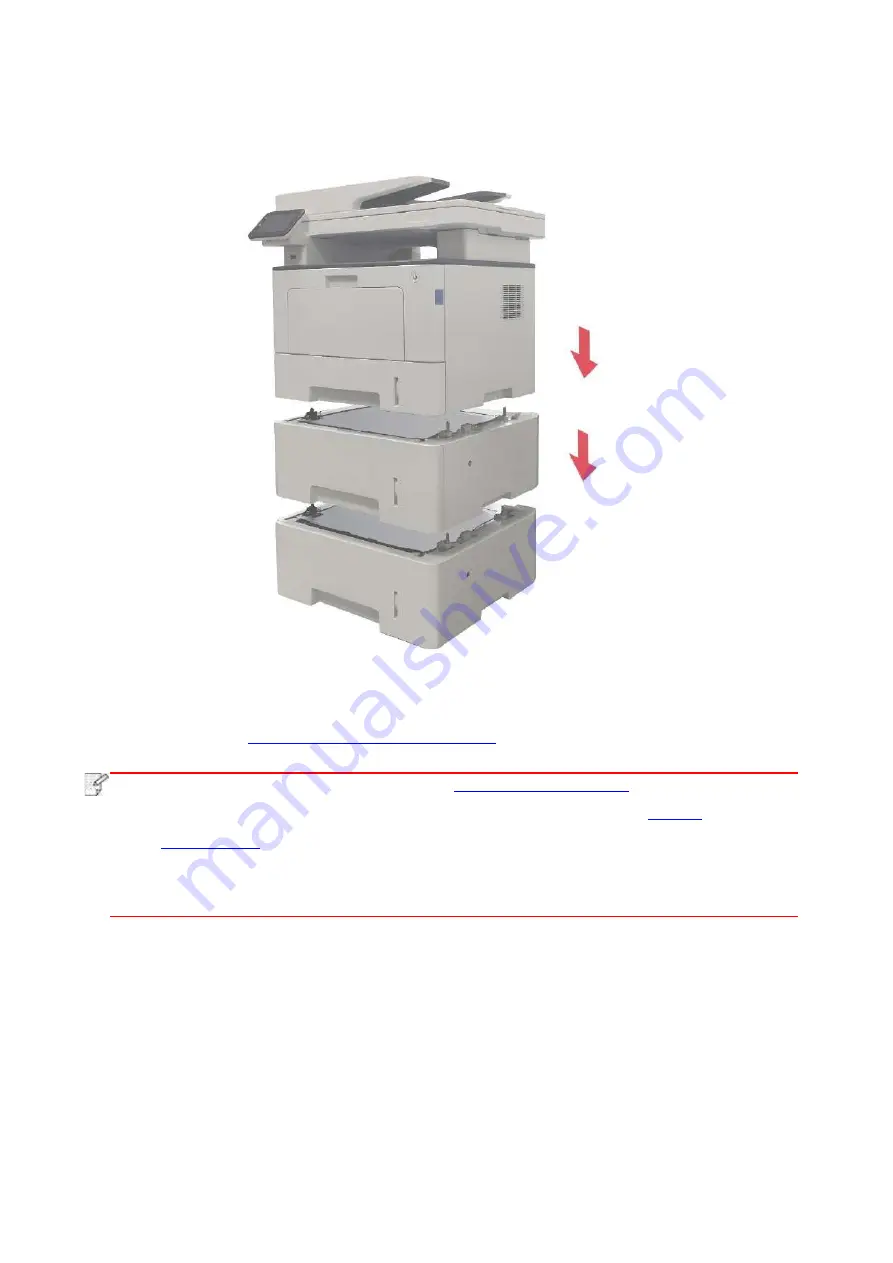
4. Make sure the printer body and optional trays are placed correctly, as shown in the figure
below.
5. Plug the power cord into the printer and turn on the power.
After installing the optional tray, you need to update the printer status again (For how to update
the printer status, see
“Updating the optional tray status”
) .
Note
:
• For precautions on loading paper, see
• For the type of media to be printed with the optional tray, see the
• For t
he installation of optional trays, please refer to the Installation Guide supplied with
the optional trays.
Summary of Contents for BM5100FDN Series
Page 89: ...76 6 Single click OK to finish printing setup Click Print to realize auto duplex printing...
Page 146: ...133 6 Open the auto feed tray and wipe the pickup roller gently with dry lint cloth...
Page 159: ...146 2 Gently pull the jammed paper out 3 Install paper tray...
Page 163: ...150 3 Open the fuser door using the handles on both sides 4 Gently pull the jammed paper out...
Page 187: ......


