X - R i t e e X a c t 2
56
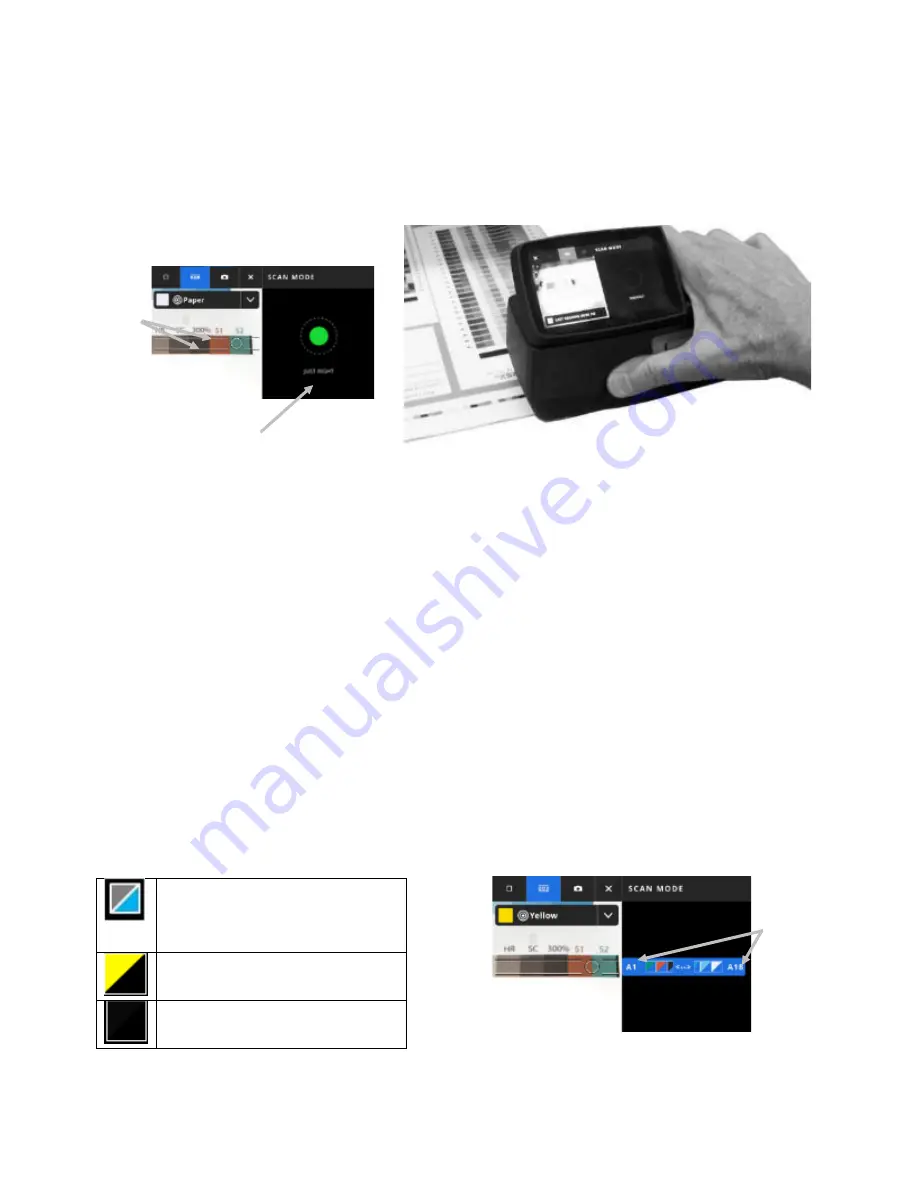
7. Viewing the targeting screen, position the circle (reticle) (6) in the targeting window over the first patch of the
color bar.
8. Press and hold the Measure button and roll the device across the color bar in one continuous motion without
stopping.
9.
NOTE
: Use the black guidelines (7) in the targeting window to align device over the color bar during the
scan, while viewing the device display for scan speed indication (8). See below for details.
10. When the last patch is passed release the Measure button.
11. After a successful measurement of the color bar, the measurement results are displayed. The individual
patch values are stored in the device as spot measurements.
12. Continue with additional scans as indicated for the job.
Scan Speed Indication
The right side of the screen provides feedback on your scanning speed. Scanning the color bar too fast or too
slow for an extended period of time may produce inaccurate measurement results. Always try to maintain a
steady scanning speed as much as possible for best results. The following text descriptions are displayed during
a scan.
Just Right (green):
Indicates the correct speed is being used.
Too Slow (blue):
Indicates the scan speed is too slow and needs to be increased.
Too Fast (red):
Indicates the scan speed is too fast and needs to be reduced.
NOTE
: Ideal scan speed depends on the aperture size of the instrument and the size of the measured patches.
Color Bar/Patch Screen Details
Each color bar displays the row letter and numbers i.e., A1 – A18 (1). If the color bar contains more than 6
patches, then only the three patches on each end will be visible, separated by an ellipsis (…). The highlighted
strip indicates what color bar will be measured next.
Displays simulated colors for
standard and sample patches. The
sample patch is located in the
lower-right corner.
This patch would indicate that no
sample was measured.
This patch would indicate that no
standard was provided.
(7)
(8)
(1)
Summary of Contents for X-Rite eXact 2
Page 1: ...User Guide ...
Page 2: ......


