X - R i t e e X a c t 2
12
LED Charging Indicators
Indicator LEDs are located on the device (5) and the docking station (4). The LEDs show the different charging
stati of the battery.
Device LED
The indicator (2) is located on the back of the device.
Orange
: Battery is charging.
Green
: Battery is fully charged.
Red (flashing):
Device error, for example charging attempt without battery
Docking Station LED
The indicator (4) is located on the side of the docking station. When you position the device on the docking
station the LED starts to pulse blue. This indicates that the device is properly seated and charging.
Blue (flashing)
: Battery is charging.
Blue (solid)
: Battery is fully charged. The wireless charger is suspended for 20 minutes. The device LED turns
off.
Red (solid)
: Foreign object detected.
Connecting the USB Cable
IMPORTANT:
You must install the software driver before connecting the device to your computer.
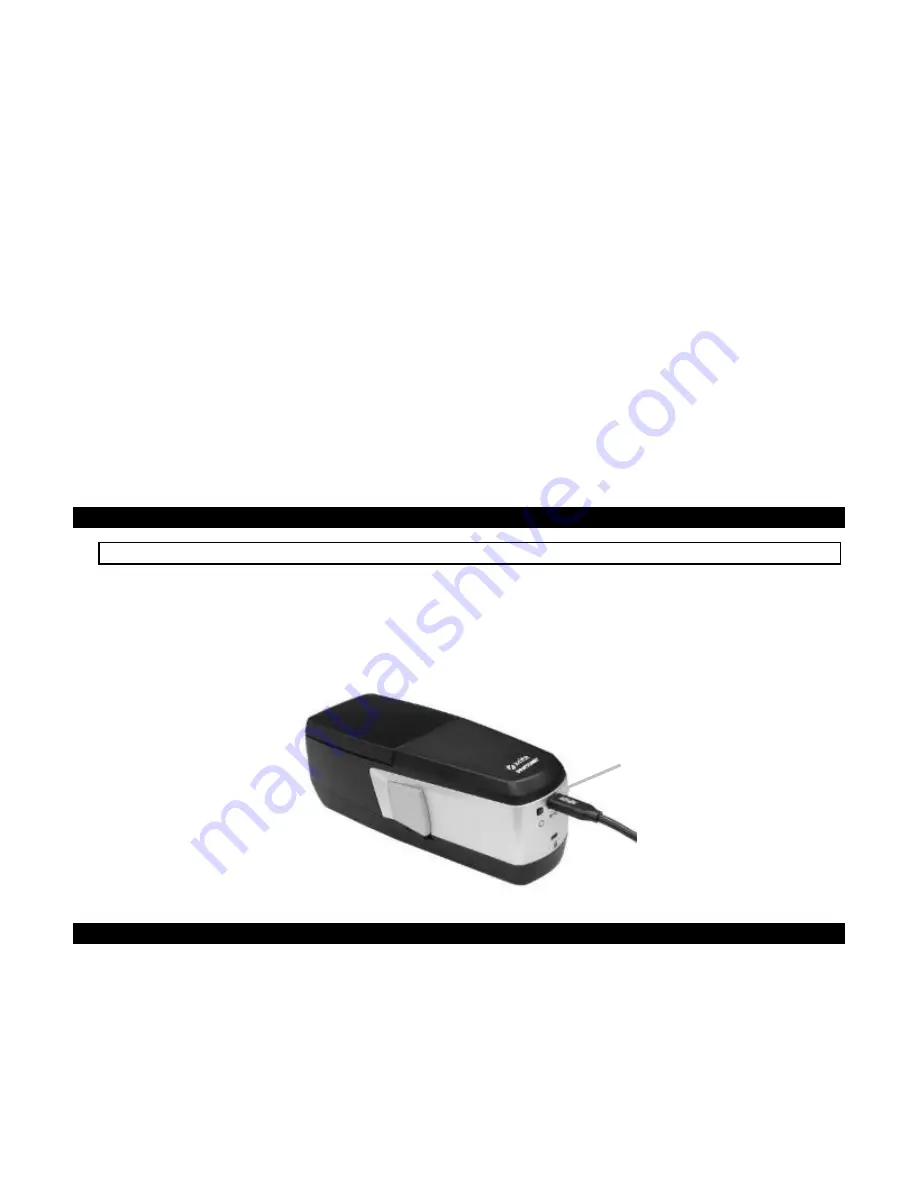
The device communicates with the eXact 2 Suite software through a type USB-C cable or over a Wi-Fi
connection (if applicable). Refer to the Wi-Fi Wireless Mode section for more information.
1. Install the eXact 2 Suite if not already installed. Refer to the eXact 2 Suite section for more information.
2. Plug the USB-C plug of the supplied USB cable into the back of the device (1).
3. Plug the USB cable into an available port on your computer.
Media Flattener
The media flattener is used to hold media flat on dry ink samples (i.e., flexo) during measurements. Do not use
the media flattener when measuring wet inks (i.e., offset) samples.
Using the Media Flattener
1. Using your finger, pull out on the looped end (1) of the media flattener until it stops.
(1)
Summary of Contents for X-Rite eXact 2
Page 1: ...User Guide ...
Page 2: ......


