To print the remaining documents from the unit
1.
Press
MEN
repeatedly to display
“
PROOF PRINT
”
.
A
M
OK
N
2.
Press
MCN
or
MDN
repeatedly to select the desired
computer’s name.
A
M
OK
N
3.
Press
MCN
or
MDN
repeatedly to select the desired
printer job.
R
If your computer is not active, jobs are not
displayed.
4.
Press
MxN
to continue printing.
R
To cancel printing, press
MBN
A
M
OK
N
, and then
start again from the beginning.
11.9 USB Memory device
You can print files stored on a USB memory device and
save files to a USB memory device.
Note:
R
A mass storage class USB memory device (Format:
FAT12/FAT16/FAT32, sector size: 512 bytes) can be
used with this unit.
R
The following types of USB memory devices cannot
be used:
– NTFS formatted devices
– Multiple-LUN (Logical Unit Number) USB flash
memory device
– Multiple-partition USB flash memory device
– devices with a security/encryption feature
– devices with a built-in USB hub feature
Even if your USB memory is not these types, it may
not work with this unit.
R
If the USB flash memory device is connected via a
USB hub, the USB flash memory device will not be
recognised. Do not connect via a USB hub.
R
To re-connect a USB memory device, make sure to
fully remove the USB memory device before
connecting it again.
R
Up to approximately 10 MB of free space may be
required for each scanned page.
R
To assure continued emission limit compliance:
– use only USB memory that complies with EMC
standards (Example: CE, FCC)
File folder in a USB memory device
When you save files into the USB memory device, the
following folder is made on the USB memory device.
USB:/(Unit name)/IMAGE/XXXXXXXX
(“XXXXXXXX” is the last 8 digits of the MAC address.)
Important:
R
Do not remove the USB memory device or turn
the power switch off while reading or writing data.
This could damage the unit or corrupt the file.
R
Be sure to make a backup copy of the data.
R
We are not responsible for any damages incurred
to your USB memory device resulting from
corrupted, or lost data.
R
When disposing or giving away the USB memory
device, we recommend to erase the stored data.
The data that is stored on a USB memory device
is the sole responsibility of you, the customer.
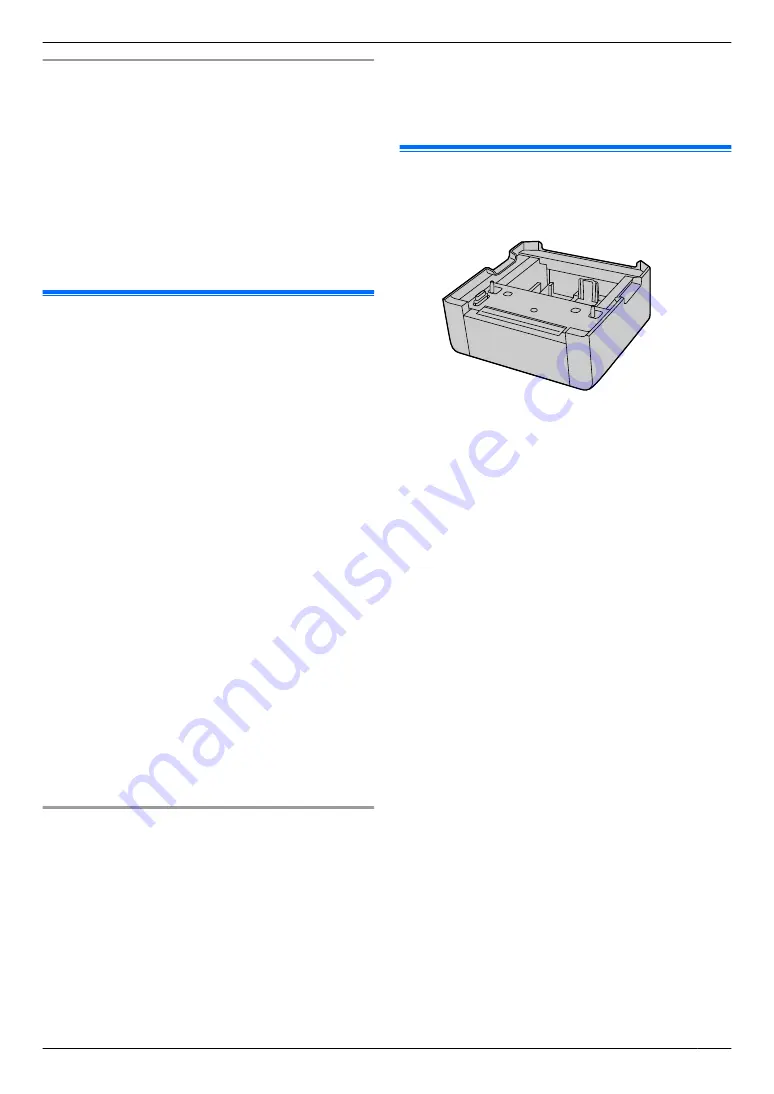
11.10 Lower input tray (optional)
You can add a lower input tray. See page 13 for
accessory information.
For number of sheets the unit can load, see page 136.
R
The unit is set for printing A4-size plain paper by
default.
–
To use other paper sizes, change the
recording paper size setting (feature #382 on
page 72).
–
To use other paper types, change the
recording paper type setting (feature #385 on
page 72).
Important:
R
Before starting installation of the lower input tray,
be sure to unplug the power cord from the unit.
R
After installation, you can select the lower input
tray to be used for the following:
–
Paper input tray setting for lists and reports
printing (feature #390 on page 72).
–
Paper input tray setting for faxing (feature
#440 on page 78).
–
Paper input tray setting for copying (feature
#460 on page 80).
–
Paper input tray for PCL (feature #760 on
page 81).
R
To use the lower input tray with your computer,
you need to change the printer properties. See
page 102 for details.
101
11. Useful Information
Summary of Contents for DP-MB311EU
Page 144: ...PNQX7191ZA D0215HH0 ...


