


On-Net Surveillance Systems, Inc.
NetDVMS 6.5f User Manual
Input, Events & Output
156
3.
In the Add New Output window, the External output connected to field will show the name of
the selected camera or other device.
Now specify information in the following fields:
•
Output connected on: Select the camera/device output port on which the output
unit is connected. Many cameras/devices only have a single output port; in that case
simply select Output 1.
•
Keep output for: Specify the amount of time for which the output should be active
when triggered, in either 1/10 seconds or seconds.
Note: Some devices are only able to apply outputs for a relatively short time, for
example max. five seconds. Refer to the documentation for the device in question for
exact information.
•
External output name: Specify a name for the output. The name will appear on the
button/list with which users will be able to manually trigger the output. Note that
output names must not contain the following characters: < > & ' " \ / : * ? | [ ]
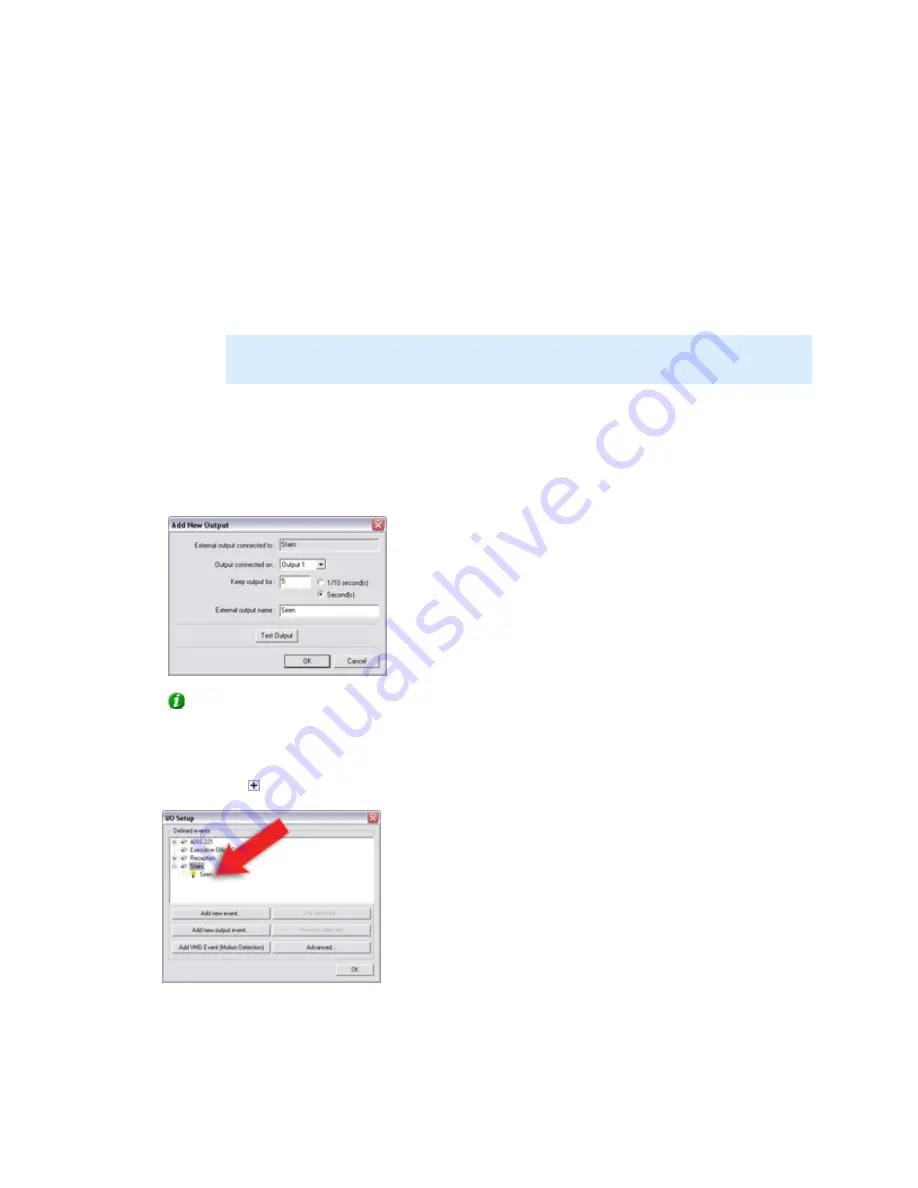
In the following example, we have specified that a siren connected on a camera's Output 1
port should sound for five seconds when triggered:
Tip: You are able to test the output by clicking the Test Output button.
When ready, click OK. This will return you to the I/O Setup window.
4.
In the I/O Setup window, your newly defined output is now listed (you may have to click the
expand icon in front of the name of the camera or other device to see the listing):
Click OK to close the I/O setup window and return to the Administrator window.
5.
In the Administrator window, first select the camera for which the output should be available,
then click the Settings... button.


