Make a copy and remove a strip
Introduction
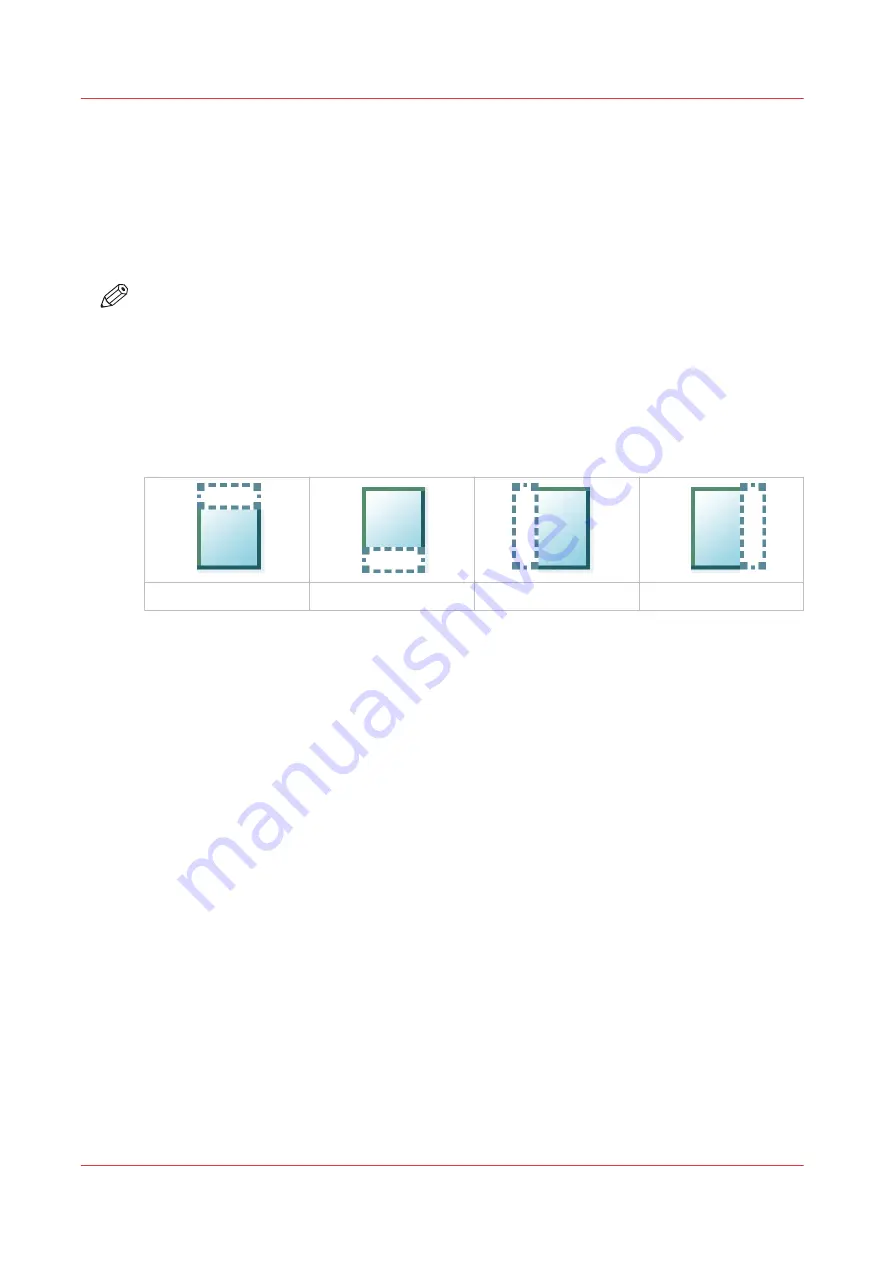
When you have an original with a strip, you can remove the strip from your copy.
Use the option on the user panel to copy an original with a strip, and remove the strip from the
copy. You can remove a strip from the top, the bottom, the left or the right side of the original.
NOTE
• For more information on the cut size settings, see
Preset category:Layout on page 170
• You can also use this setting to copy a specific area of the original. For more information, see
Make a copy of a specific area of an original on page 181
.
Procedure
1.
Feed the original face up and centered on the original feeding table.
2.
Tap the copy tile. A window with a list of presets opens.
3.
Tap [Show all settings]. A list with settings opens.
The [Top] strip
The [Bottom] strip
The [Left] strip
The [Right] strip
4.
Tap [Remove strip] under the [Layout] preset.
5.
Select [Top], [Bottom], [Left], or [Right] and define the values.
6.
Make your settings and tap [OK].
7.
Define the number of copies and tap the green button.
Make a copy and remove a strip
180
Chapter 4 - Use the Printing System
Summary of Contents for plotwave 345
Page 1: ...Operation guide Oc PlotWave 345 365...
Page 4: ......
Page 10: ...Contents 10...
Page 11: ...Chapter 1 Introduction...
Page 16: ...Available documentation 16 Chapter 1 Introduction...
Page 17: ...Chapter 2 Get to Know the Printing System...
Page 40: ...The cloud 40 Chapter 2 Get to Know the Printing System...
Page 41: ...Chapter 3 Define your Workflow with Oc Express WebTools...
Page 137: ...Chapter 4 Use the Printing System...
Page 208: ...Clear the system 208 Chapter 4 Use the Printing System...
Page 209: ...Chapter 5 Maintain the Printing System...
Page 250: ...Calibrate the scanner 250 Chapter 5 Maintain the Printing System...
Page 251: ...Chapter 6 License Management...
Page 257: ...Chapter 7 Account Management...
Page 264: ...Workflow on the printer 264 Chapter 7 Account Management...
Page 265: ...Chapter 8 Solve Problems...
Page 279: ...Chapter 9 Support...
Page 287: ...Chapter 10 Contact...
Page 299: ......


