Move and re-adjust the printing system
Introduction
When you move the printing system to a new location, you must check if it needs re-adjustment
to ensure the best output quality.
You need two tools for the adjustment procedure. You can find these tools behind the lower right
front cover.
Required tools
Allen key and Key wrench
IMPORTANT
• When the printer is connected, you must first switch off and disconnect the printer (see
off the printing system on page 213
Disconnect the network cable and the mains supply
• Close the media drawers.
NOTE
Be aware of the size of the printer working area (see
Working area (Footprint) on page 19
).
Procedure
1.
Release the wheel brakes and move the printing system to its new location.
2.
When the system is at the right place, lock the brakes.
3.
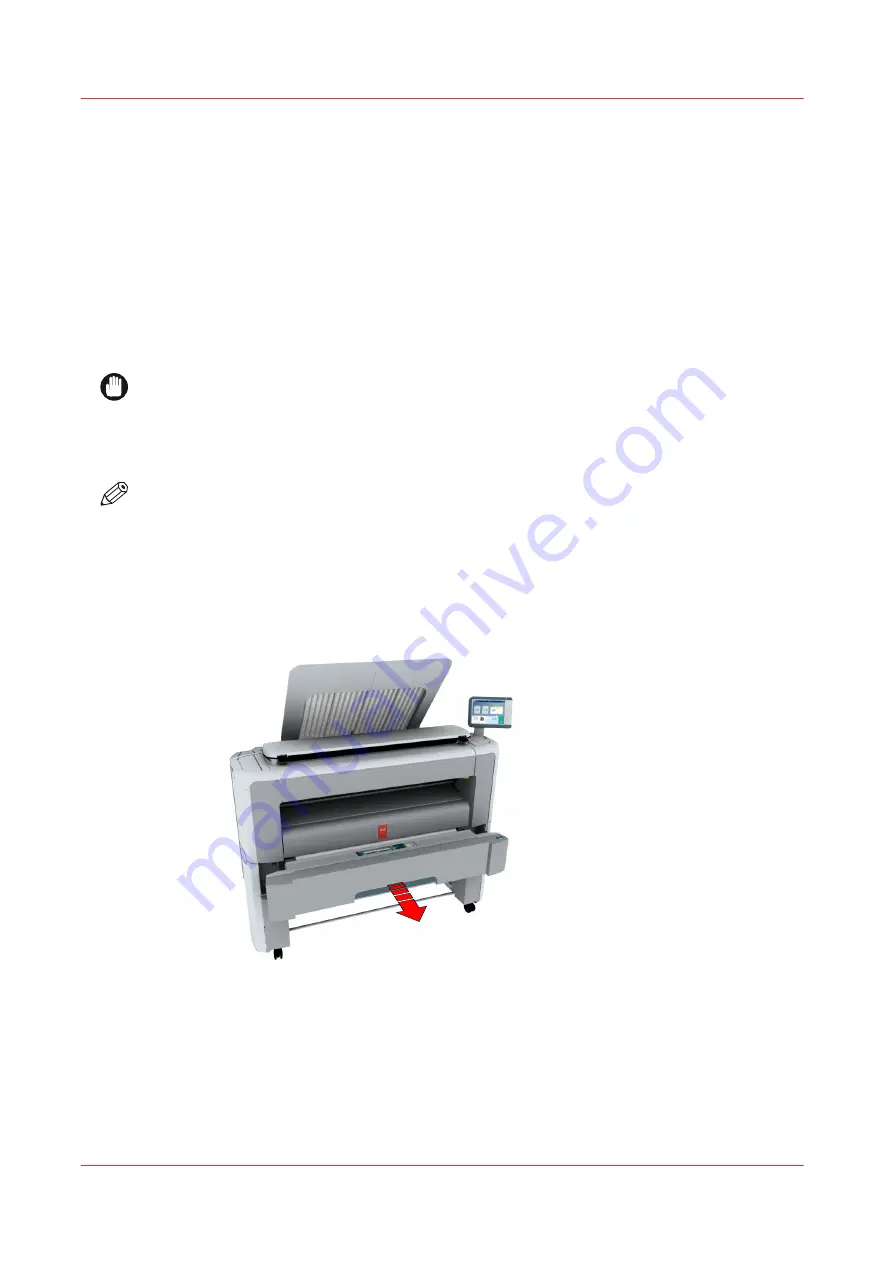
Pull firmly to open the media drawer.
Move and re-adjust the printing system
216
Chapter 5 - Maintain the Printing System
Summary of Contents for plotwave 345
Page 1: ...Operation guide Oc PlotWave 345 365...
Page 4: ......
Page 10: ...Contents 10...
Page 11: ...Chapter 1 Introduction...
Page 16: ...Available documentation 16 Chapter 1 Introduction...
Page 17: ...Chapter 2 Get to Know the Printing System...
Page 40: ...The cloud 40 Chapter 2 Get to Know the Printing System...
Page 41: ...Chapter 3 Define your Workflow with Oc Express WebTools...
Page 137: ...Chapter 4 Use the Printing System...
Page 208: ...Clear the system 208 Chapter 4 Use the Printing System...
Page 209: ...Chapter 5 Maintain the Printing System...
Page 250: ...Calibrate the scanner 250 Chapter 5 Maintain the Printing System...
Page 251: ...Chapter 6 License Management...
Page 257: ...Chapter 7 Account Management...
Page 264: ...Workflow on the printer 264 Chapter 7 Account Management...
Page 265: ...Chapter 8 Solve Problems...
Page 279: ...Chapter 9 Support...
Page 287: ...Chapter 10 Contact...
Page 299: ......


