Handling Paper (CS2436-6)
6. 3. 3.
Handling Paper > Handling sheets >
Printing From a Desired Starting Point
When printing inside boundaries or in other situations when you want to specify a particular position to start
printing from, set
Width Detection
to
Off
in the printer menu for the type of paper used.
Set Width Detection to Off
1.
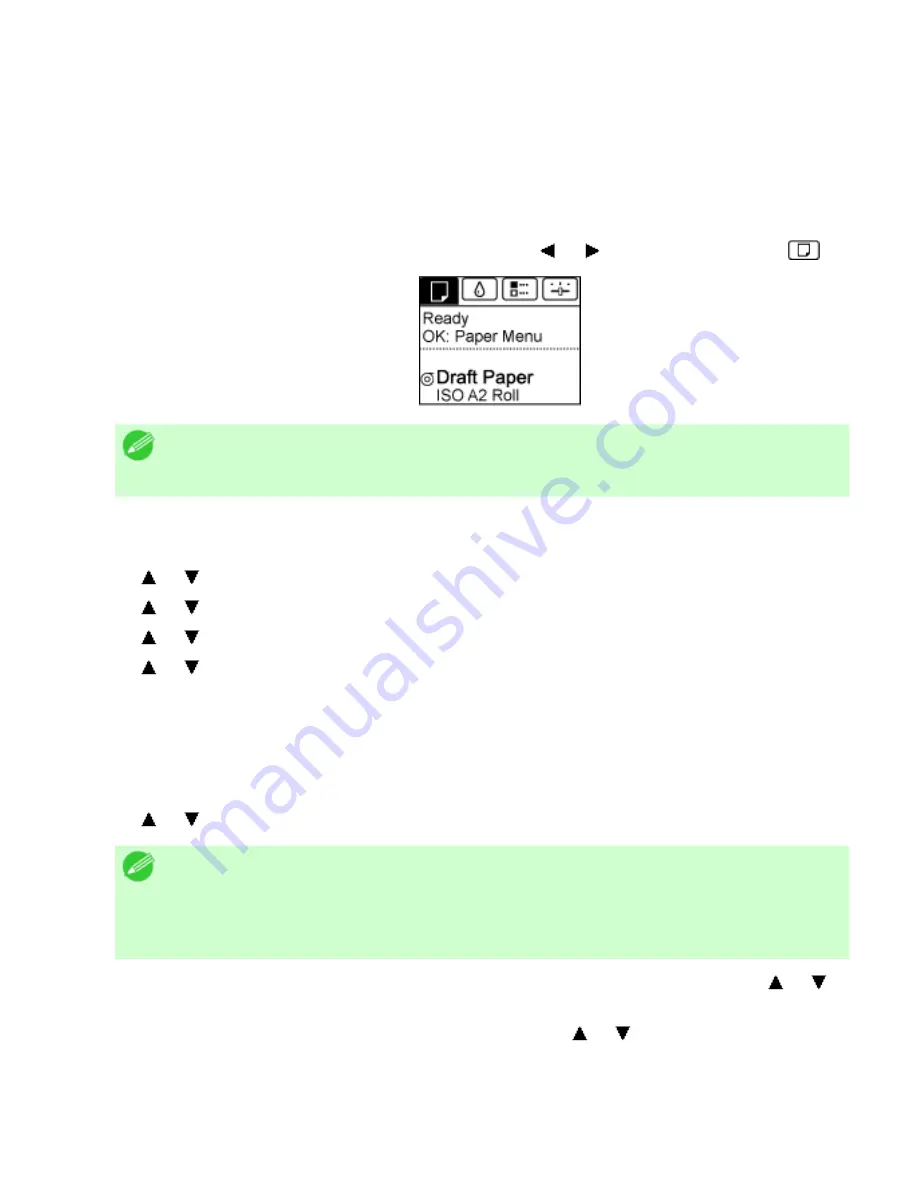
On the
Tab Selection screen
of the Control Panel, press or to select the Paper tab (
).
Note
・
If the
Tab Selection screen
is not displayed, press the
Menu
button.
2.
Press the
OK
button.
The
Paper Menu
is displayed.
3.
Press or to select
Paper Details
, and then press the
OK
button.
4.
Press or to select the type of paper, and then press the
OK
button.
5.
Press or to select
Width Detection
, and then press the
OK
button.
6.
Press or to select
Off
, and then press the
OK
button.
Load paper in the desired position to start printing from
Follow these instructions to load paper at the desired starting position for printing when
Width Detection
is
Off
.
1.
If you did not send a print job in advance, a menu for selection of the type of paper is displayed.
Press or to select the type of paper, and then press the
OK
button.
Note
・
If a print job was received before paper was advanced, the media type and size
specified by the job are shown on the Display Screen.
Thus, this screen is not displayed. Go to step 2.
2.
"
Width Detection OFF. OK to continue?
" is now shown on the Display Screen. Press or to select
"
Leave OFF
", and then press the
OK
button.
3.
After a menu for selection of the paper size is displayed, press or to select the paper size, and then
press the
OK
button.
4.
Open the Top Cover and check the position where paper is loaded.
file:///H|/ITC-dd/Projects/Ud/WFPS/oostende%205/...port/iPF750%20User%20Manual/lang/print/cp04.html (51 of 63) [4-3-2010 11:36:31]
Summary of Contents for CS2436
Page 11: ...Basic Printing Workflow CS2436 1 The printer now starts printing the print job...
Page 35: ...Working With Various Print Jobs CS2436 2...
Page 90: ...Enhanced Printing Options CS2436 3...
Page 188: ...Enhanced Printing Options CS2436 3 2 In the FineZoom Settings list click Yes...
Page 207: ...Enhanced Printing Options CS2436 3...
Page 276: ...Enhanced Printing Options CS2436 3...
Page 287: ...Windows Software CS2436 4 information for the printer driver...
Page 310: ...Windows Software CS2436 4...
Page 328: ...Windows Software CS2436 4...
Page 330: ...Windows Software CS2436 4 this option However printing may take longer for some images...
Page 337: ...Windows Software CS2436 4...
Page 339: ...Windows Software CS2436 4 Note You cannot cancel other users print jobs...
Page 367: ...Windows Software CS2436 4...
Page 370: ...Mac OS X Software CS2436 5...
Page 377: ...Mac OS X Software CS2436 5...
Page 380: ...Mac OS X Software CS2436 5...
Page 405: ...Mac OS X Software CS2436 5...
Page 414: ...Handling Paper CS2436 6...
Page 424: ...Handling Paper CS2436 6 6 Pull the Release Lever forward and close the Top Cover...
Page 433: ...Handling Paper CS2436 6 Pull the Release Lever forward...
Page 458: ...Handling Paper CS2436 6 6 Pull the Release Lever forward and close the Top Cover...
Page 460: ...Handling Paper CS2436 6...
Page 482: ...Adjustments for Better Print Quality CS2436 7...
Page 578: ...Network Setting CS2436 9...
Page 605: ...Network Setting CS2436 9 3 Close the Network window and save the settings...
Page 608: ...Network Setting CS2436 9 6 Click Finish...
Page 610: ...Network Setting CS2436 9...
Page 620: ...Maintenance CS2436 10...
Page 644: ...Maintenance CS2436 10...
Page 650: ...Maintenance CS2436 10...
Page 657: ...Maintenance CS2436 10 them in a shipping box...
Page 666: ...Troubleshooting CS2436 11 8 Pull the Release Lever forward...
Page 671: ...Troubleshooting CS2436 11...
Page 675: ...Troubleshooting CS2436 11 Pull the Release Lever forward...
Page 867: ...Appendix CS2436 13 13 Appendix 13 1 How to use this manual 1 About This User Manual...
Page 870: ...Appendix CS2436 13...


