5
Additional copy operations
5-6
CS240/CS231
5.2
Printing a proof to check the settings (Proof Copy)
Before printing a large number of copies, a single proof copy can first be printed so that it can be checked.
This prevents copy errors from occurring.
1
Position the document to be copied.
–
For details on positioning the document, refer to "Feeding the document" on page 4-8.
2
Select the desired copy settings.
–
When printing a proof copy, specify multiple copies.
3
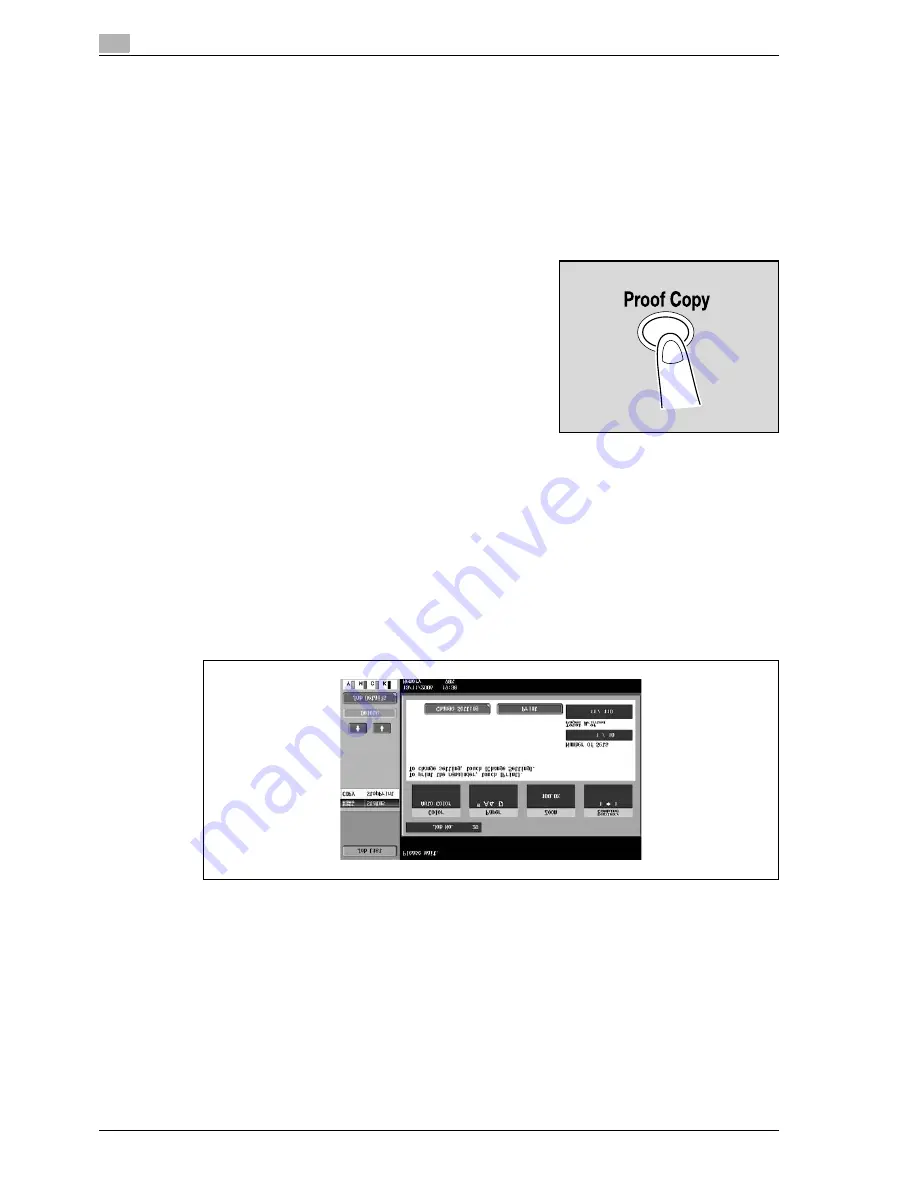
Press the [Proof Copy] key.
4
Touch [Finish], and then press the [Start] key.
–
If the document was placed on the original glass, touch [Finish], and then press the [Start] key.
–
If the document was loaded into the ADF, printing of the proof copy begins without the screen
appearing confirming that scanning of the document is finished.
A single proof copy is printed.
5
Check the proof copy.
–
If the proof copy was printed as desired, continue with step 8.
–
To change the copy settings, continue with step 6.
6
Touch [Change Setting] in the screen that appeared when the proof copy was printed.
–
To stop copying while the proof copy screen is displayed, press the [Reset] key or the [C] (clear) key.
Otherwise, select the proof copy job to be stopped from the list of jobs in the left panel, and then
touch [Delete]. In the screen that appears, requesting confirmation to delete the job, touch [Yes],
and then touch [OK].
–
If no operation is performed within the specified length of time while this screen is displayed, the
copy job being proofed is registered as a stored job and the Basic screen appears again. Jobs are
registered as stored jobs under the following conditions.
When the automatic system reset operation is performed
After one minute (when "System Auto Reset" is set to "OFF")
For details on stored jobs, refer to page 12-13. If "System Auto Reset" is set to "OFF", the job is
stored if no operation is performed for 1 minute.
–
For details on the automatic system reset operation, refer to "Automatically conserving energy
(sleep mode)" on page 3-33.
Summary of Contents for CS240
Page 1: ...Oc CS240 CS231 Copy Operations...
Page 2: ......
Page 12: ...Contents 10 CS240 CS231...
Page 13: ...1 Introduction...
Page 14: ......
Page 28: ...1 Introduction 1 16 CS240 CS231...
Page 29: ...2 Installation and operation precautions...
Page 30: ......
Page 46: ...2 Installation and operation precautions 2 18 CS240 CS231...
Page 47: ...3 Before making copies...
Page 48: ......
Page 99: ...4 Basic copy operations...
Page 100: ......
Page 181: ...5 Additional copy operations...
Page 182: ......
Page 184: ...5 Additional copy operations 5 4 CS240 CS231...
Page 210: ...5 Additional copy operations 5 30 CS240 CS231...
Page 211: ...6 Troubleshooting...
Page 212: ......
Page 288: ...6 Troubleshooting 6 78 CS240 CS231...
Page 289: ...7 Specifications...
Page 290: ......
Page 299: ...8 Copy paper original documents...
Page 300: ......
Page 323: ...9 Application functions...
Page 324: ......
Page 332: ...9 Application functions 9 10 CS240 CS231 Y G B R M C...
Page 428: ...9 Application functions 9 106 CS240 CS231...
Page 429: ...10 Replacing toner cartridges and staples and emptying punch scrap box...
Page 430: ......
Page 467: ...11 Care of the machine...
Page 468: ......
Page 476: ...11 Care of the machine 11 10 CS240 CS231...
Page 477: ...12 Managing jobs...
Page 478: ......
Page 493: ...13 Utility mode...
Page 494: ......
Page 579: ...14 Appendix...
Page 580: ......
Page 588: ...14 Appendix 14 10 CS240 CS231...
Page 589: ...15 Index...
Page 590: ......
Page 594: ...15 Index 15 6 CS240 CS231...


