Front Panel: press
PLAY
button to play back record files of the channel under single-screen live view mode.
Under multi-screen live view mode, the recorded files of the top-left channel will be played back.
Note:
Pressing numerical buttons will switch playback to the corresponding channels during playback process.
2.
Playback management.
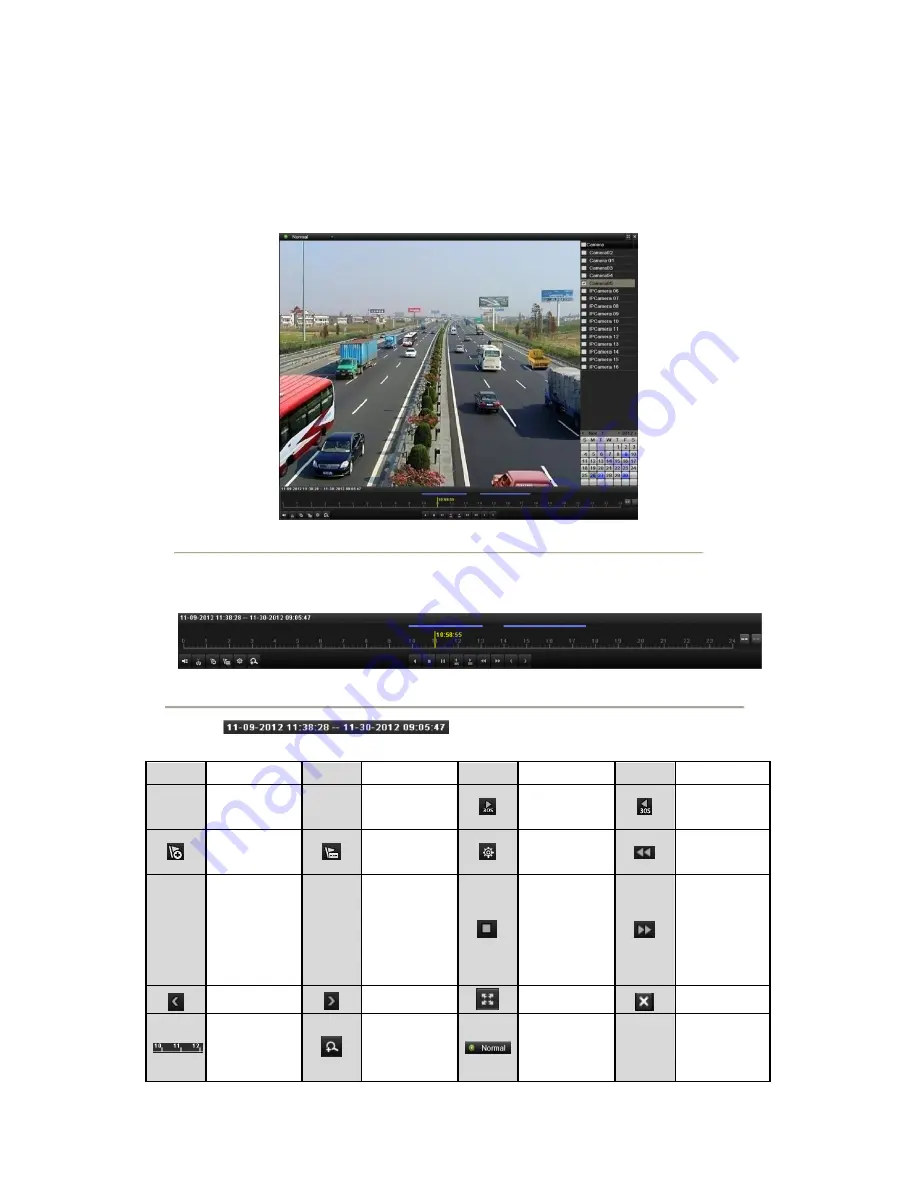
The toolbar in the bottom part of Playback interface can be used to control playing progress, as shown in
Figure 6. 3.
Figure 6. 3 Playback Interface
The channel and time selection menu displays by moving the mouse to the right of the playback interface.
Click the channel(s) to execute simultaneous playback of multiple channels.
Figure 6. 4 Toolbar of Playback
Note:
The
indicates the start/end time of the record.
Table 6. 1 Detailed Explanation of Playback Toolbar
Button
Operation
Button
Operation
Button
Operation
Button
Operation
/
Audio on/
Mute
/
Start/Stop
clipping
30s forward
30s reverse
Add default
tag
Add
customized tag
Tag
management
Speed down
/
Pause reverse
play/
Reverse play/
Single-frame
reverse play
/
Pause play/
Play/
Single-frame
play
Stop
Speed up
Previous day
Next day
Full Screen
Exit
Process bar
Digital Zoom
Video type /
picture
/
Scaling
up/down the
time line
Summary of Contents for NVR-52 Series
Page 1: ...NVR 52XX 58XX 60XX Series NVR...
Page 11: ...Chapter 1 Introduction...
Page 26: ...Chapter 2 Getting Started...
Page 38: ...Chapter 3 Live View...
Page 44: ...Figure 3 6 Live View Strategy...
Page 49: ...Chapter 4 PTZ Controls...
Page 59: ...Chapter 5 Record and Capture Settings...
Page 66: ...Figure 5 12 Copy Schedule to Other Channels...
Page 80: ...Chapter 6 Playback...
Page 92: ...Figure 6 21 Interface of External File Playback...
Page 97: ...Chapter 7 Backup...
Page 116: ...Chapter 8 Alarm Settings...
Page 121: ...inputs to copy the settings to them Figure 8 8 Copy Settings of Alarm Input...
Page 130: ...Chapter 9 Network Settings...
Page 148: ...Chapter 10 HDD Management...
Page 150: ...Figure 10 5 HDD Status Changes to Normal Note Initializing the HDD will erase all data on it...
Page 160: ...Figure 10 22 View HDD Status 2...
Page 164: ...Chapter 11 Camera Settings...
Page 168: ...Chapter 12 NVR Management and Maintenance...
Page 172: ...Figure 12 5 HDD Information Interface...
Page 180: ...Chapter 13 Others...
Page 189: ...Appendix...
Page 192: ......


