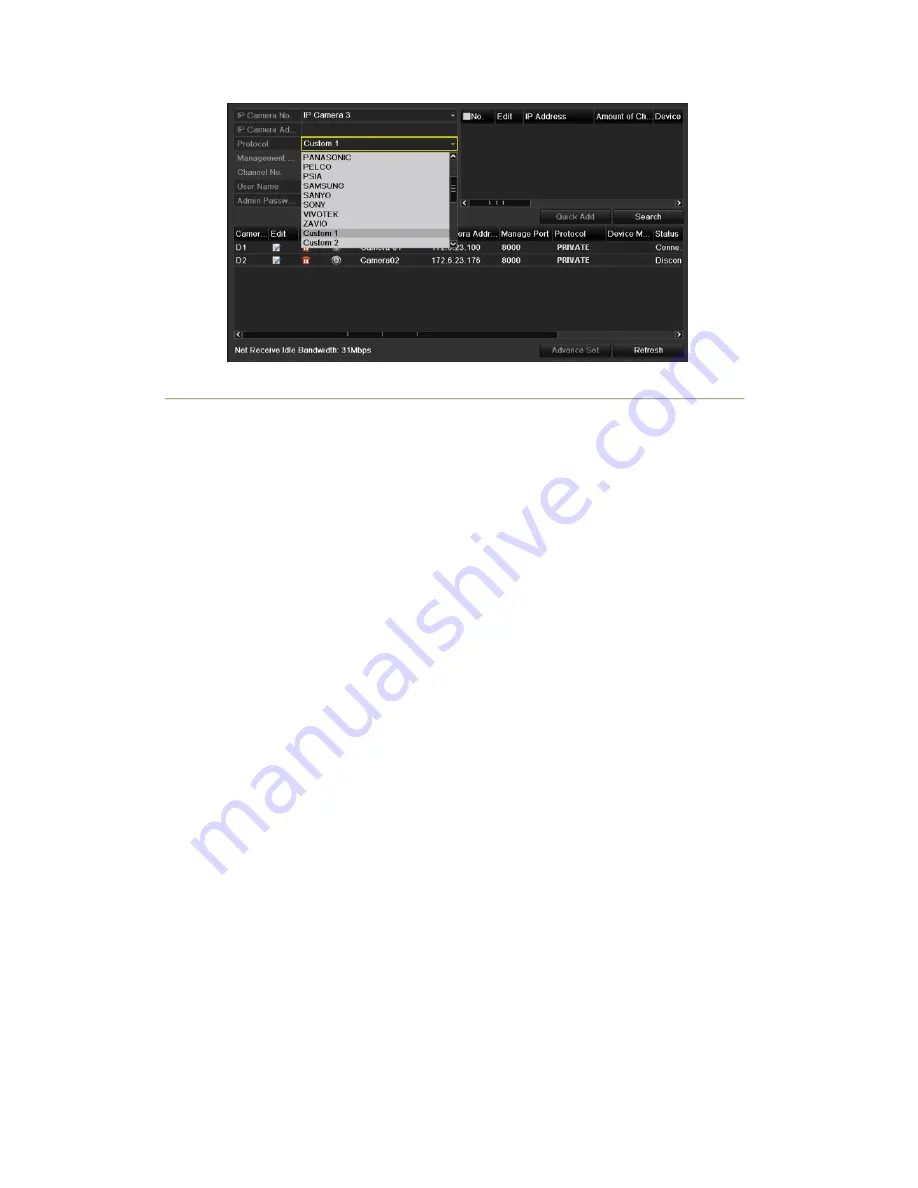
Figure 2. 15 Protocol Setting
4.
Select the custom protocol and enter the IP address, user name and password of the camera.
5.
Click the
Add
button to add the network camera.
2.3.3 Editing IP cameras connected to the PoE interfaces
(Only for NVR-5816P8/7632P8 series NVR)
The PoE interfaces enables the NVR system to pass electrical power safely, along with data, on Ethernet cabling to
the connected network cameras.
The NVR-5816P8/7632P8 series NVR provides 8 PoE interfaces which can connect to 8 network cameras directly;
and if you disable the PoE interface, you can also connect to the online network cameras. And the PoE interface
supports the Plug-and-Play function.
Example:
As for 7608 NVR, when you want to connect 2 online cameras and connect 6 network cameras via PoE interfaces,
you must disable 2 PoE interfaces in the Edit IP Camera menu.
To add Cameras for NVR supporting PoE function:
Before you start:
Connect the network cameras via the PoE interfaces.
Steps:
1.
Enter the Camera Management interface.
Main menu> Camera> Camera
You can see the connected cameras are listed.
Note:
The cameras connecting to the PoE interface cannot be deleted in this menu.
2.
Click the
Edit
button, and select the Adding Method in the drop-down list.
•
Plug-and-Play:
It means that the camera is connected to the PoE interface, so in this case, the
parameters of the camera can t be edited. The IP address of the camera can only be edited in the
Network Configuration interface, see
Chapter 9.1 Configuring General Settings
for detailed
information.
Summary of Contents for NVR-52 Series
Page 1: ...NVR 52XX 58XX 60XX Series NVR...
Page 11: ...Chapter 1 Introduction...
Page 26: ...Chapter 2 Getting Started...
Page 38: ...Chapter 3 Live View...
Page 44: ...Figure 3 6 Live View Strategy...
Page 49: ...Chapter 4 PTZ Controls...
Page 59: ...Chapter 5 Record and Capture Settings...
Page 66: ...Figure 5 12 Copy Schedule to Other Channels...
Page 80: ...Chapter 6 Playback...
Page 92: ...Figure 6 21 Interface of External File Playback...
Page 97: ...Chapter 7 Backup...
Page 116: ...Chapter 8 Alarm Settings...
Page 121: ...inputs to copy the settings to them Figure 8 8 Copy Settings of Alarm Input...
Page 130: ...Chapter 9 Network Settings...
Page 148: ...Chapter 10 HDD Management...
Page 150: ...Figure 10 5 HDD Status Changes to Normal Note Initializing the HDD will erase all data on it...
Page 160: ...Figure 10 22 View HDD Status 2...
Page 164: ...Chapter 11 Camera Settings...
Page 168: ...Chapter 12 NVR Management and Maintenance...
Page 172: ...Figure 12 5 HDD Information Interface...
Page 180: ...Chapter 13 Others...
Page 189: ...Appendix...
Page 192: ......


