


9.2.8 Configuring Server and HTTP Ports
Purpose:
You can change the server and HTTP ports in the Network Settings menu. The default server port is 8000 and the
default HTTP port is 80.
Steps:
1.
Enter the Network Settings interface.
Menu >Configuration> Network
2.
Select the
More Settings
tab to enter the More Settings interface, as shown in Figure 9. 11.
3.
Enter new
Server Port
and
HTTP Port
.
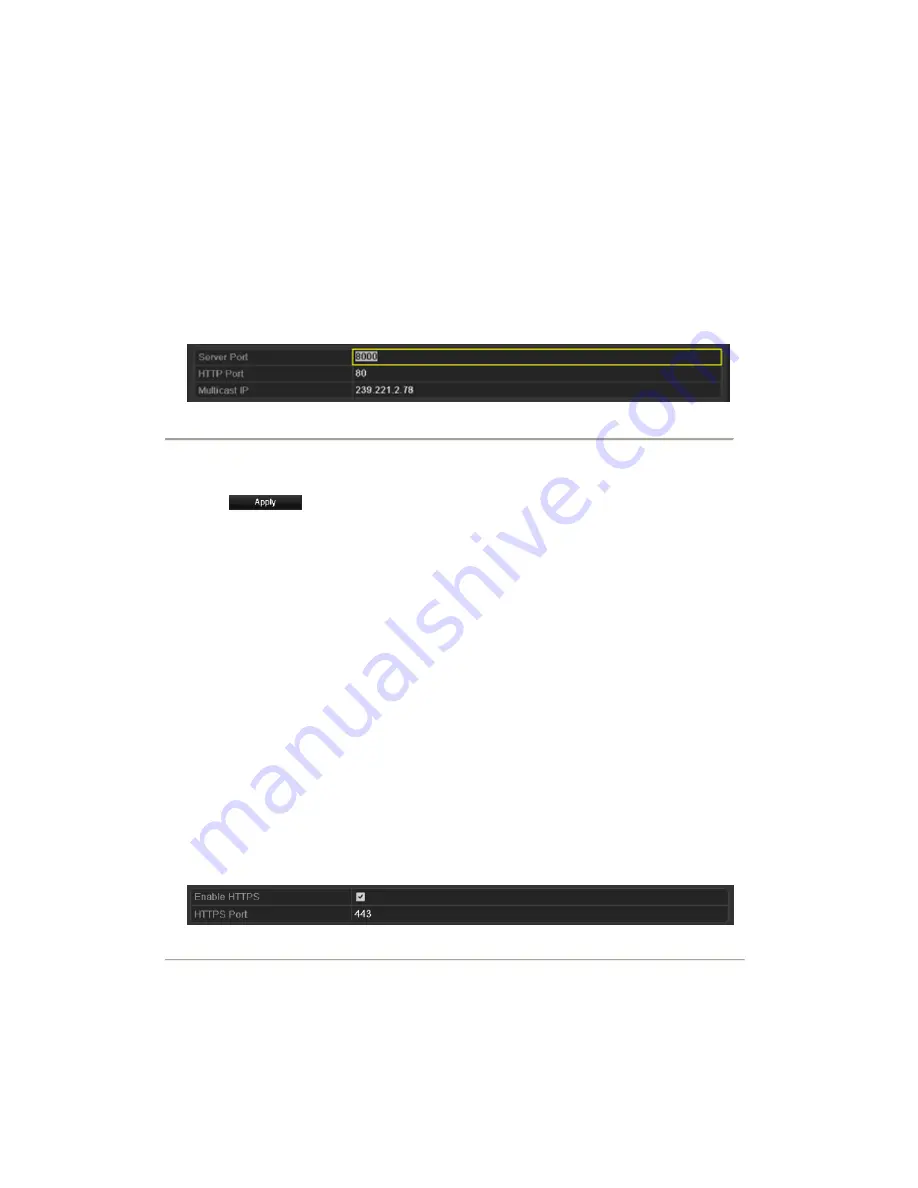
Figure 9. 15 Host/Others Settings Menu
4.
Enter the Server Port and HTTP Port in the text fields. The default Server Port is 8000 and the HTTP Port is
80, and you can change them according to different requirements.
5.
Click
to save and exit the interface.
Note:
The Server Port should be set to the range of 2000-65535 and it is used for remote client software access.
The HTTP port is used for remote IE access.
9.2.9 Configuring HTTPS Port
Purpose:
HTTPS provides authentication of the web site and associated web server that one is communicating with, which
protects against Man-in-the-middle attacks. Perform the following steps to set the port number of https.
Example:
If you set the port number as 443 and the IP address is 192.0.0.64, you may access the device by inputting
https://192.0.0.64:443
via the web browser.
Steps:
1.
Enter the Network Settings interface.
Menu >Configuration> Network
2.
Select the
More Settings
tab to enter the More Settings interface, as shown in Figure 9. 11.
3.
Check the checkbox of
Enable HTTPS
.
Figure 9. 16 HTTPS Settings Menu
4.
Enter the
HTTPS Port
.
5.
Click the
Apply
button to save and exit the interface.
Summary of Contents for NVR-52 Series
Page 1: ...NVR 52XX 58XX 60XX Series NVR...
Page 11: ...Chapter 1 Introduction...
Page 26: ...Chapter 2 Getting Started...
Page 38: ...Chapter 3 Live View...
Page 44: ...Figure 3 6 Live View Strategy...
Page 49: ...Chapter 4 PTZ Controls...
Page 59: ...Chapter 5 Record and Capture Settings...
Page 66: ...Figure 5 12 Copy Schedule to Other Channels...
Page 80: ...Chapter 6 Playback...
Page 92: ...Figure 6 21 Interface of External File Playback...
Page 97: ...Chapter 7 Backup...
Page 116: ...Chapter 8 Alarm Settings...
Page 121: ...inputs to copy the settings to them Figure 8 8 Copy Settings of Alarm Input...
Page 130: ...Chapter 9 Network Settings...
Page 148: ...Chapter 10 HDD Management...
Page 150: ...Figure 10 5 HDD Status Changes to Normal Note Initializing the HDD will erase all data on it...
Page 160: ...Figure 10 22 View HDD Status 2...
Page 164: ...Chapter 11 Camera Settings...
Page 168: ...Chapter 12 NVR Management and Maintenance...
Page 172: ...Figure 12 5 HDD Information Interface...
Page 180: ...Chapter 13 Others...
Page 189: ...Appendix...
Page 192: ......


