8.4 Detecting Video Tampering Alarm
Purpose:
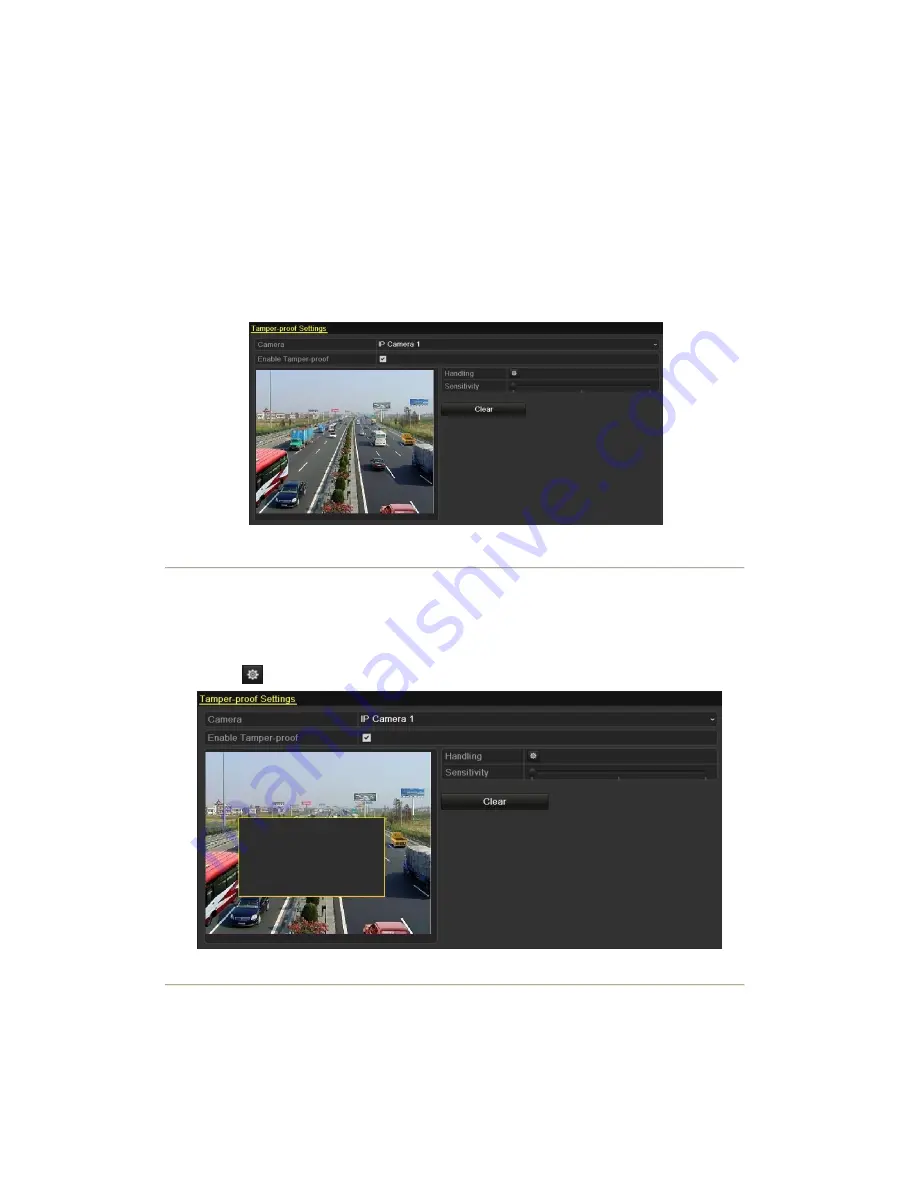
Trigger alarm when the lens is covered and take alarm response action(s).
Steps:
1.
Enter Video Tampering interface of Camera Management and select a channel you want to detect video
tampering.
Menu> Camera> Tamper-proof
Figure 8. 12 Tamper-proof Setup Interface
2.
Set the video tampering handling method of the channel.
Check the checkbox of Enable Tamper-proof .
Drag the sensitivity bar and choose a proper sensitivity level. Use the mouse to draw an area you want to
detect video tampering.
Click
button to set up handling method of video tampering.
Figure 8. 13 Set Detection Area and Sensitivity of Video Tampering
3.
Set arming schedule and alarm response actions of the channel.
1) Click Arming Schedule tab to set the arming schedule of handling methods.
2) Choose one day of a week and Max. eight time periods can be set within each day.
Summary of Contents for NVR-52 Series
Page 1: ...NVR 52XX 58XX 60XX Series NVR...
Page 11: ...Chapter 1 Introduction...
Page 26: ...Chapter 2 Getting Started...
Page 38: ...Chapter 3 Live View...
Page 44: ...Figure 3 6 Live View Strategy...
Page 49: ...Chapter 4 PTZ Controls...
Page 59: ...Chapter 5 Record and Capture Settings...
Page 66: ...Figure 5 12 Copy Schedule to Other Channels...
Page 80: ...Chapter 6 Playback...
Page 92: ...Figure 6 21 Interface of External File Playback...
Page 97: ...Chapter 7 Backup...
Page 116: ...Chapter 8 Alarm Settings...
Page 121: ...inputs to copy the settings to them Figure 8 8 Copy Settings of Alarm Input...
Page 130: ...Chapter 9 Network Settings...
Page 148: ...Chapter 10 HDD Management...
Page 150: ...Figure 10 5 HDD Status Changes to Normal Note Initializing the HDD will erase all data on it...
Page 160: ...Figure 10 22 View HDD Status 2...
Page 164: ...Chapter 11 Camera Settings...
Page 168: ...Chapter 12 NVR Management and Maintenance...
Page 172: ...Figure 12 5 HDD Information Interface...
Page 180: ...Chapter 13 Others...
Page 189: ...Appendix...
Page 192: ......


