Document Settings
OmniPage Pro Settings - 75
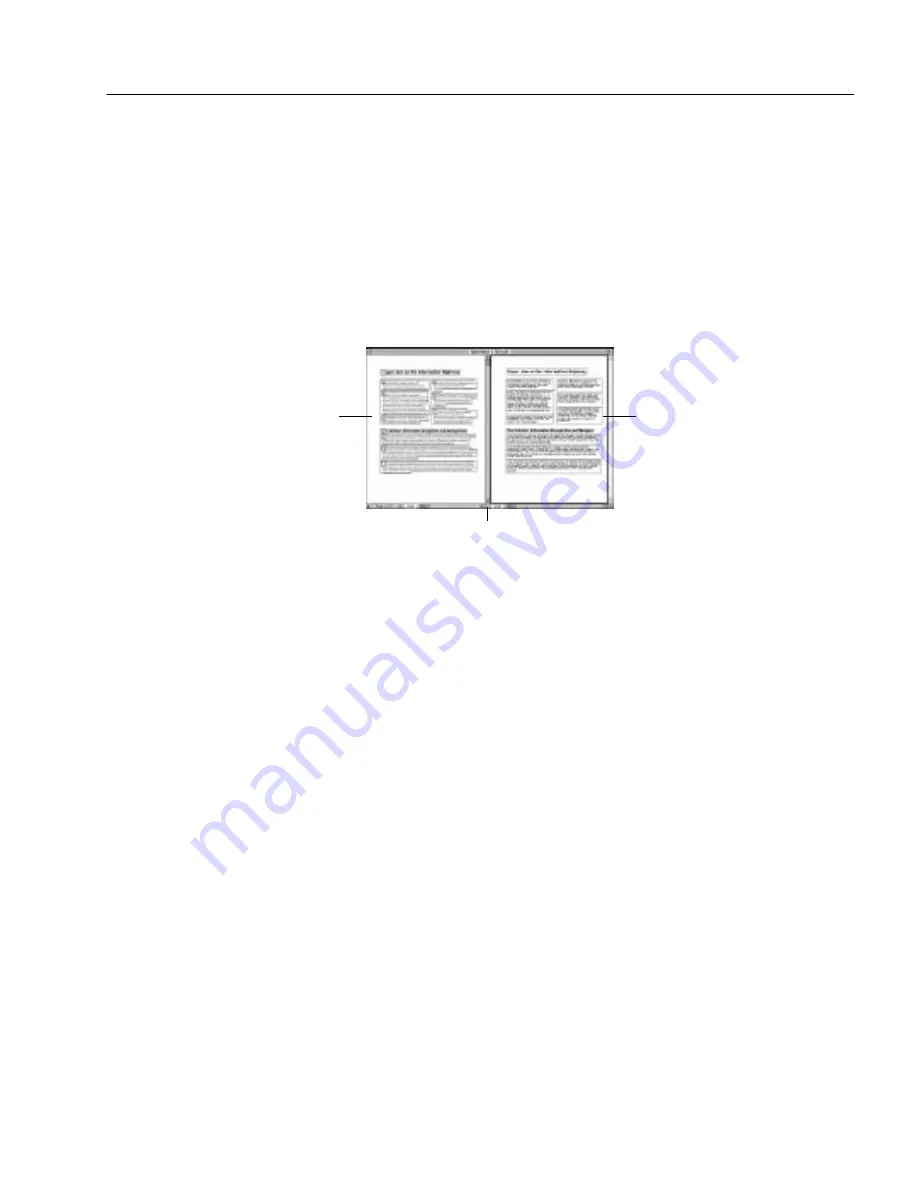
Image View as you work. OmniPage Pro will activate and enlarge
a view according to the current task.
• Select Show Selected View Only if you want OmniPage Pro to
display the active view and hide the other view. This is
recommended for small monitors.
OmniPage Pro determines which view should be visible
according to the current task. To switch between views, you can
choose Image View (
a
m) or Text View (
a
j) in the Window menu.
• Select No Automatic Adjustments if you want OmniPage Pro to
retain the views that you manually size.
Show Color Image if Available
This option enables you to show color images of your scanned pages, if
you are using a color scanner, and have set the Color Scanner option in
the Scanner settings of the Settings Panel,
When this option is selected, you can save, use, or export the color
images from the scanner for other work. For example, you can click the
Save button in the AutoOCR Toolbar to save the entire scanned image
as a particular type of graphic file. Or, once you have performed OCR,
you can drag and drop a zone defined as a Graphic zone type onto the
Macintosh desktop (or any Macintosh application that supports drag
and drop functionality).
The graphics that appear in the scanned image can be 75dpi or 150 dpi,
and can have a color depth of 256 colors (8-bit) or thousands of colors
(16-bit). These settings are defined described in “Preference Settings” on
page 76.
Automatically Open Thumbnail Window
Select Automatically Open Thumbnail Window for New Documents if you
want the Thumbnail window to open when you scan or load a brand
new document into OmniPage Pro.
Drag this splitter to the left
or right to resize a view.
Image View
Text View


