Converting Images to Text
Processing Documents - 41
Displaying Color Markers
After OCR, certain text in the recognized document might be marked
with color in the Text View. These include:
• Reject characters (red)
• Suspect words (green)
• Language Analyst replacements (blue)
The Text View must be active to hide, show, or clear markers.
To permanently remove color markers, choose Clear Markers in the Edit
menu. All text reverts to black.
You can also temporarily hide color markers by choosing Hide Markers
in the Edit menu. To show markers again, choose Show Markers in the
Edit menu. The current marker setting is used for all documents. For
example, if Hide Markers is currently chosen, markers will not be
displayed in any documents. Color markers are not retained when you
export a document to another application.
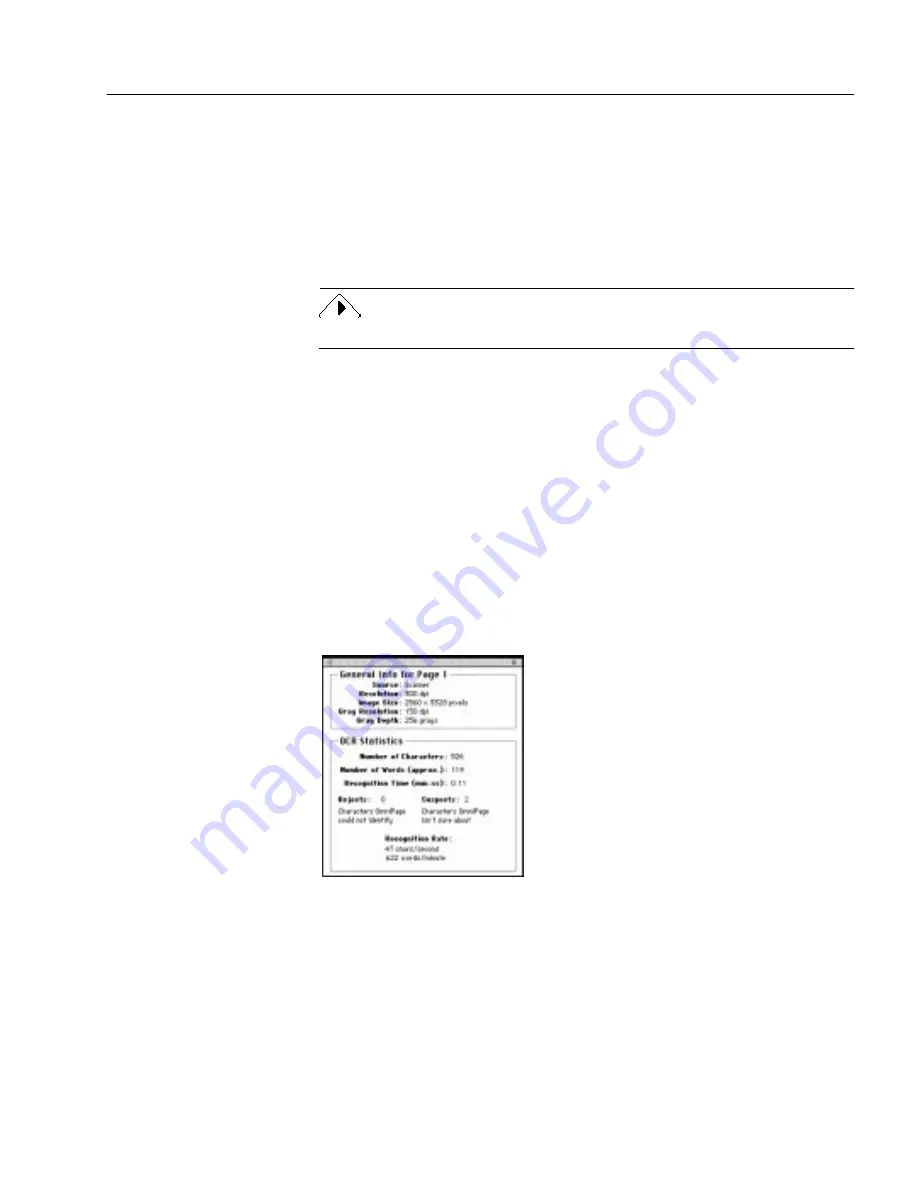
Getting Page Information
After OCR, you can choose Show Page Info in the Window menu to get a
statistical report showing how well OmniPage Pro recognized the
current page.
The Info dialog box provides the following information:
• Source of the OCR, whether a scan performed by OmniPage Pro
or a file that you have loaded (including the file name).
• Resolution of the scanned image, in dpi (dots per inch)
• Image Size, measured in pixels
• Number of characters on the page (including spaces)


