Basic Steps of OmniPage Pro OCR
Processing Documents - 25
Basic Steps of OmniPage Pro OCR
These are the basic steps of OmniPage Pro OCR:
1
Bring a document image into OmniPage Pro.
See page 27 for more information.
2
Create zones to identify the parts of the document you want to
recognize as text or retain as graphics.
See page 29 for more information.
3
Perform OCR to convert text information into editable text
characters.
See page 37 for more information.
4
Export the document to the desired location.
See page 57 for more information.
OmniPage Pro can go through these steps automatically, or you can start
each step individually.
Selecting Process Commands
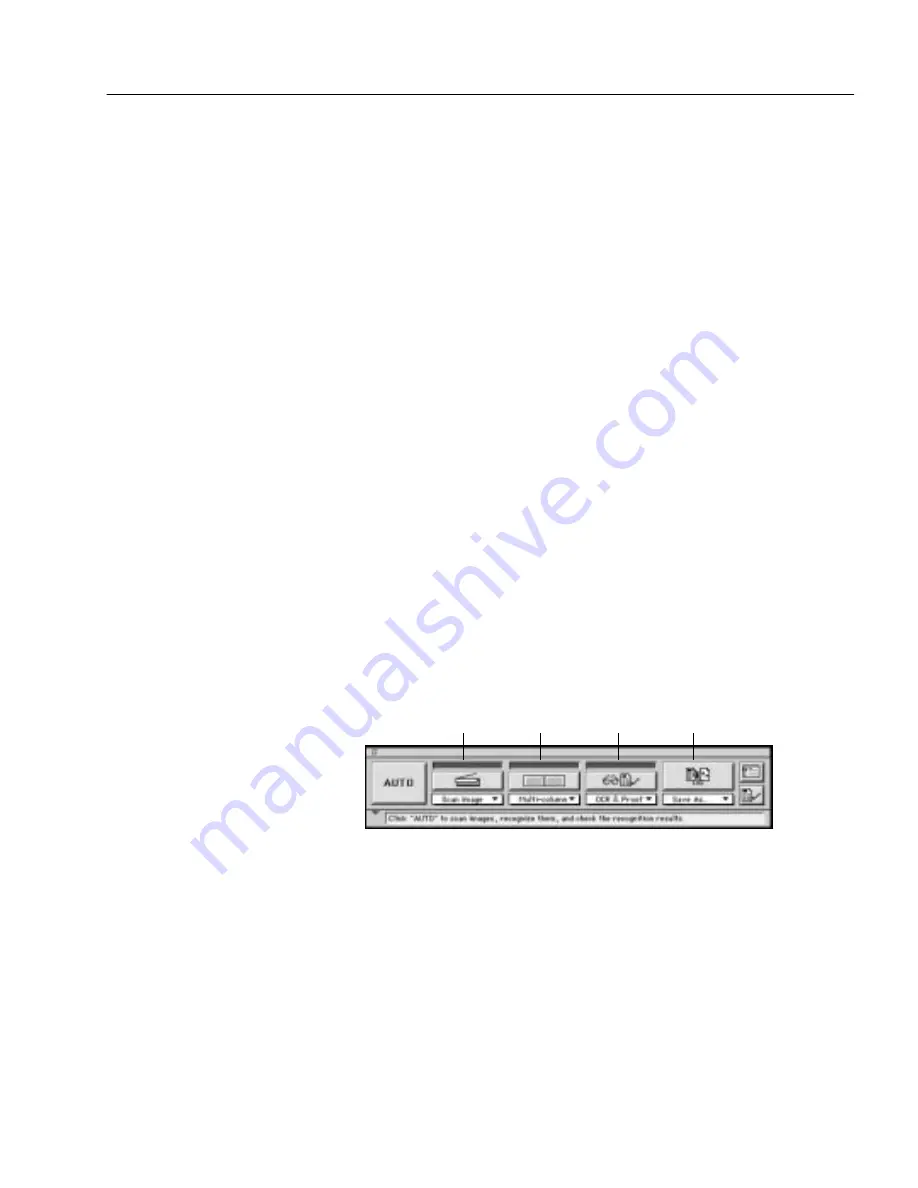
You can set different commands for the Image, Zone, OCR, and Export
operations you want OmniPage Pro to perform. For information on
specific commands, see “AutoOCR Toolbar Settings” on page 62.
You can set commands in two locations:
• Select commands in the pop-up menus beneath the Image, Zone,
OCR, and Export buttons.
• Choose Process Settings in the Process menu and then choose
commands in the submenu.
Pictures in the AutoOCR Toolbar buttons and menu commands
in the Process menu change as you set different commands. You
can activate a command by clicking the toolbar button or
choosing the command in the Process menu.
Image
button
Zone
button
OCR
button
Export
button


