Creating Zones on a Page
Processing Documents - 31
Creating Zones Automatically
OmniPage Pro can create zones automatically for you. To do so, it uses
the selected page layout to analyze the page and break it into ordered
sections.
To create zones automatically:
1
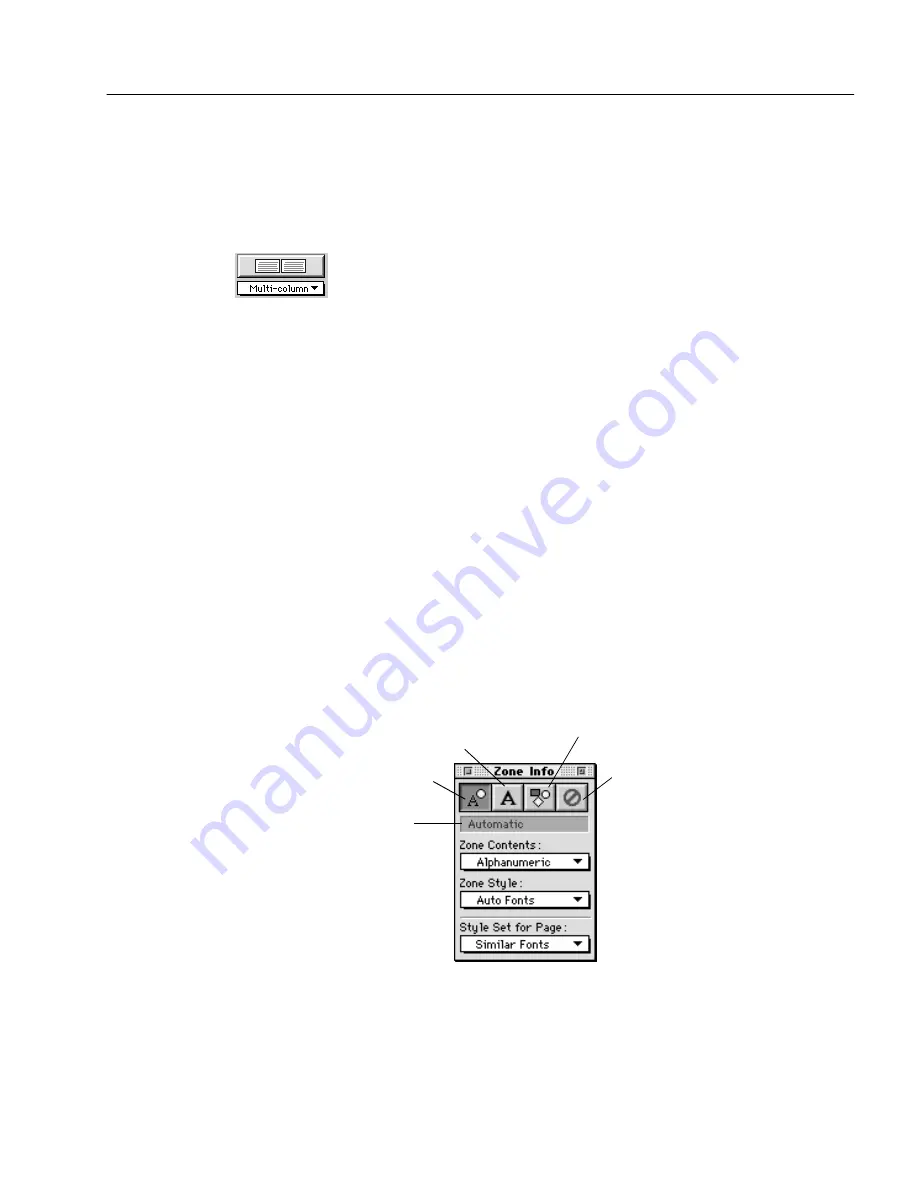
Choose a setting in the Zone button’s pop-up menu that most
closely matches the format of your document.
You can One Column, Multicolumn, Tables, Mixed, or a
template of your own. See “Zone Button Commands” on page
4-10 for more information on these settings.
2
Click the Zone button in the AutoOCR Toolbar or choose Zone
Image
in the Process menu.
OmniPage Pro automatically draws zones on the current page.
Each zone has a number indicating the order in which it will be
recognized. The color of the zone border indicates the zone
type.
Make sure zones are identified correctly before performing
OCR. For example, if you want to retain an area as a graphic,
that area should be identified as a Graphic zone type as
described in the following section.
Specifying Zone Types
All zones are identified as a particular type. This determines the way
they are treated during OCR. You can specify zone types using tools in
the Zone Info palette. If the Zone Info palette does not appear when the
Image View is active, choose Show Zone Palette in the Window menu.
Automatic zone type:
OmniPage Pro detects if the zone contains text or graphics. Any side-by-
side columns detected within a zone are treated as flowing text (starting
Zone type of
the currently
selected zone
Text (use only for tables
and single columns)
Automatic
Ignore
Graphic


