Chapter 3 Managing the network access devices
103
Nortel Secure Network Access Switch 4050 User Guide
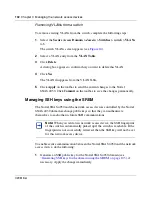
If you created the domain manually, the SSH key was generated automatically
(see
“Manually creating a domain using the SREM” on page 152
).
2
Export the Nortel SNAS 4050 public key to each network access device.
•
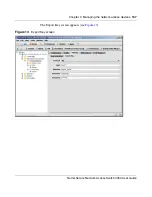
For an Ethernet Routing Switch 8300, you can export the key directly to
the switch (see
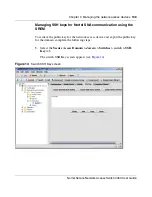
“Managing SSH keys for Nortel SNA communication
using the SREM” on page 109
).
•
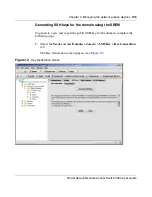
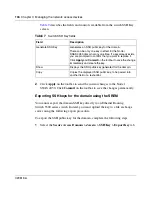
For an Ethernet Routing Switch 5510, 5520, or 5530, upload the key to a
TFTP server, for manual retrieval from the switch (see
“Exporting SSH
keys for the domain using the SREM” on page 106
). For information
about downloading the key from the server to the switch, see
Release
Notes for Nortel Ethernet Routing Switch 5500 Series, Software Release
4.3
(217468-B).
If you regenerate the key at any time, you must re-export the key to each
network access device.
3
For each network access device, import its public key into the Nortel
SNAS 4050 domain, if necessary. You can retrieve the key in two ways (see
“Managing SSH keys for Nortel SNA communication using the SREM” on
page 109
):
•
Use
Import SSH Key from Switch
to import the key directly from the
network access device.
•
(For the Ethernet Routing Switch 8300 only)
Paste
the SSH key value
into the available text area, and
Add
the new SSH key manually.
If the network access device was reachable when you added it to the domain
configuration, the SSH key was automatically retrieved.
Note:
The SSH key for the Nortel SNAS 4050 domain is not the same
as the SSH key generated during initial setup for all Nortel SNAS 4050
hosts in the cluster (see
“Initial setup”
,
step 15 on page 57
).
Note:
If you export the key after the network access device has been
enabled, you may need to disable and re-enable the switch in order to
activate the change.
Summary of Contents for 4050
Page 24: ...24 Contents 320818 A ...
Page 48: ...48 Chapter 1 Overview 320818 A ...
Page 70: ...70 Chapter 2 Initial setup 320818 A ...
Page 190: ...190 Chapter 4 Configuring the domain 320818 A ...
Page 232: ...232 Chapter 5 Configuring groups and profiles 320818 A ...
Page 352: ...352 Chapter 7 TunnelGuard SRS Builder 320818 A ...
Page 456: ...456 Chapter 9 Customizing the portal and user logon 320818 A ...
Page 568: ...568 Chapter 10 Configuring system settings 320818 A ...
Page 722: ...722 Chapter 13 Viewing system information and performance statistics 320818 A ...
Page 756: ...756 Chapter 14 Maintaining and managing the system 320818 A ...
Page 768: ...768 Chapter 15 Upgrading or reinstalling the software 320818 A ...
Page 802: ...802 Chapter 17 Configuration example 320818 A ...
Page 880: ...880 Appendix C Supported MIBs 320818 A ...
Page 900: ...900 Appendix F Configuring DHCP to auto configure IP Phones 320818 A ...


