Configuring Wireless Networks
Chapter 10: Working with Wireless Networks
213
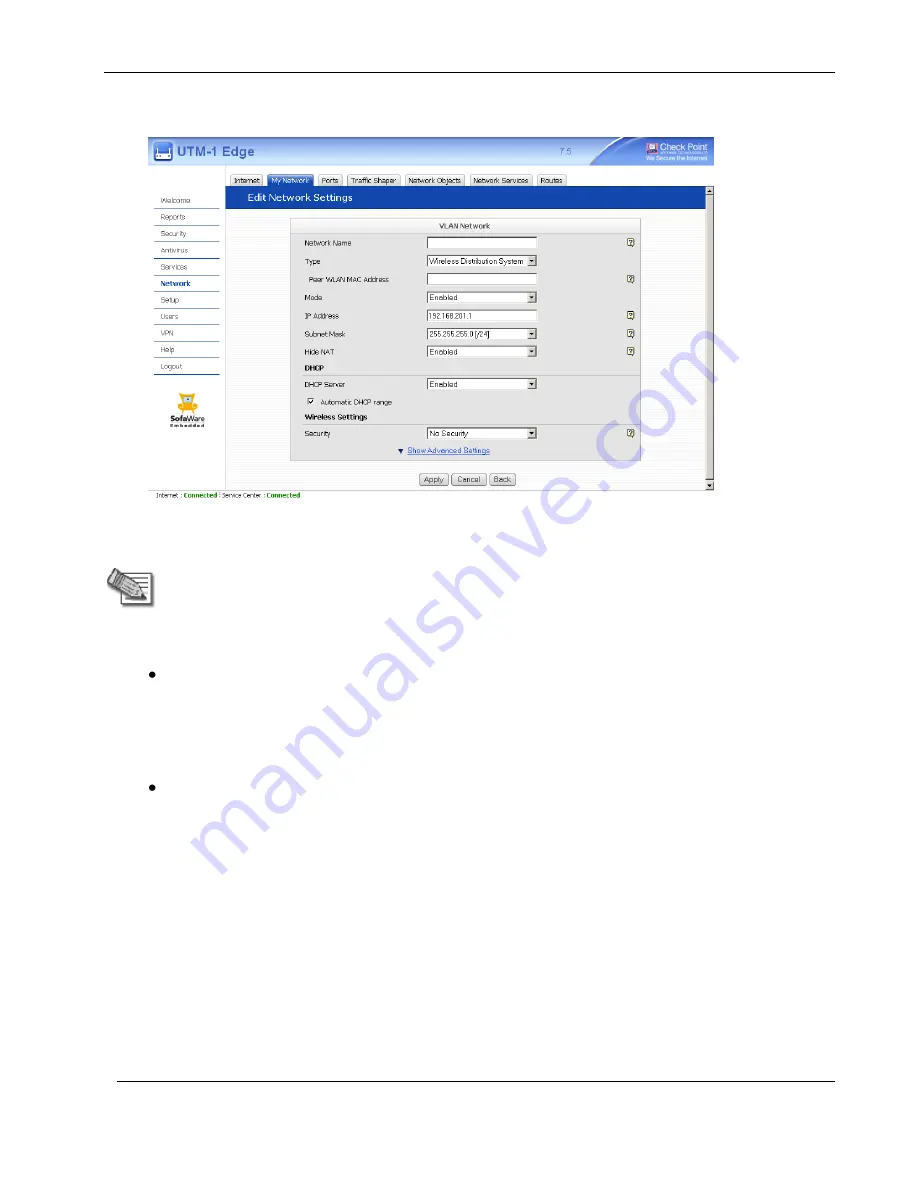
New fields appear.
6.
In the
Peer WLAN MAC Address
field, type the WLAN MAC address of the access point to
which you want to create a WDS link.
Note:
This is the MAC address of the
WLAN
interface, not the WAN MAC address.
To see your access point's WLAN MAC address, click
Reports
in the main menu,
and then click
Wireless
.
7.
Do one of the following:
To create a bridged WDS link:
1)
In the
Mode
drop-down list, select
Bridged
.
The fields are enabled and additional fields appear.
2)
Complete these fields as described in
Bridged Network Fields
on page 167.
To create a routed WDS link, do the following:
1)
In the
Mode
drop-down list, select
Enabled
.
The fields are enabled.
2)
In the
IP Address
field, type the IP address of the WDS link's default gateway.
The WDS link must not overlap other networks.
3)
In the
Subnet Mask
field, type the WDS link's internal network range.
8.
If desired, enable or disable Hide NAT.
See
Enabling/Disabling Hide NAT
on page 112.
9.
If desired, configure a DHCP server.
See
Configuring a DHCP Server
on page 113.
Summary of Contents for IP60 - Security Appliance
Page 1: ...Part No N450000643 Rev 001 Published February 2008 Nokia IP60 Security Appliance User Guide ...
Page 4: ...4 Nokia IP60 Security Appliance User Guide ...
Page 10: ......
Page 12: ......
Page 38: ......
Page 58: ......
Page 108: ......
Page 268: ......
Page 482: ......


