9-6 Upgrading Your Server
In the disk array configuration, use the same model of hard disk drives.
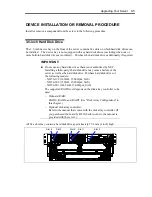
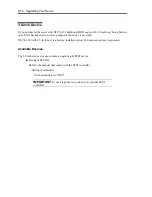
A dummy tray or dummy sponge is installed in the 3.5-inch disk bay. The purpose of a dummy tray
or dummy sponge is to increase the cooling effect in the server. Install a dummy tray or dummy
sponge block in slots not containing a hard disk drive.
IMPORTANT:
Use the appropriate dummy tray or dummy sponge
block for this server.
Installation
Take the following steps to install a hard disk drive. This procedure applies to all the slots.
NOTE:
Any hard disk drive can be installed or removed in or from the
server only by removing the front bezel without pulling out the server
from the rack. In RAID1 or RAID5 configuration, the hard disk drive
can be installed or removed while the server is being powered.
IMPORTANT:
In the disk array configuration, use the same model of
hard disk drives.
1.
See the section "Preparing for Installation and Removal" described earlier to prepare
(except for disk array configuration).
2.
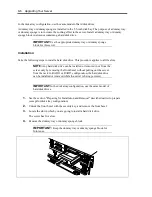
Unlock the front bezel with the security key, and remove the front bezel.
3.
Locate the slot in which you are going to install a hard disk drive.
The server has five slots.
4.
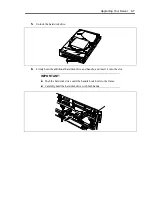
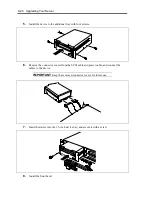
Remove the dummy tray or dummy sponge block.
IMPORTANT:
Keep the dummy tray or dummy sponge block for
future use.
Summary of Contents for N8100-1220F
Page 7: ......
Page 8: ......
Page 9: ......
Page 38: ...1 18 Notes on Using Your Server This page is intentionally left blank...
Page 76: ...2 38 General Description This page is intentionally left blank...
Page 187: ...Configuring Your Server 4 83 3 Setting menu for VD 0 is displayed...
Page 494: ...F 4 Product Configuration Record Table This page is intentionally left blank...


