2Unpacking to Installation
Installation 2-10
posture, the configuration devices could be damaged, and the transportation workers will be subject to risk
due to an inadequate center of gravity position.
When transporting a robot, always attach four wires.
To reattach the fixing plate again, set the axes of the robot to the positions according to
the table below.
The robot should keep vertical. (not be horizontal)
It becomes the cause of the grease leakage or the trouble.
The ventilation duct is attached to the clean specification robot’s base section rear.
Please handle with care when transporting or installing the robot arm.
When the robot is not installed, the self-supporting plate must be attached to the robot.
The robot could tilt over, if the self-supporting plate is not attached to the robot.
If it is difficult to follow the transportation procedure shown in this section, take
countermeasures not to allow the joints of the robot arm freely move by fixing the robot
arm in such a way as to take advantage of the screw holes for fixing plates or the like.
Otherwise, applying an excessive power on the joints by external forces may cause a
malfunction.
Do not apply an excessive load to the robot arm while fixing it. Otherwise, the robot arm
may be damaged.
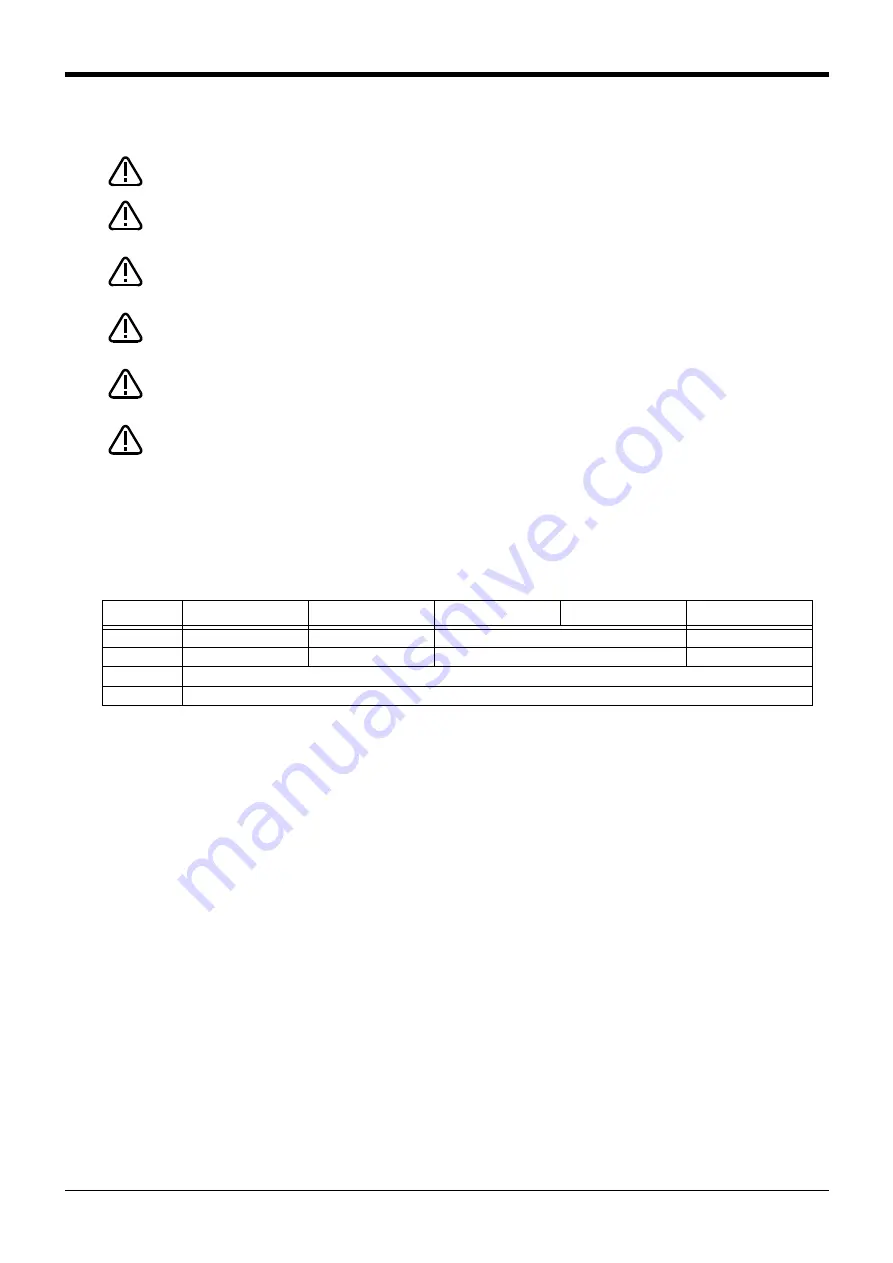
Table 2-3 : Transportation posture (RH-12FH/20FH series)
Axis
RH-12FH55**
RH-12FH70**
RH-12FH85**
RH-20FH85**
RH-20FH100**
J1
-37.5°
-21.4°
-15.1°
-21.0°
J2
127.5°
111.4°
105.1°
111.0°
J3
Note1)
Note1) The bottom surface of the shaft will interfere with the floor if the J3 axis is lowered down to the upper
mechanical stopper. Position the axes as indicated when transporting the robot.
340mm
J4
Not fixed
CAUTION
CAUTION
CAUTION
CAUTION
CAUTION
CAUTION


