Caring for your print cartridges
31
If necessary, follow the steps for “Removing a print cartridge from the printer”
on page 30 before proceeding.
1
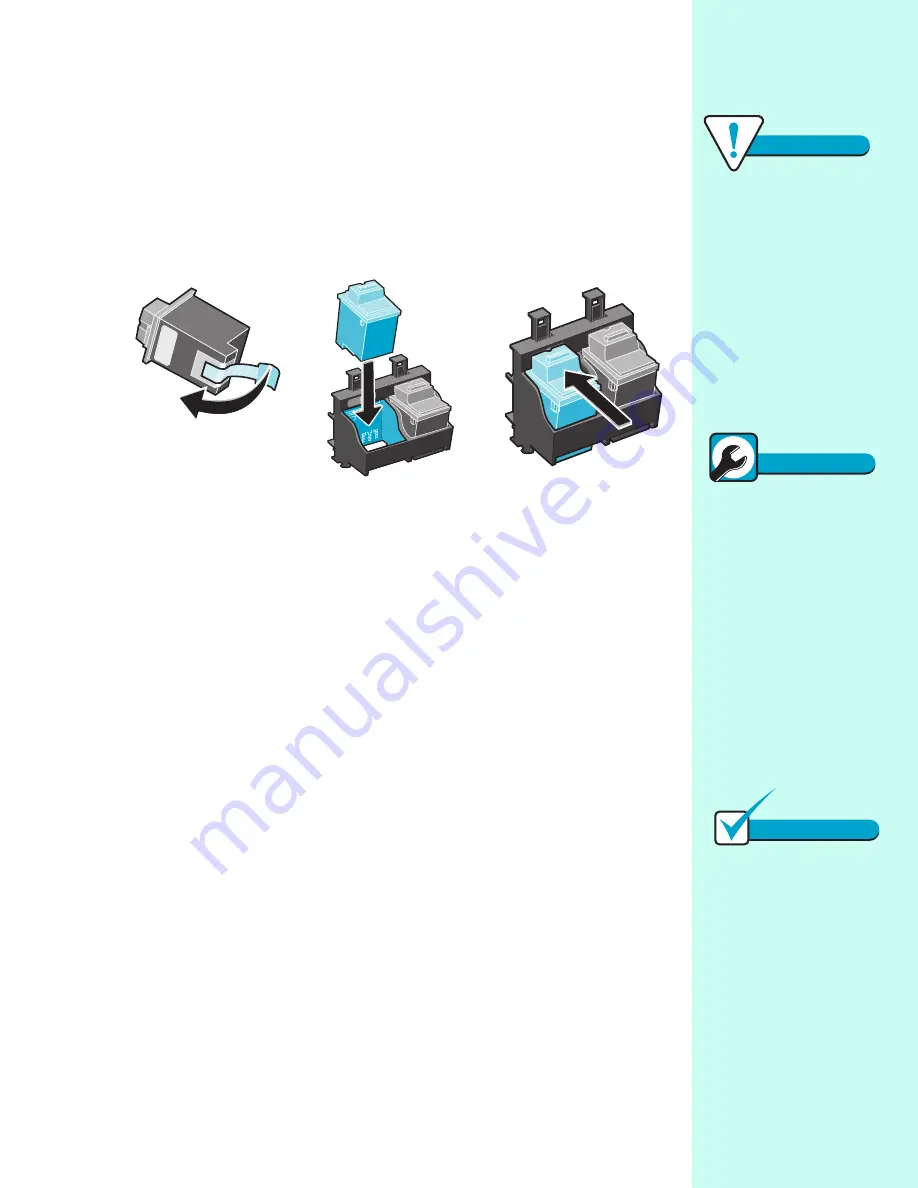
To install the cartridge in the printer:
2
Close the front cover.
3
IMPORTANT: Continue with “Completing the cartridge installation.”
Completing the cartridge installation
To complete your cartridge installation, you must update your printer software
by indicating the cartridge change you made in the printer. Updating the printer
software ensures the best print quality and an updated ink level image in the
Control Program.
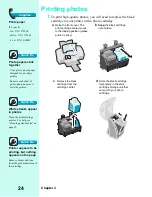
If you are installing a
new cartridge, remove
the sticker and tape
covering the gold
contact area of the
print cartridge.
Insert the
replacement print
cartridge into the
print cartridge
carrier.
Push back firmly on the
cartridge until it
snaps
securely into place.
a
b
c
Warning
Cartridge Handling
Do NOT touch the gold
contact area on the print
cartridge. Microscopic
particles may clog the print
nozzle.
Quick Fix
Print cartridge is
loose
If the print cartridge seems
loose and moves freely in its
carrier, it is not locked into
place. Make sure the
cartridge snaps into place
and is properly secured.
Note
Ink Low message
If the Ink Low message
appears, you may want to
install a new print cartridge
to avoid diminished print
quality during a printing job.
Summary of Contents for Z31 Color Jetprinter
Page 1: ...User s Guide ...
Page 16: ...Chapter 2 12 ...


