Printing on paper and other media
21
Printing iron-on transfers
1
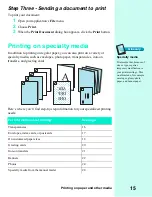
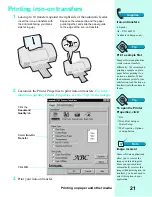
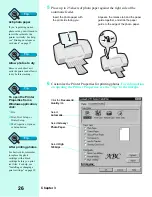
Load up to 10 transfers against the right side of the automatic feeder.
2
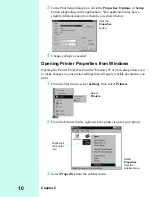
Customize the Printer Properties to print iron-on transfers.
For infor-
mation on opening Printer Properties, see the “Tip” in the margin
.
3
Print your iron-on transfer.
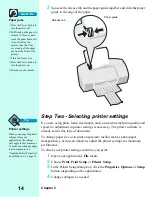
Squeeze the release tab and the paper
guide together, and slide the paper guide
to the edge of the iron-on transfers.
Insert the iron-on transfers with
the print side facing you (blank
side facing up).
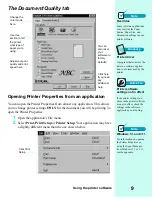
Select Iron-On
Transfer.
Click OK.
Click the
Document/
Quality tab.
Supplies
Iron-on transfers
(10-pack)
A4 - P/N 1402519
Available in Europe only.
Tip
Print a sample first
Many software applications
create iron-on transfers
differently. We recommend
printing a sample on plain
paper before printing it on
an iron-on transfer. When
the document prints to your
satisfaction, load the iron-on
transfer(s) into the automatic
feeder.
Tip
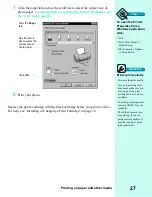
To open the Printer
Properties, click:
1
File.
2
Print, Print Setup or
Printer Setup.
3
The Properties, Options,
or Setup button.
Note
Image reversal
Some software applications
allow you to reverse the
image you intend to print.
Since your printer driver
automatically reverses the
image when printing iron-on
transfers, you do not need to
select this option in your
application.
Summary of Contents for Z31 Color Jetprinter
Page 1: ...User s Guide ...
Page 16: ...Chapter 2 12 ...


