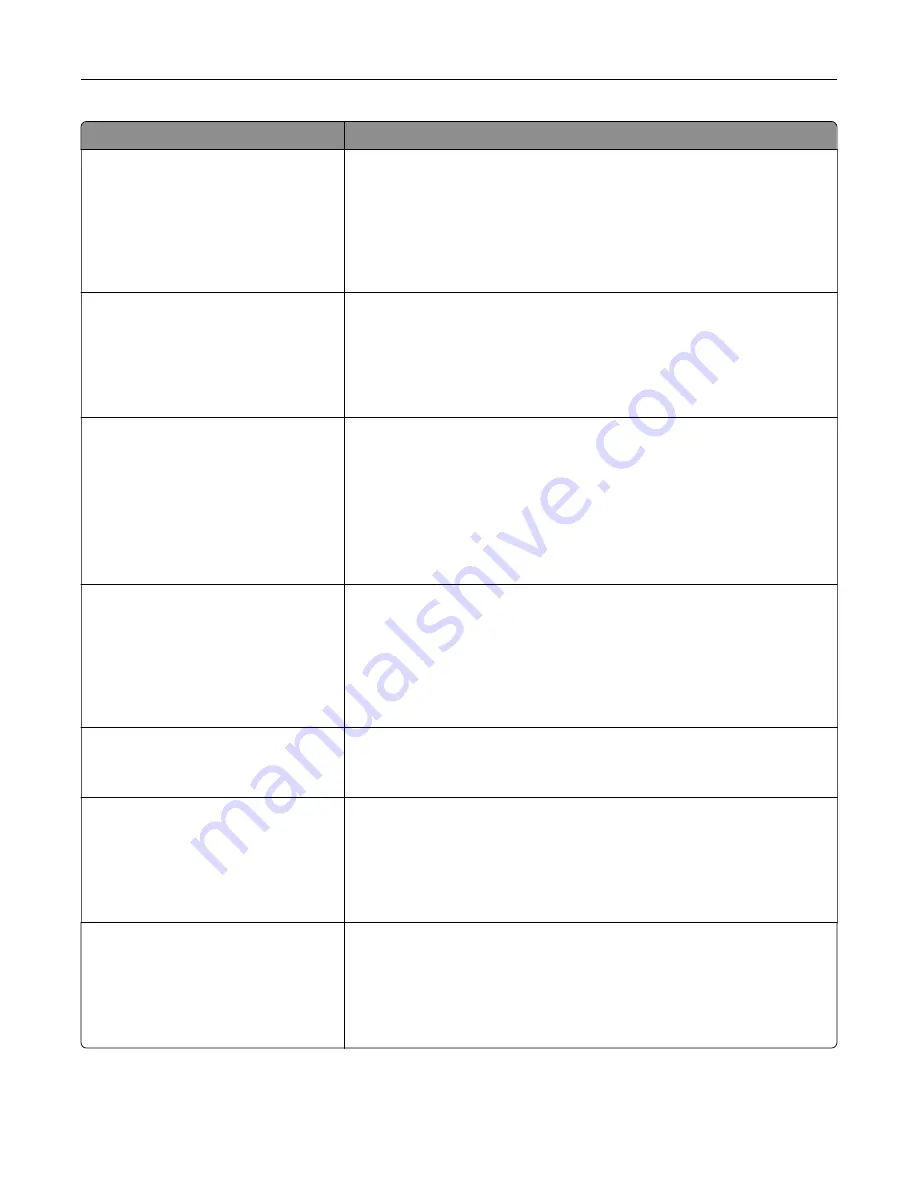
Menu item
Description
Lines per Page
1–255
Sets the number of lines that print on each page
Notes:
•
64 is the factory default setting.
•
The printer sets the amount of space between each line based on
the Lines per Page, Paper Size, and Orientation settings. Select the
desired Paper Size and Orientation before setting Lines per Page.
Lines per Inch
0.25–30.00
Sets the number of lines that print per inch
Notes:
•
6 is the factory default setting.
•
Lines per Inch can be increased or decreased in 0.25
‑
inch
increments
Page Format
Whole
Sets the logical and physical printable area of the page
Notes:
•
Print is the factory default setting. Print data maintains its position
with respect to edge of the paper.
•
When Whole is selected, document margins are calculated from the
top left corner of the physical edge of the page.
•
Printing does not occur outside the printable area.
Character Set
1
2
Specifies a default character set for PPDS print jobs
Notes:
•
2 is the factory default setting. Character Set 2 is composed of
printable characters and symbols used in non
‑
US English languages.
•
When Characters Set 1 is selected, values given to the printer are
interpreted as printer commands.
Best Fit
On
Off
Replaces a missing font with a similar font
Note:
On is the factory default setting. If the requested font is not found,
the printer will use a similar font.
Tray 1 Renumber
Off
Tray 2
Configures the printer to work with printer software or programs that use
different source assignments for trays, drawers, and feeders
Notes:
•
Off is the factory default setting.
•
Tray 2 is displayed only when it is installed.
Auto CR after LF
On
Off
Specifies whether the printer automatically performs a carriage return (CR)
after a line feed (LF) control command
Notes:
•
Off is the factory default setting.
•
Settings are duplicated in the PCL Emulation menu.
Understanding the printer menus
98
Summary of Contents for CS410 series
Page 114: ...3 Open the top door 1 2 4 Remove the right side cover 1 2 Maintaining the printer 114...
Page 122: ...16 Insert the waste toner bottle 17 Insert the right side cover Maintaining the printer 122...
Page 126: ...2 Open the top door 1 2 3 Remove the toner cartridges 1 2 Maintaining the printer 126...
Page 140: ...Below the fuser In the fuser access door 3 Close the front door Clearing jams 140...
Page 144: ...4 Reload paper Clearing jams 144...


