


W
AVE
R
UNNER
X
I
S
ERIES
108
WRXi-OM-E Rev B
Setting Up Help Markers
1. In the menu bar, touch
Measure Setup...
2. Select a Measure Mode: Std Vertical, Std Horizontal, or My Measure.
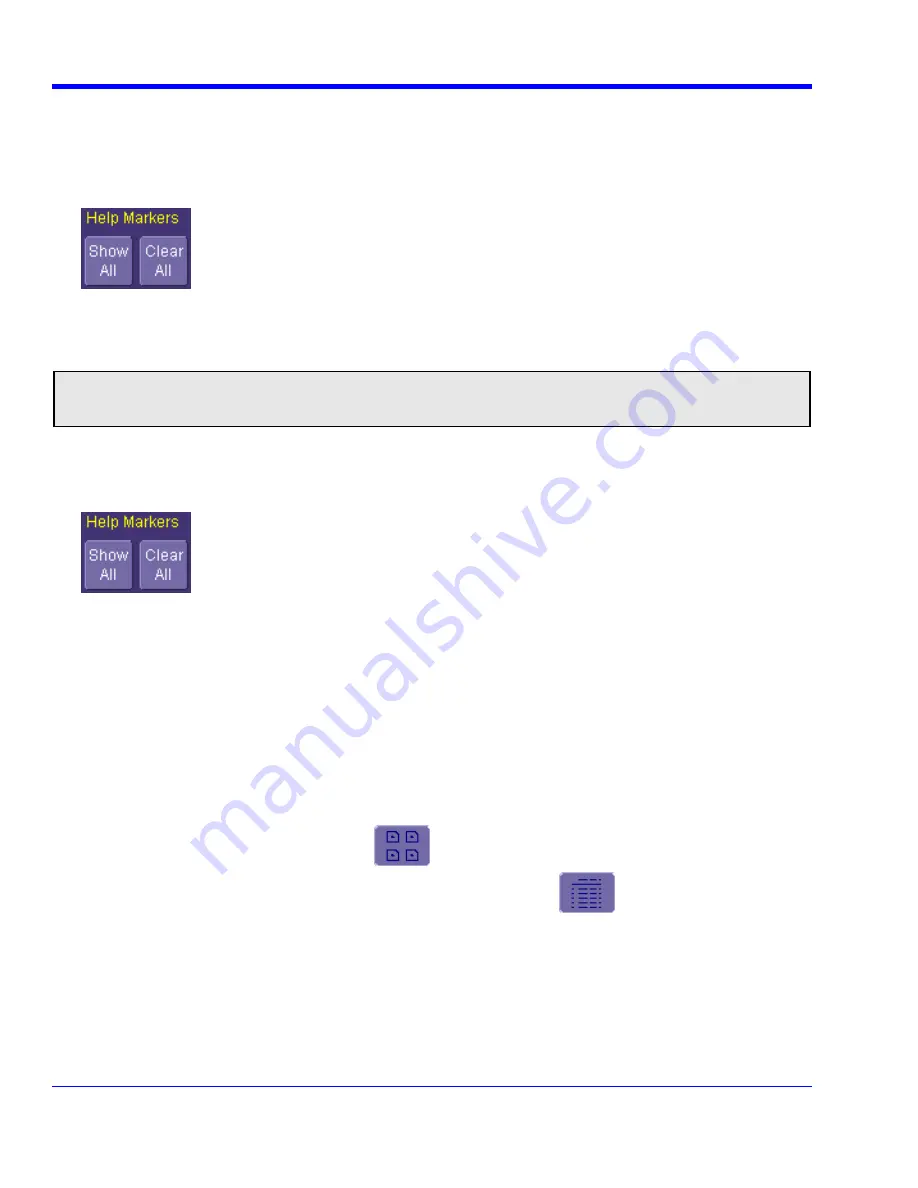
3. Touch
the
Show All
button to display Help Markers for every parameter being measured on the displayed
waveform (C2 in the examples above).
4. Touch
inside
the
Help Markers
field and select
Simple
The
Simple
selection produces cursors and Measure
Gate gate posts. The gate posts are independently placeable for each parameter. or
Detailed
The
Detailed
selection produces cursors, Measure Gate gate posts, a label identifying the parameter being measured, and
a level indicator and hysteresis band for
at level
parameters.
Note:
The choice of Simple or Detailed is applied to all parameters at the same time. That is, if you choose
Simple markers for one parameter, all parameters will be displayed in this mode.
5. Touch
the
Always On
checkbox if you want to continuously display Help Markers for this parameter.
Turning Off Help Markers
1. Touch
the
Clear All
button to turn off Help Markers for all parameters.
2. To turn off Help Markers for individual parameters, touch the
Px
tab for the parameter in question. Then
uncheck the
Always On
checkbox. When you close this dialog, the Help Markers for this parameter will no
longer be displayed.
Customizing a Parameter
From the Measure Dialog
1. Touch
the
My Measure
button in the
Measure
dialog. The dialog presents you with a panel of eight preset
parameters.
2. For each parameter, touch the
On
check box to enable the parameter listed.
3. If you want to change the parameter listed, or a measurement characteristic, touch the parameter button (
P1
for example) alongside the check box. A pop-up menu of parameters categorized by type appears. To display
parameter icons only, touch the icon button
at the bottom of the menu. To display the icons in list
form, along with an explanation of each parameter, touch the list button
. Use the Up/Down buttons
to scroll through the list of icons.
4. When you make a selection from the parameter icon menu, the setup dialogs for that parameter appear. You
can then change the waveform source and other conditions of the parameter.
5. If you are setting up an "@level" parameter, make selections for
Level type
(percent or absolute),
Slope
(positive, negative, both), and
Hysteresis
level.
6. Touch
the
Gate
tab, and set the position of the gate posts.


