


18
K-CONFIG - Getting to Know K-CONFIG
4
Getting to Know K-CONFIG
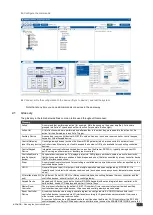
You are here:
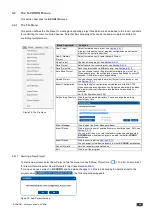
Configuration Steps
Description
Section
Introduction
General information and system requirements
Planning
Carefully plan your controlled room
Installation
Install the Software
Introduction to K-Config
Get to know the K-Config main window, menus and quick access icons
Driver Manager
Define the Controlled Device Drivers
Project Navigator
Define the Controlled Room
Port Manager
Assign the controlled devices to the Master and Auxiliary device ports
Triggers
Activate the Triggers
Adding Actions
Describes how to add the various actions to a trigger
Connecting to a Device
Describes how to connect to a device, upgrade the firmware, read/write to the device
and so on
Using the Web pages
Describes how to control the device via the Ethernet and perform minor configuration
operations
Creating a Virtual Master
Describes how to create a Virtual Master to control a room via KRAMER NETWORK
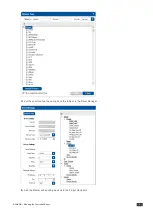
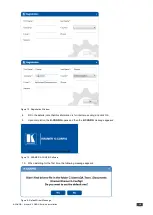
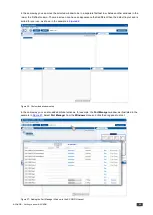
Following the installation, you can click the
K-CONFIG
icon to open the software:
Figure 18: Opening K-CONFIG
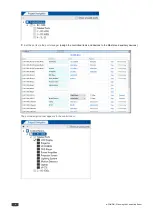
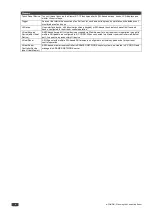
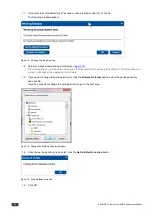
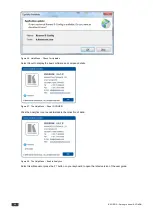
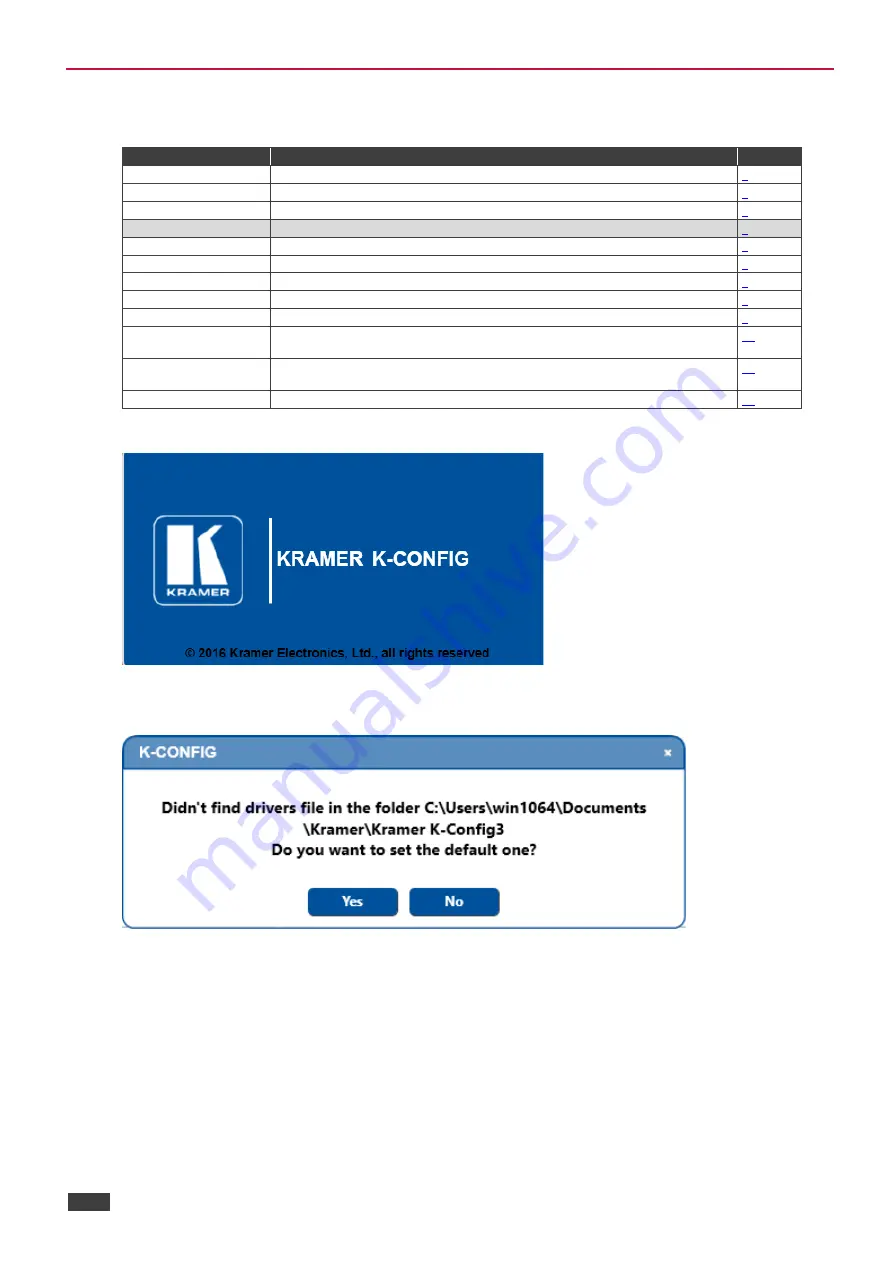
If the selected folder does not contain any drivers, the following message appears.
Figure 19: Opening K-CONFIG
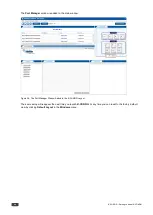
The Kramer list of Master/auxiliary devices is automatically installed.


